Research shows that while skips and doubles tend to cancel each other out across the entire crop, late emerging plants are the thing that causes the most variability in crop yields – and they can almost always be traced back to planter faults, specifically wear and tear to moving parts.
A report published by the University of Idaho in 2019 stated: “Uniform planting remains one of the most critical steps in setting the stage for successful crop management. In corn, for example, a yield advantage of up to 20 bu/ac can be expected due to effective planter calibration.
“Planter maintenance and calibration is one of the most straightforward and controllable of all crop production practices affecting farm profitability; every grower should fine-tune planting equipment annually to achieve the best plant stand.”
With this in mind, here are 10 checks you should be performing in preseason to help ensure better stand uniformity – and increased yields – this year:
- Make sure the planter is level
It is essential to ensure the planter is level both front to back and side to side when in the field – not just a farm lane or yard. The drawbar and tongue should be level or slightly higher at the front than the back. This setup enables proper functioning of the parallel linkage and effective gathering by the closing wheels. Inadequate leveling can lead to poor closing and failed or delayed seed germination. Additionally, during the leveling process, it’s important to check tire pressure for accurate side-to-side leveling.
- Check the row cleaners
Well-maintained floating row cleaners should turn freely and move up and down with ease. Stiff or jammed cleaners will fail to effectively remove residue ahead of the disc opener, which can have a detrimental effect on seed-to-soil contact. Check the row cleaners before you check the parallel arm linkages – give them a spin, and make sure bearings and bushings are tight. Adjust or replace as necessary.
- Adjust the parallel arms
Parallel arms are crucial for maintaining the row unit’s correct position relative to the soil, so it’s vital to check for movement or wear that could lead to erratic seed placement. Lift each arm to a horizontal position and try to rock it up and down and side to side. Significant wear in the pins and bushings will lead to a lot of movement, which in turn will lead to chatter as the row unit moves through the field, causing inconsistent seed spacing. If in doubt, replace one set and compare with the adjacent arm linkages before deciding whether to replace the rest.
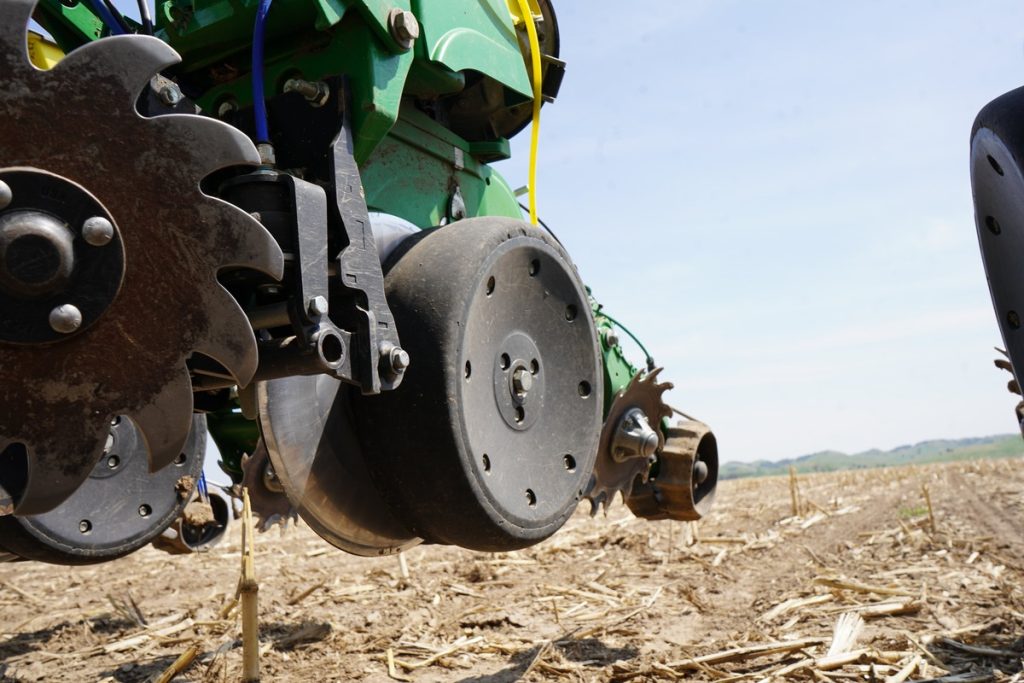
- Inspect the disc openers
Sharp seed disc openers with minimal wobble and lope are essential for accurate and consistent seed placement. Discs typically need to be replaced when they lose a half inch of diameter, or when they become dull – whichever comes first. It’s also important to shim up your blades even if they don’t need to be replaced, ensuring the necessary contact point is being achieved as the blades turn – your planter or blade manufacturer will have information on the required specification.
- Check seed tubes
Seed tubes are usually fitted with a protector or insert that guards against wear. Check the bottom end of the tube for excessive wear of the sidewall, looking for adequate thickness but also any deformity of the wall that could cause the seed to ricochet, resulting in uneven spacing. Replace any worn tubes.
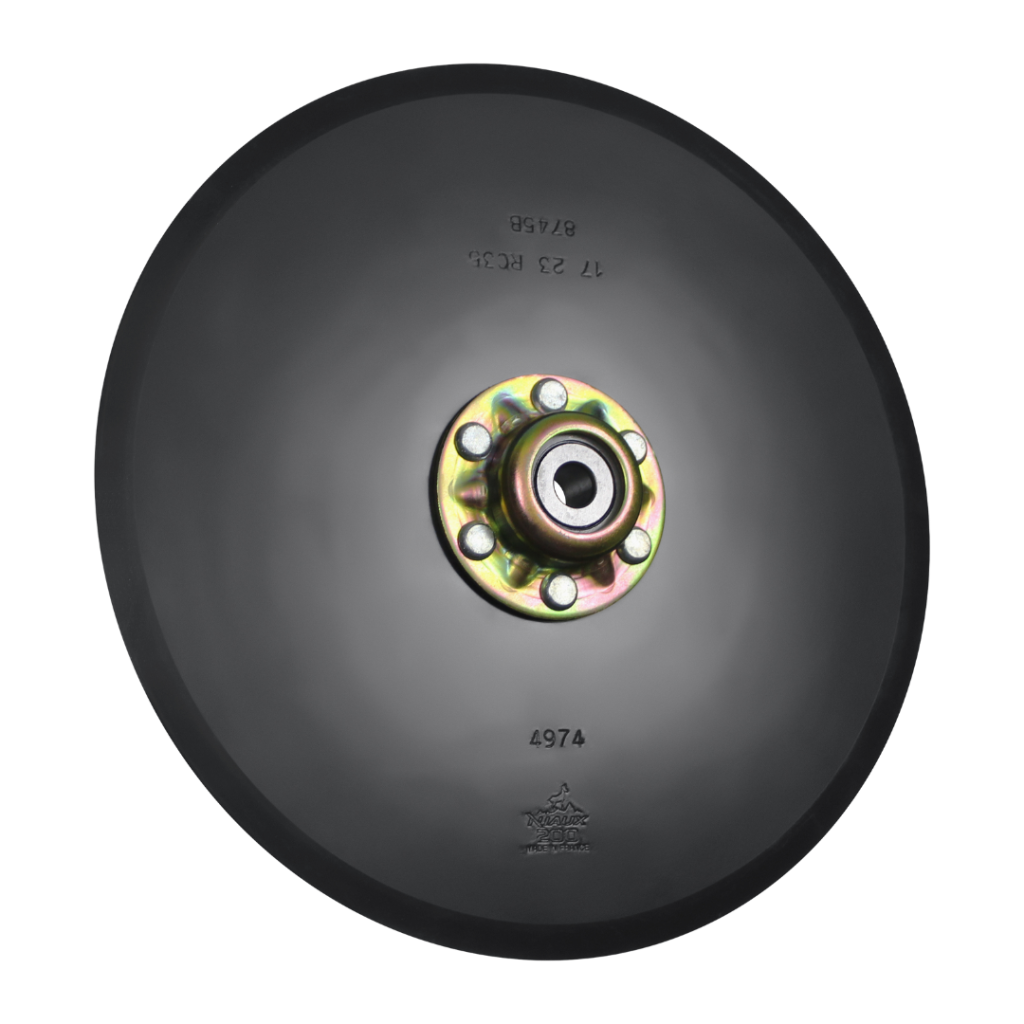
- Inspect bearings and hubs
Check your disc blade bearings to ensure the hubs are firmly attached to the disc with no loose bolts, lateral wear or play in the housing. Look for grease leaking out of the housing, which can indicate a loose attachment, or for any debris caught in the housing from last year. Spin the blades and listen for any grinding or squealing noises that might indicate worn-out bearings inside the hub.
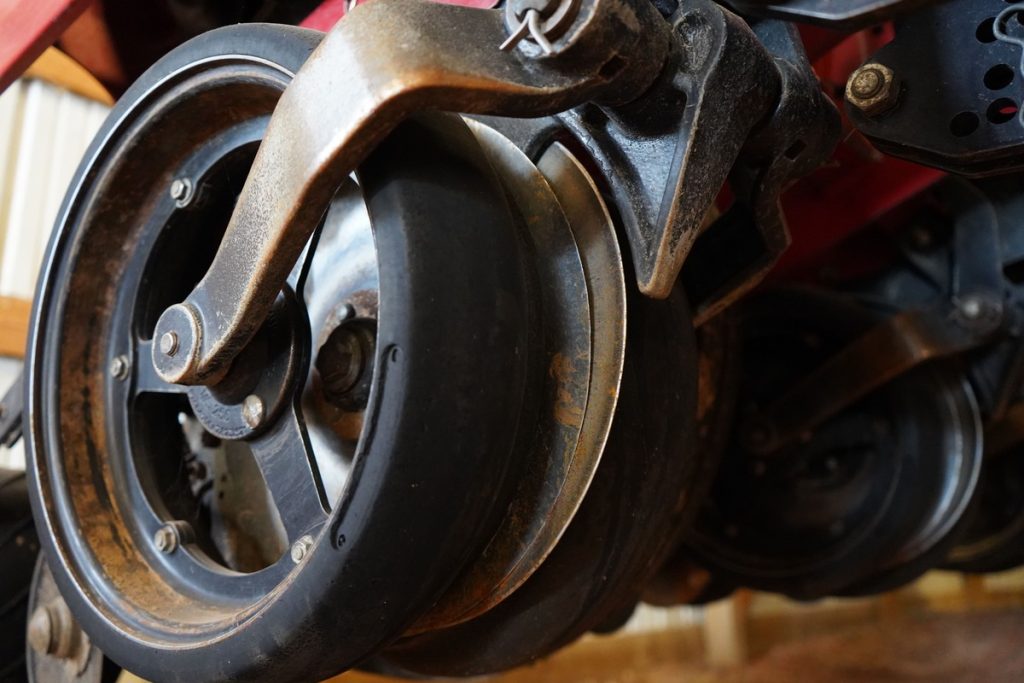
- Give your gauge wheels a once over
Gauge wheel arms are extremely important for accurate seed placement so check that they are moving freely and not obstructed by debris or rust. Also ensure that bushings are not worn out, leading to excessive lateral movement in the gauge wheel arm. Check the wheel itself for wear to the rim or tire, and replace any cracked tires. Adjust to make sure there’s good contact between the gauge wheel and the disc opener, to make sure dry soil can’t get into the furrow. If you’ve run out of room to adjust the gauge wheel, it’s time to replace it!
- Check seed meters for wear
Seed meters should be checked to ensure doubles and skips are kept to an absolute minimum. For finger pickup meters, it’s recommended to have them professionally tested and adjusted using a sample of the actual seed you’ll be planting for accurate calibration.
- Center closing wheels
Closing wheels can easily go off center after a season of use, so you should inspect the wheel arms to ensure their catered and aligned before use. Make sure the wheel itself doesn’t have too much lateral wear, as this can affect its ability to gather soil back over the furrow. Make sure all bearings are in good condition and running smoothly. Consider whether the closing wheel you’re running is appropriate for the soil type.
- Do a final visual inspection
Conduct a thorough walk-around of the planter to check for hydraulic leaks, cylinder issues, and wear on electrical connections and wiring. Inspect chains, remove any debris or dust to make sure you’re not overlooking any damage or rust, and make sure all moving parts are adequately lubricated.
If your preseason checks are revealing excessive wear on ground-engaging parts like seed openers and gauge wheels, it’s worth considering whether your current or OEM specification is up to the necessary standards for your soil type. Contact us today and learn how our advanced spec and quality construction can significantly extend the wear life of your components.