weareparts logo

1-888-4-BLADES (425-2337)

FREE SHIPPING ON Qualifying Orders

Soil Sampling: An Essential Tool for Successful Crop Farming

As margins in US crop farming get squeezed ever tighter by rising costs and increased global competition, farming practices have become increasingly precise, especially on large-scale farms where small economies can scale up to big financial benefits.

From precision GPS planting to data-driven decisions around irrigation and nutrient application, farmers are increasingly focusing on the micro as well as the macro picture when it comes to planning ahead – and one of the key tools at their disposal is the practice of soil sampling.

But what exactly is involved in soil sampling? Why should you be doing it – and how difficult or expensive is it for the average farmer to implement? Let’s take a closer look at the theory, practice and benefits of this increasingly popular technique.
Billeder taget af Bertel Bolt

What is soil sampling?

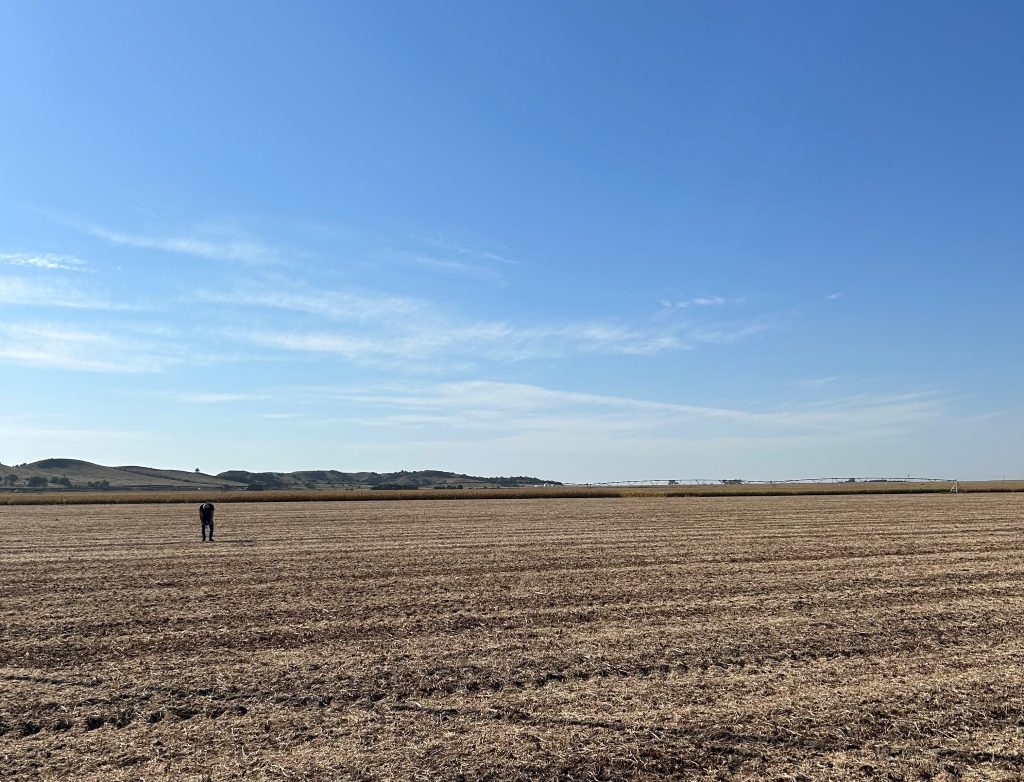
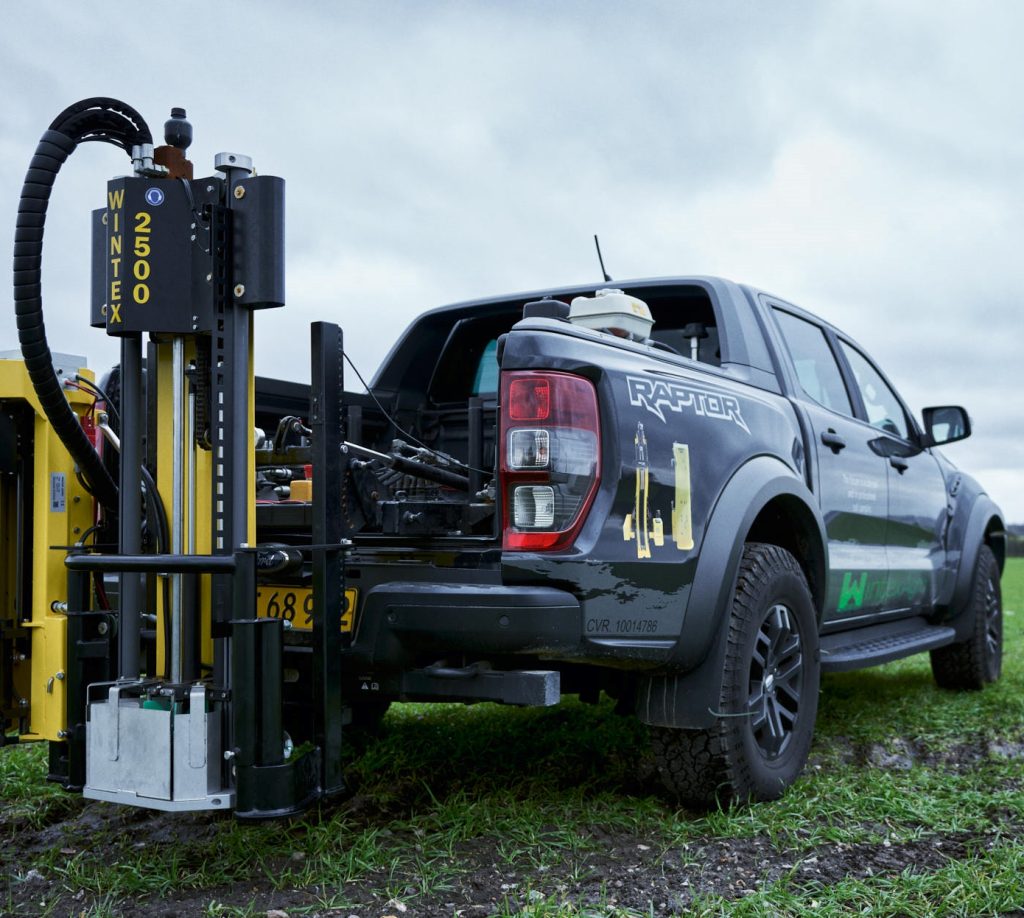
As the same suggests, soil sampling involves taking a series of samples from a field or fields, and having them analysed either in the field or in a laboratory. Samples can be taken manually with a soil probe or even a spade, or mechanically using a soil sampling rig mounted on a truck or gator, which is more practical for large acreages and deeper samples.

The soil samples will typically be tested for three key parameters:

  • Physical – to assess the texture, density and water holding capacity
  • Chemical – to assess the nutrient levels
  • Biological – to assess the amount of organic matter, protein and fatty acids

Why is soil sampling important?

Soil sampling is important because it gives farmers vital insights into the biggest factor influencing crop yields – the quality of their soil. 

Over many years of research, we’ve confirmed what farmers already suspected simply by looking at a field of crops where some plants do better than others – which is that soil quality can vary massively not just over a distance of many acres, but from one end of a field to the other.

This knowledge enables the farmer to take a far more scientific approach to soil conditioning through tillage, the use of organic matter, or the application of synthetic fertilizers. As well as enhancing crop yields, this measured approach can reduce wasted resources or labor and associated costs, as well as having environmental benefits such as improving water quality, reducing flooding or preventing soil erosion.
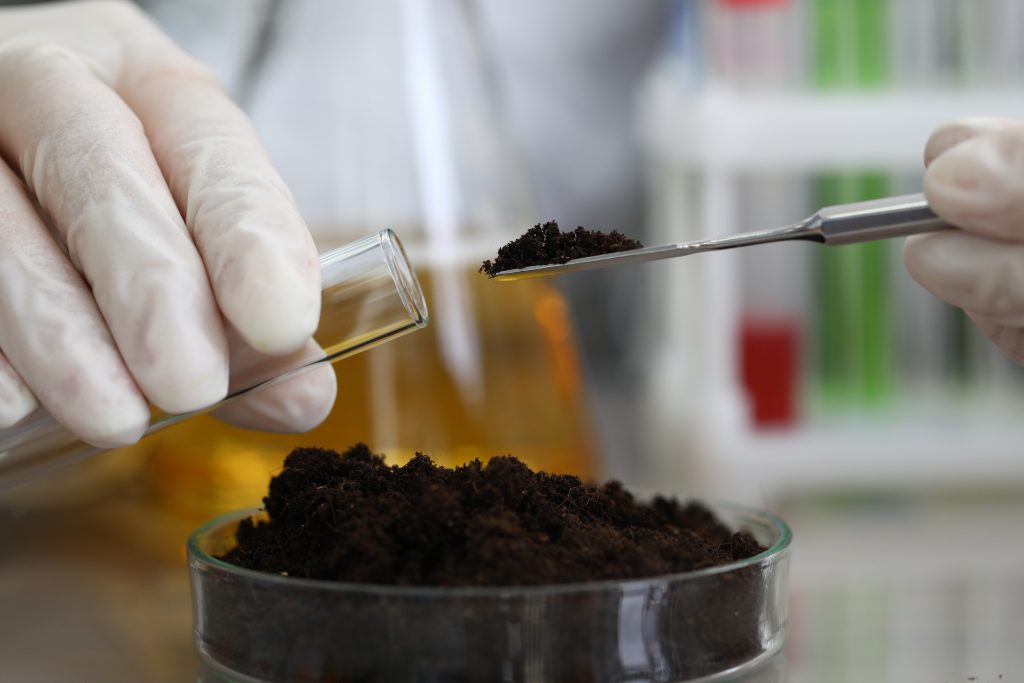
Female chemist in white protective gloves hold test tube against chemistry lab background closeup. Express research crop soil content of beneficial and harmful substances concept

What does soil sampling test for?

When you send your soil samples off to the lab, they can be tested for a wide variety of different properties that will let you know what course of action you need to take to improve the soil in that field or zone. Here’s a look at some of the key things your lab will report back on:

Here’s a list of things typically reported during the soil sampling process in the lab, along with why they are important:

  • pH Level
    Soil pH affects nutrient availability. Most crops thrive in slightly acidic to neutral pH (6.0-7.0). If the pH is too low or too high it can limit plant growth by affecting how well they can absorb nutrients.
  • Nitrogen (N)
    Essential for plant growth, particularly for leaf and stem development. Insufficient nitrogen leads to poor growth and low yields, while excess nitrogen can lead to environmental issues like leaching into waterways.
  • Phosphorus (P)
    Critical for root development and energy transfer within plants. Phosphorus deficiency can stunt growth, reduce yields, and limit the plant’s ability to produce flowers or fruit.
  • Potassium (K)
    Vital for overall plant health, disease resistance, and drought tolerance. Potassium also helps regulate water and nutrient movement in plant cells. Deficient levels reduce crop quality and yield.
  • Organic Matter
    Organic matter improves soil structure, water retention, and nutrient supply. Soils rich in organic matter promote healthy root development and enhance microbial activity, improving overall soil health.
  • Cation Exchange Capacity (CEC)
    Indicates the soil’s ability to hold onto essential nutrients (such as calcium, magnesium, and potassium). A higher CEC means the soil can retain and supply more nutrients to plants.
  • Micronutrients (e.g., Zinc, Iron, Copper, Manganese
    Though required in smaller amounts, micronutrients are crucial for various biochemical processes. Deficiencies can cause stunted growth and poor crop quality.
  • Soil Texture (Sand, Silt, Clay)
    Soil texture influences water retention, drainage, and nutrient availability. Sandy soils drain quickly but hold fewer nutrients, while clayey soils hold water and nutrients but may have poor drainage.
  • Electrical Conductivity (EC)
    Measures soil salinity, which can affect plant growth. High salinity levels reduce the plant’s ability to absorb water, leading to stunted growth or plant death.
  • Calcium (Ca) and Magnesium (Mg)
    Both are essential for plant structure and development. Calcium helps build cell walls, while magnesium is a key component of chlorophyll and is vital for photosynthesis.
  • Soil Compaction (sometimes tested via bulk density)
    High soil compaction restricts root growth and water infiltration, making it harder for plants to access nutrients and moisture.
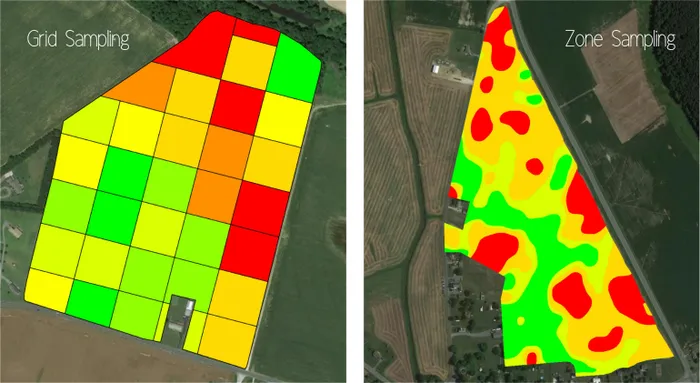
Methods of soil sampling: Grid vs Zone

There are a number of common methods for soil sampling, but the most popular are grid sampling and zone sampling. Let’s take a look at the differences and benefits of each.

Grid soil sampling

Grid sampling involves taking samples at regular intervals across the landscape of a field, using satellite or GPS to overlay a grid pattern on a map of the field. The grid size can be adjusted depending on the level of data resolution – 2.5-acre grids are commonly used, but smaller grids provide more insight (especially on non-uniform fields) and it can be useful to match grid size to spreader equipment width. 

Soil samples are then collected from specified points within each grid cell, bagged up, labeled and tested.

What are the benefits of grid sampling?

Grid sampling is most useful when you have little information about the variation in nutrient levels across a field – for example, if you’re farming a new piece of land. It’s also useful in cases where topography is uniform but crop stands are irregular. A key benefit of zone sampling is that it allows you to build up a clear overview of soil quality that is relatively free from subjective biases – however, it is a time consuming and expensive method.

Zone Soil Sampling

Zone sampling involves dividing a field into zones that are uniform enough to be managed as a whole and then sampling to determine the average soil health for those zones. So for example, a part of the field that is on a slope might be one zone, while a low-lying area might be a different zone. The success of the zone sampling relies on the amount and quality of the data used to determine the zones. Layers such as soil maps, aerial photos, yield maps, topographic maps, management history and personal field experience can provide valuable information about the variation in a field. 

What are the benefits of zone sampling?

Management zones are a better choice than grids when the farmer has prior knowledge of the field conditions gathered over time. Fewer samples are taken compared to grid sampling, which reduces the overall cost of lab analysis. By focusing on defined zones of similar characteristics (soil texture, topography, yield patterns), farmers can combine their own knowledge with valuable data to get better results.

FactorGrid SamplingZone sampling
CostHigher, due to more samples and lab analysisLower, with fewer samples per acre
Time and LaborMore time-intensive and labor-heavyFaster, less labor-intensive
Insights GainedProvides very detailed, site-specific dataOffers broader insights, more generalized for larger zones
PrecisionHigh precision, suitable for precision agricultureLess precise, relies on prior knowledge of field variability
Best ForFields with high variability, farmers using precision agriculture toolsFields with moderate variability, budget-conscious farmers

When should soil sampling be carried out?

Soil sampling is typically done in the fall after the main crop has been harvested and before any tillage has been carried out. This gives ample time for a management plan to be considered and implemented before the following season’s crop is planted. 

You should avoid taking soil samples during wet weather, as a high moisture content in the samples can skew the results. Soil sampling is usually carried out every 2-5 years, since it takes time for soil biology to respond to changes in management. The exception is testing nitrogen levels, which change rapidly in response to fertilizer application and can be tested annually if desired.

How can farmers respond to soil sampling results?

Once you have the results from your soil sampling tests, you should have a clear picture of what needs to be done to improve the soil in problematic areas of your farm, and also of any actions you need to take to prevent wasted resources, or to protect the environment (for example, if your soil has too much nitrogen, it could be leaching into waterways).

At Wearparts, we offer a wide range of tools that can support your resulting soil management efforts, from deep and shallow tillage tools to incorporate organic matter and break up compaction, through to fertilizer knives designed to place liquid or anhydrous nitrogen below the surface of the soil, where it can be readily accessed by young plants.

To find out more about our range of premium components, or for answers to specific questions around soil improvement techniques, get in touch.


Maximizing Winter Wheat Yield: A Guide for Farmers

Winter wheat is a crucial crop for many farmers, not only for its profitability but also for the role it plays in crop rotation and maintaining soil health. 

But growing a successful winter wheat crop can be challenging, especially in the face of an increasingly unpredictable climate. In order to maximize yields, it’s vital to understand the optimal conditions for growing wheat, but also to have a good grasp of the specific growing conditions on your own farm. 

At Wearparts, we’re committed to supporting farmers with durable, high-quality parts for tillage, planting, and harvesting winter wheat crops. Let’s dive into some essential tips for winter wheat success.

field of crops

First of all, why grow winter wheat?

Many farmers grow winter wheat as part of a double-cropping initiative which serves two main functions – firstly, to maximize farm outputs by growing crops all year round, and secondly, for soil conservation reasons – the wheat acting as a cover crop that prevents soil loss in the winter, plus valuable organic matter to feed next year’s main crop while simultaneously reducing dependency on herbicides. Cover cropping alone is shown to increase subsequent crop yields by 2-3%, but research shows that including winter wheat in the crop rotation – even as infrequently as once every four years – could increase subsequent soybean yields by 12%.

There are financial incentives too – in 2022, prompted by grain shortages due to the war in Ukraine, the USDA announced it was expanding the availability of crop insurance into new parts of the country, to cover some potential losses. In all, 1,500 counties where corn and sorghum can be grown after winter wheat is harvested are now eligible for insurance, reducing risk for farmers at a time of increased climate uncertainty.

What are the best soil conditions for winter wheat?

Winter wheat grows best in well-drained, loamy soils with moderate levels of organic matter. Soil pH is also critical, with an ideal range between 5.5 and 7.0. 

One of the most common challenges farmers face is managing soil compaction, especially in no-till systems or after heavy machinery use. This is where proper tillage comes in. At Wearparts, we provide durable tillage tools that can help alleviate compaction, improve soil aeration, and enhance water retention, setting the stage for a successful winter wheat crop.

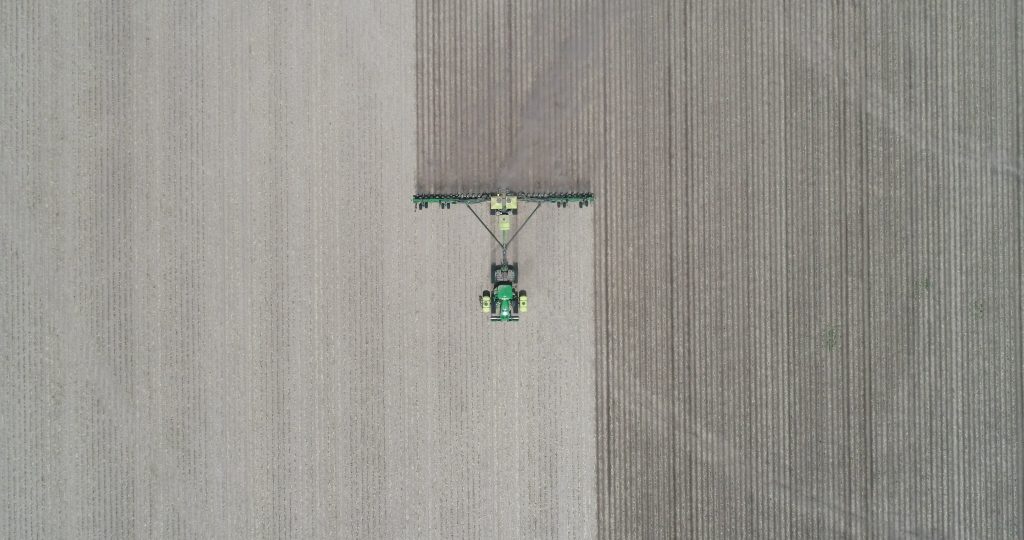
ploughing a field of crops - ariel view

When is the best time to plant winter wheat?

The question of when to plant winter wheat is always a hot topic for farmers, especially in locations with hot, arid summers where spring wheat isn’t a viable option. 

The ‘fly free date’ is a key milestone for farmers, determining when it’s safe to plant wheat and avoid problems associated with hessian flies – this typically occurs in early to mid-September depending on location.

Winter wheat must be planted early enough for the young crop to reach 10-15cm in height, with mature enough roots to survive the dormant winter phase. Plant too early following a dry summer, and you risk low emergence. Plant early when conditions are wet, and there’s a chance your wheat will get too tall, too soon – leaving it vulnerable to lodging (where the stalks get flattened) during winter storms. 

Plant your winter wheat too late, however, and it won’t have a chance to grow on enough to then survive the dormant winter phase – winter wheat needs temperatures to drop to at least near freezing for the plant to enter its reproductive cycle, and won’t yield seed until it endures a prolonged period of cold conditions, below 40°F (4°C). Deep, persistent freezing can, however, kill off the young plants.

Getting it right is all about knowing your own microclimate, monitoring the weather closely and making smart decisions about when and how deep to plant winter wheat. Of course, choosing quality tillage and planting tools to get seed in the ground right first time is vital – and that’s where a manufacturer like Wearparts can make all the difference to your crop yields.

What’s the best seed variety for winter wheat?

Selecting the right variety of winter wheat is one of the most important decisions you’ll make when planning your crop. Different varieties thrive in different regions, so it’s essential to choose a variety that suits your local climate and soil conditions. Cold tolerance, disease resistance, and yield potential are key factors to consider.

For farmers in the northern U.S., cold-hardy varieties with strong winter survival rates are crucial, while those in the southern regions may focus more on disease resistance. Always consult with local agricultural extensions or seed suppliers to find varieties best suited to your region.

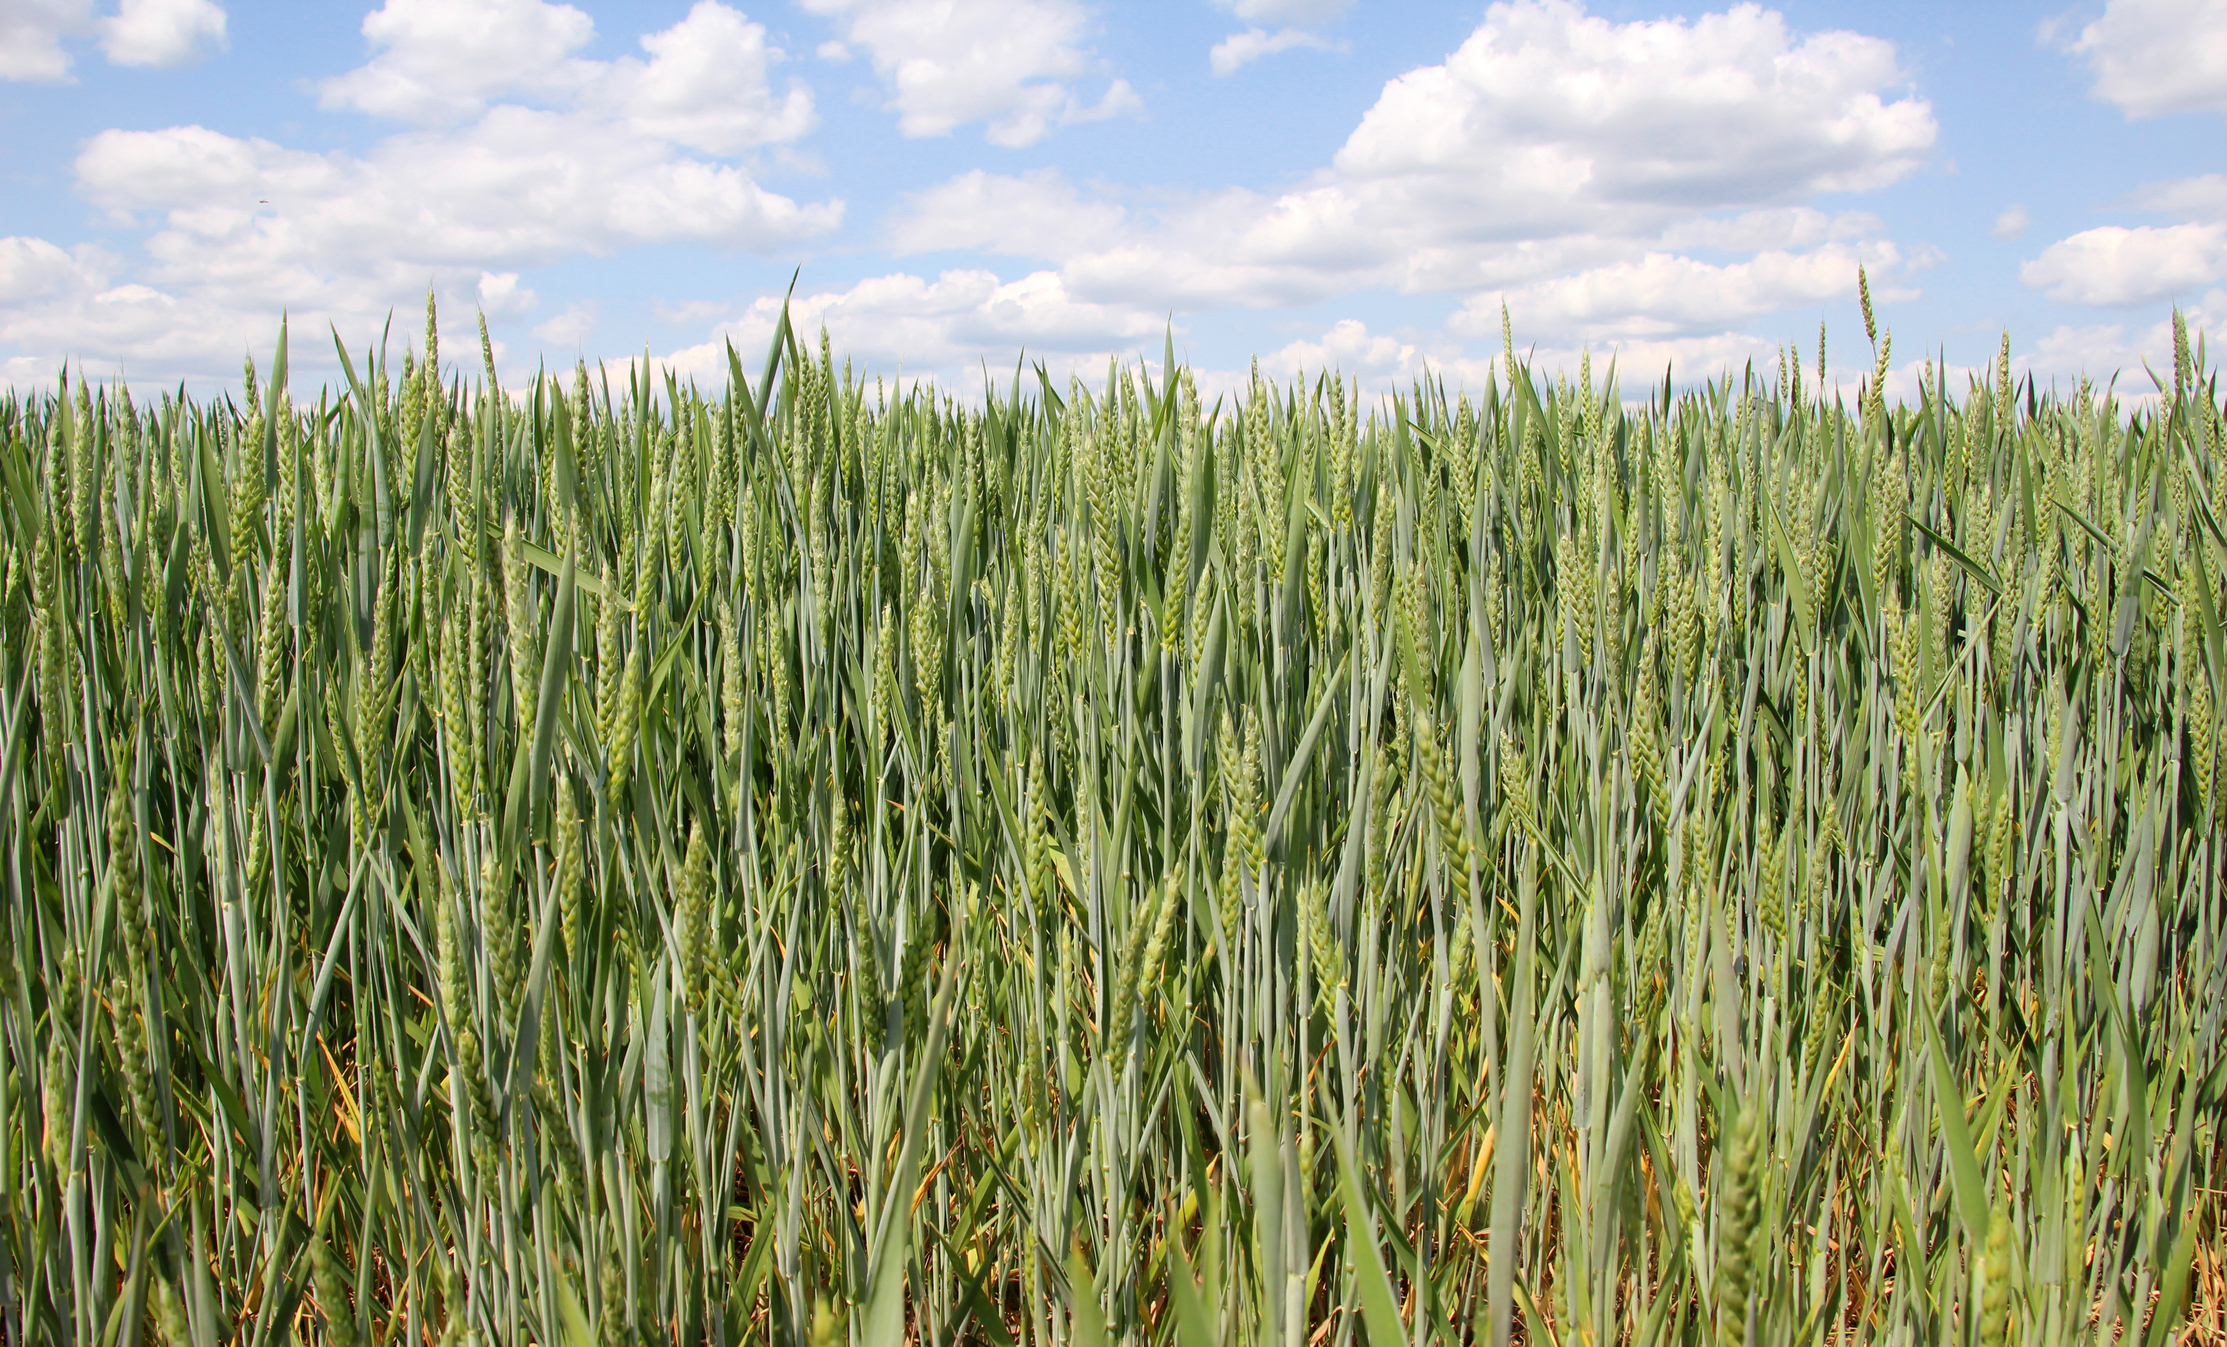
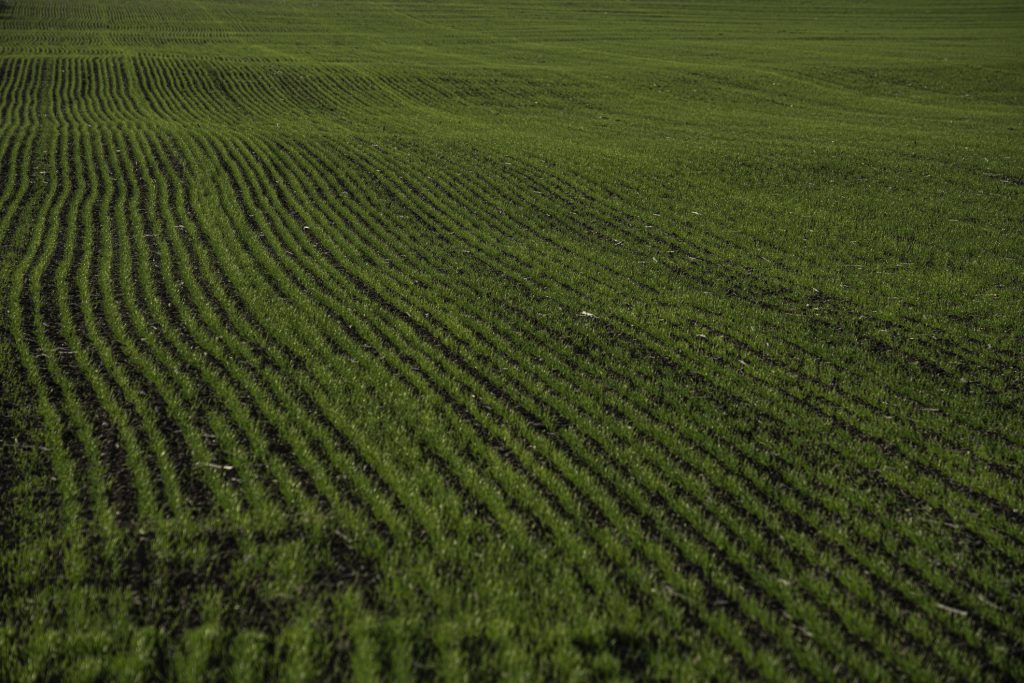
Organic Farm on a Brightly Lit Day. Low angle shot of the wheat seedlings in springtime.

What’s the recommended seeding rate for winter wheat?

The best seeding rate for winter wheat depends on a whole range of factors including region, soil conditions, planting date and seed size. These days most farmers calculate seeding rates in seeds per acre, as opposed to lbs of seed per acre – and the rate can vary from 300,000 to 2,000,000, with a typical range of between 1.2 and 1.8 million seeds per acre. 

As a general rule, winter wheat that is planted earlier in the year can cope with a lower seeding density since emergence will be higher, but it’s still important to establish a good crop stand early in order to minimize competition from weeds and reduce the need for herbicides.

When you plant later, you’ll typically plant more to mitigate for failed germination – but the risk here is that warmer conditions and abundant rainfall will result in higher than expected germination rates, which can increase the risk of lodging or disease due to poor airflow.   It’s recommended to run some seed rate strips so you can learn what works best on your farm for specific planting conditions.

Managing weed populations in winter wheat

Weed pressure is a significant challenge during the fall in winter wheat production, when essential warmth and rainfall required to get young crops up out of the ground quickly tends to have the exact same effect on competitors like wild oats, foxtail, and chickweed..

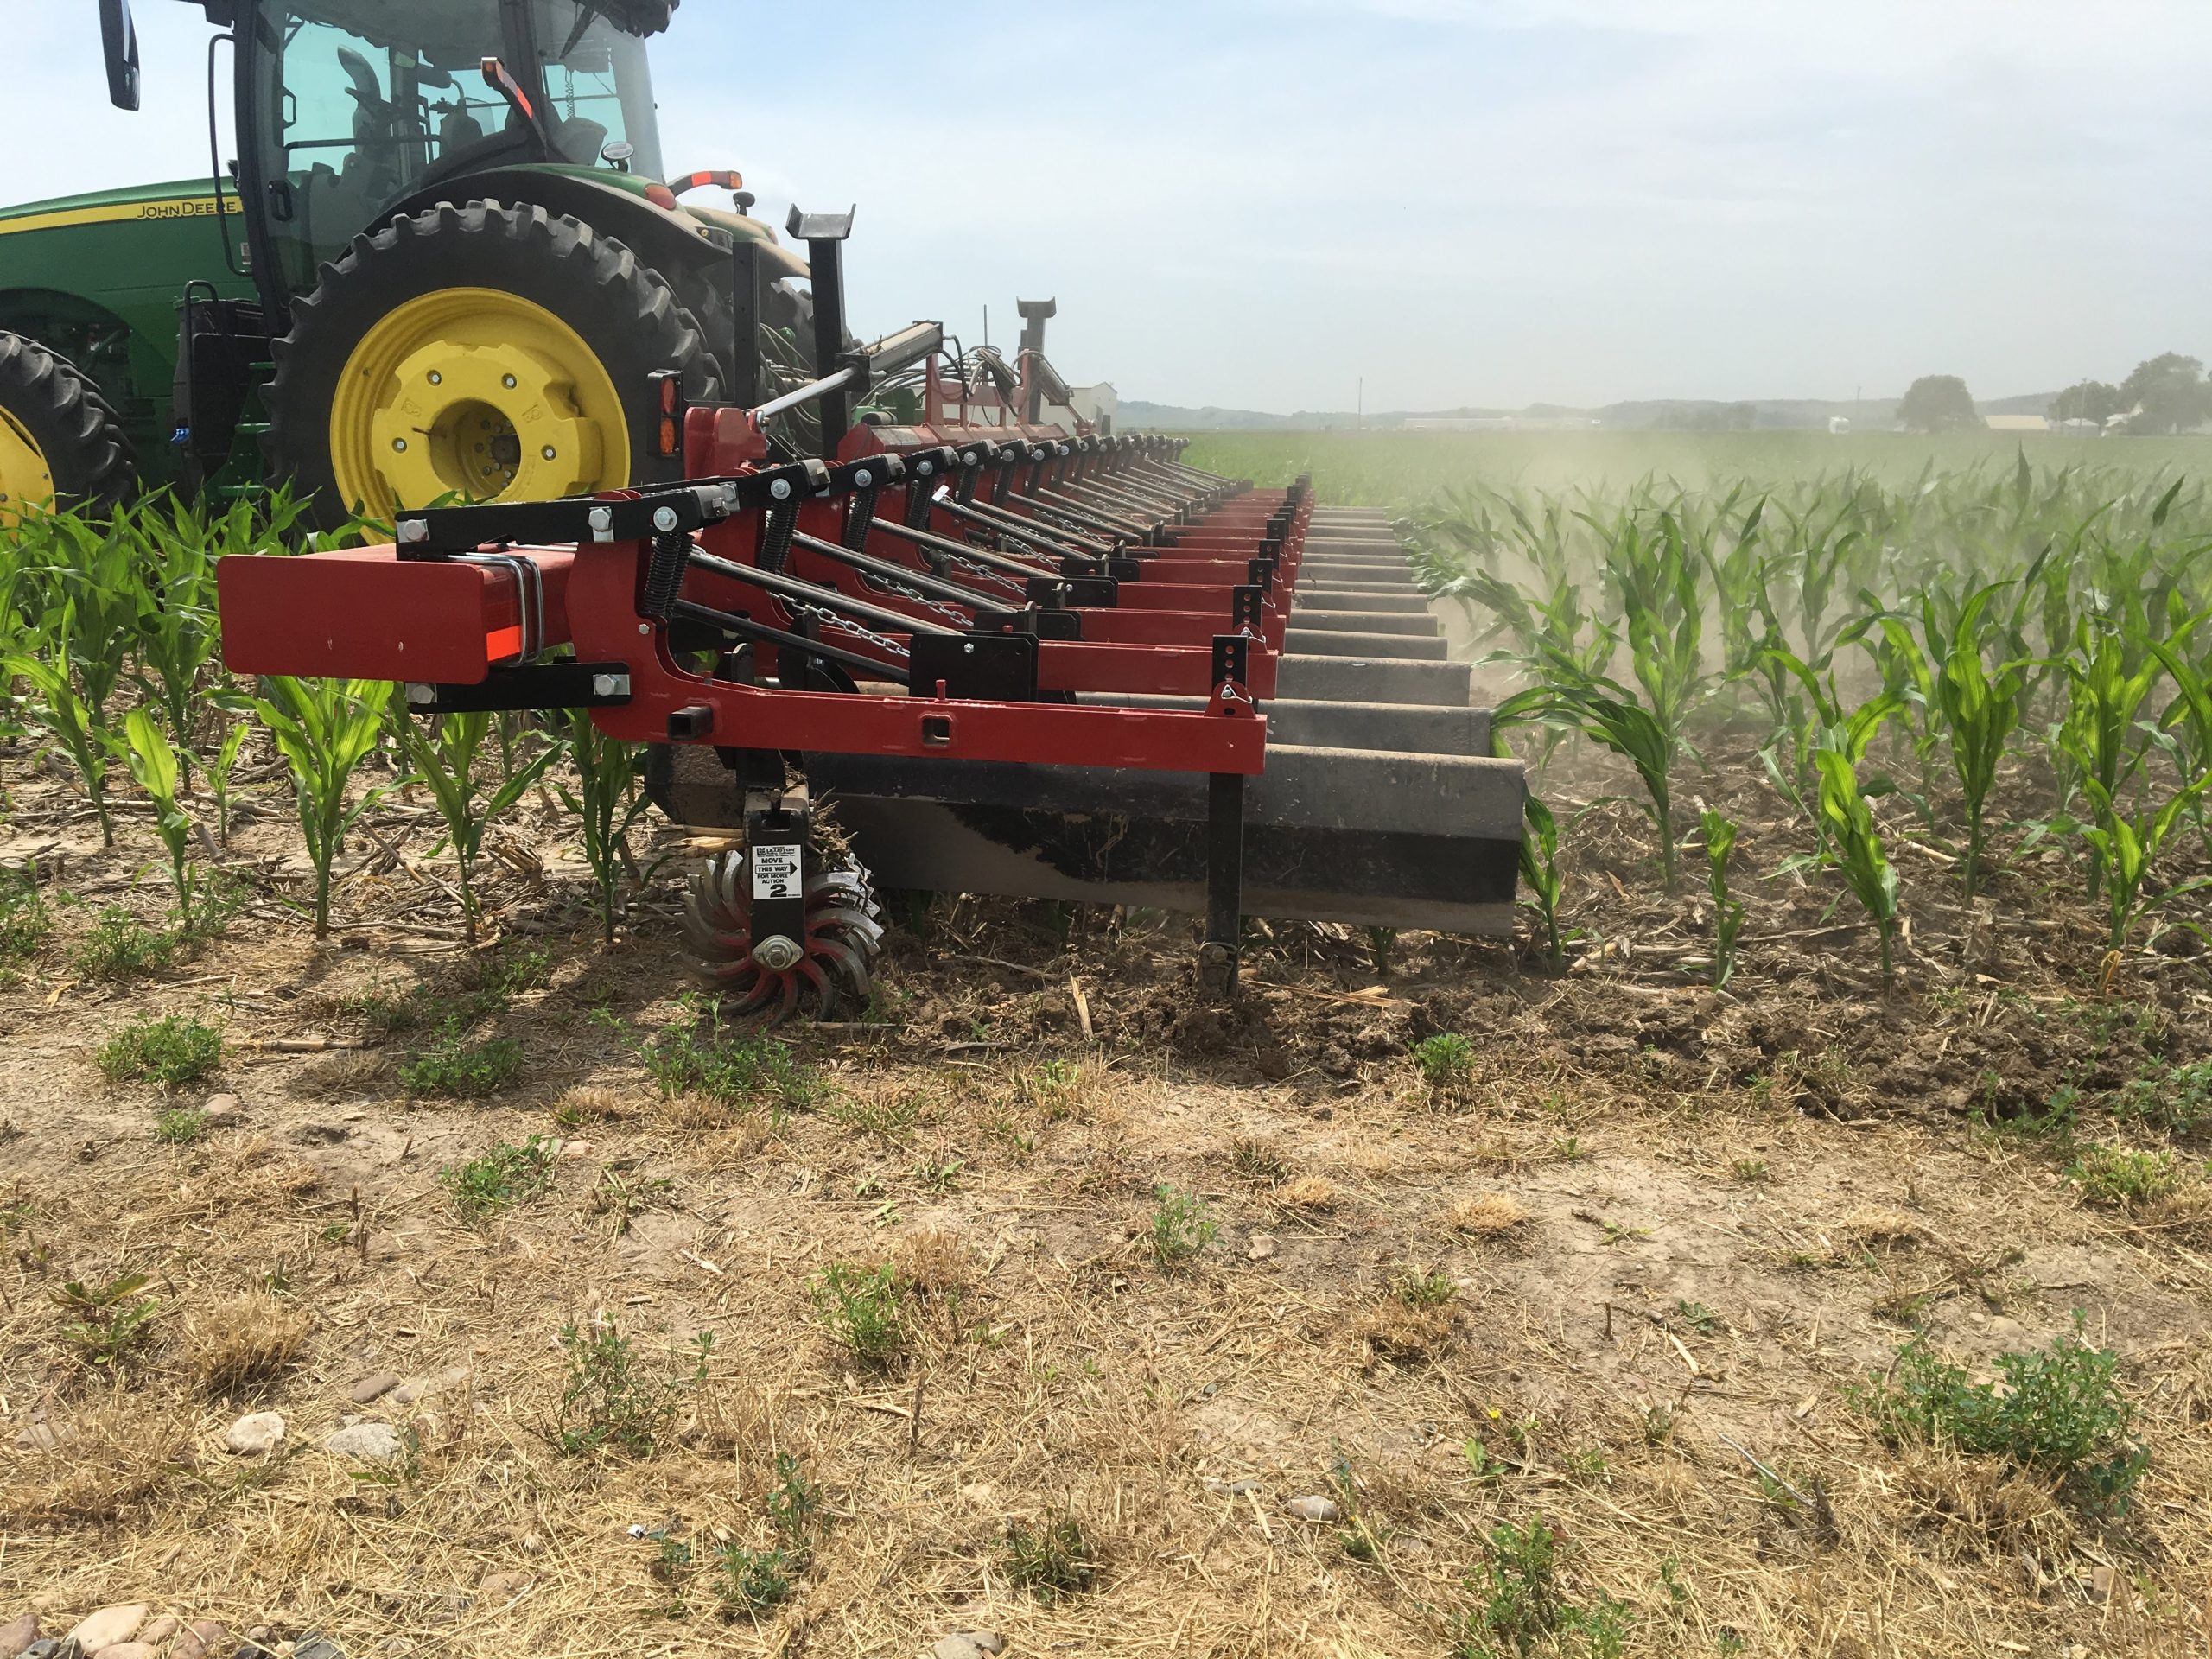
Many farmers use a combination of pre-emergent and post-emergent herbicides to manage weed growth. However, crop rotation and mechanical weed control, such as using robust tillage equipment, can also reduce weed populations. Wearparts offers high-quality tillage tools that help keep fields clear before planting, giving your winter wheat the best chance to thrive.

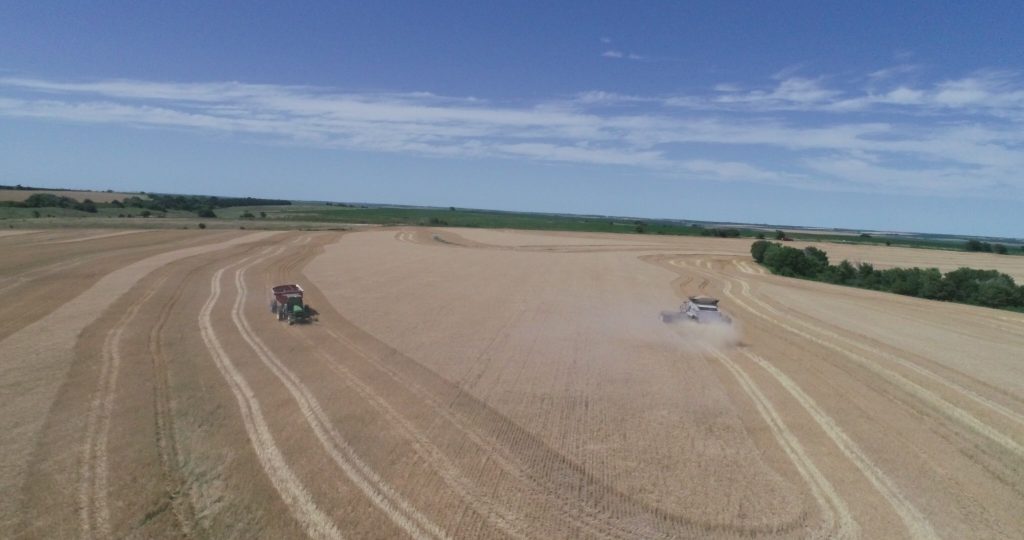
two tractors yielding wheat

Want to know more?

Growing winter wheat requires careful attention to soil preparation, seeding rates and weed control. By taking a strategic approach to each stage of the growing process, farmers can maximize their yields and profitability.

At Wearparts, we’re here to support you with high-quality, durable parts to assist with tillage, planting and harvesting wheat. From quality seed openers and air seeder parts to gauge wheels, cultivator sweeps and cutting components, our products deliver proven performance that saves you time and money while maximizing yields. Find your nearest Wearparts dealer here, or get in touch for advice from our customer service team.

Harvest Parts: Group Schumacher arrives at Wearparts

For almost 15 years now, the Wearparts name has been synonymous with tillage and planting tools designed to offer farmers more choice, more efficiency and a longer wear life. We’ve scoured the globe for the most durable and innovative components from manufacturers who share our belief that when farmers win, we all win.

Our focus on tillage and planting has meant we’ve always had a gap in our offering when it came to harvest season, and therefore we’re extremely excited to announce that for the first time in Wearparts history, we’re adding harvest parts to our portfolio – and an exciting new partnership with German-based manufacturer, Group Schumacher.

Who are Group Schumacher?

Originally founded in rural Germany in 1827, today Schumacher GmbH is a global group employing more than 600 people in seven offices and factories in Germany, USA, Brazil, Russia and China. Still family owned and operated, the company is a recognised world leader in the development of innovative cutting and drive systems for the perfect harvest.

There are a number of brands under the Schumacher umbrella, including Sch® cutting technology, EWM® drive systems, Rasspe® knotting and binding solutions and Radura® replacement cutting parts.

Why are Group Schumacher a good fit for Wearparts?

One of our biggest passions at Wearparts is empowering our dealers to give farmers more choice when purchasing replacement parts for their tillage, planting and harvesting equipment. In particular, we’re passionate about offering them an alternative to OEM parts which, in our experience, can be hit or miss in terms of their quality and durability even though they tend to be at the higher end of the market on price.

As a result, we’ve invested a lot of time and effort into sourcing premium quality aftermarket parts produced by companies that share our commitment to performance at the top end of the market, as well as producing our own Wearparts branded parts that meet or exceed typical OEM specifications. We’re very proud to bring our customers seed opener technology from Forges de Niaux in France and cutting-edge ag bearings from FKL in Serbia – and now world-leading cutting technology from Group Schumacher.

Schumacher is a perfect fit for Wearparts because they share our vision on innovation and long-lasting quality. Their product design process is meticulous and informed by real feedback from real farmers, incorporating clever engineering that solves operational problems for more efficient farming operations. From our first meeting with Schumacher, we were blown away by their attention to detail and excited about what their products could bring to the Wearparts range both in terms of variety and performance.

Which Group Schumacher products will you be offering?

We’re currently offering a wide range of products from Group Schumacher’s Sch®, and Radura® brands. Here’s a look at some of the products you’ll find in our new harvest catalog:

EasyCut II

EasyCut II is a modular, universal cutter bar system from Group Schumacher that is designed to deliver optimal cutting performance with less vibration, less wear on both components and combine, and greater fuel efficiency with less downtime.

All parts of the system are bolted for easy handling and replacement, and the modular design suits all common cutter bars, offering customized solutions, especially for extra wide headers.

Fully hardened and galvanized sections mounted in a face up/face down arrangement, with optimized teeth to suit all crops and optional top and bottom roller guides, the EasyCut II’s knife has an extremely smooth action for clean, efficient cutting and maximized yields.

Schumacher’s innovative spring steel guards are precision engineered for superior knife control and manufactured using a special tempering process that delivers a hardened surface and flexible core for superior stability and durability. A variety of options are available depending on the crop being harvested.

EasyCut II key benefits:

  • Exceptional stability
  • Excellent cutting force
  • Smooth and quiet operation
  • Universal system for all combines and crops
  • Maintenance-free
  • Great resistance to wear

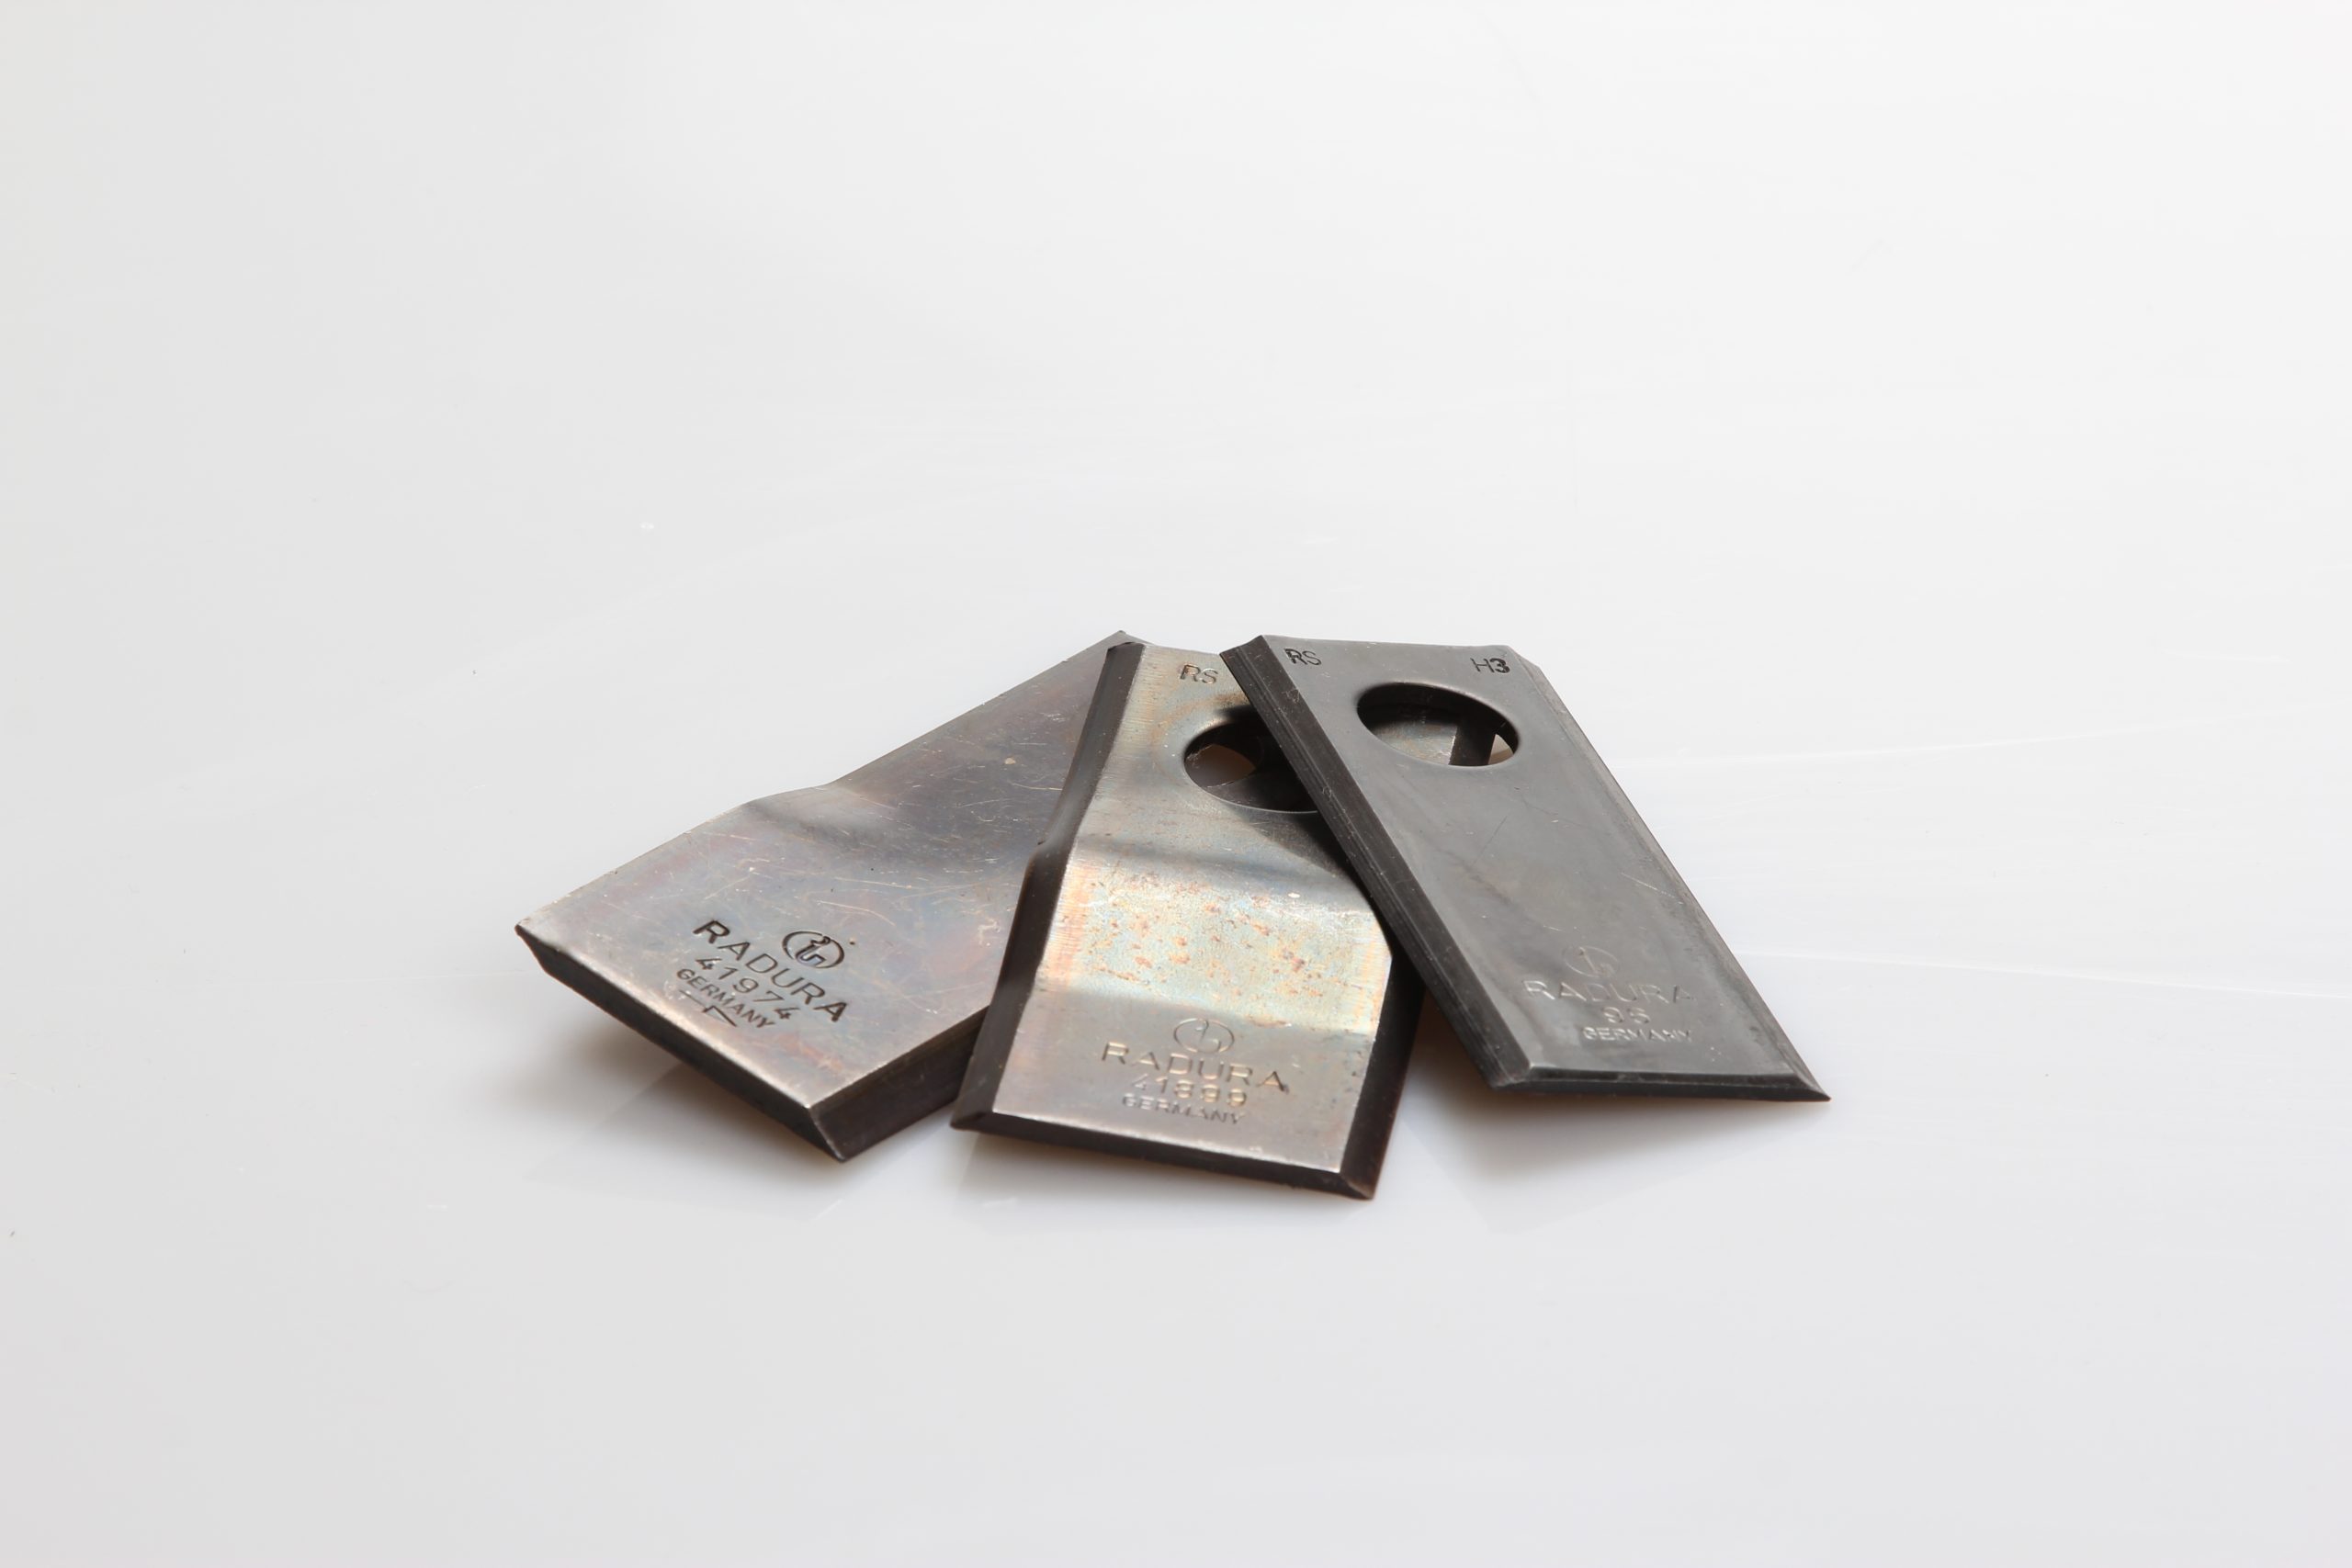
Radura® Cutting Components

The Radura® brand specializes in replacement parts for cutting, chopping and harvesting grain, grass and soybeans.

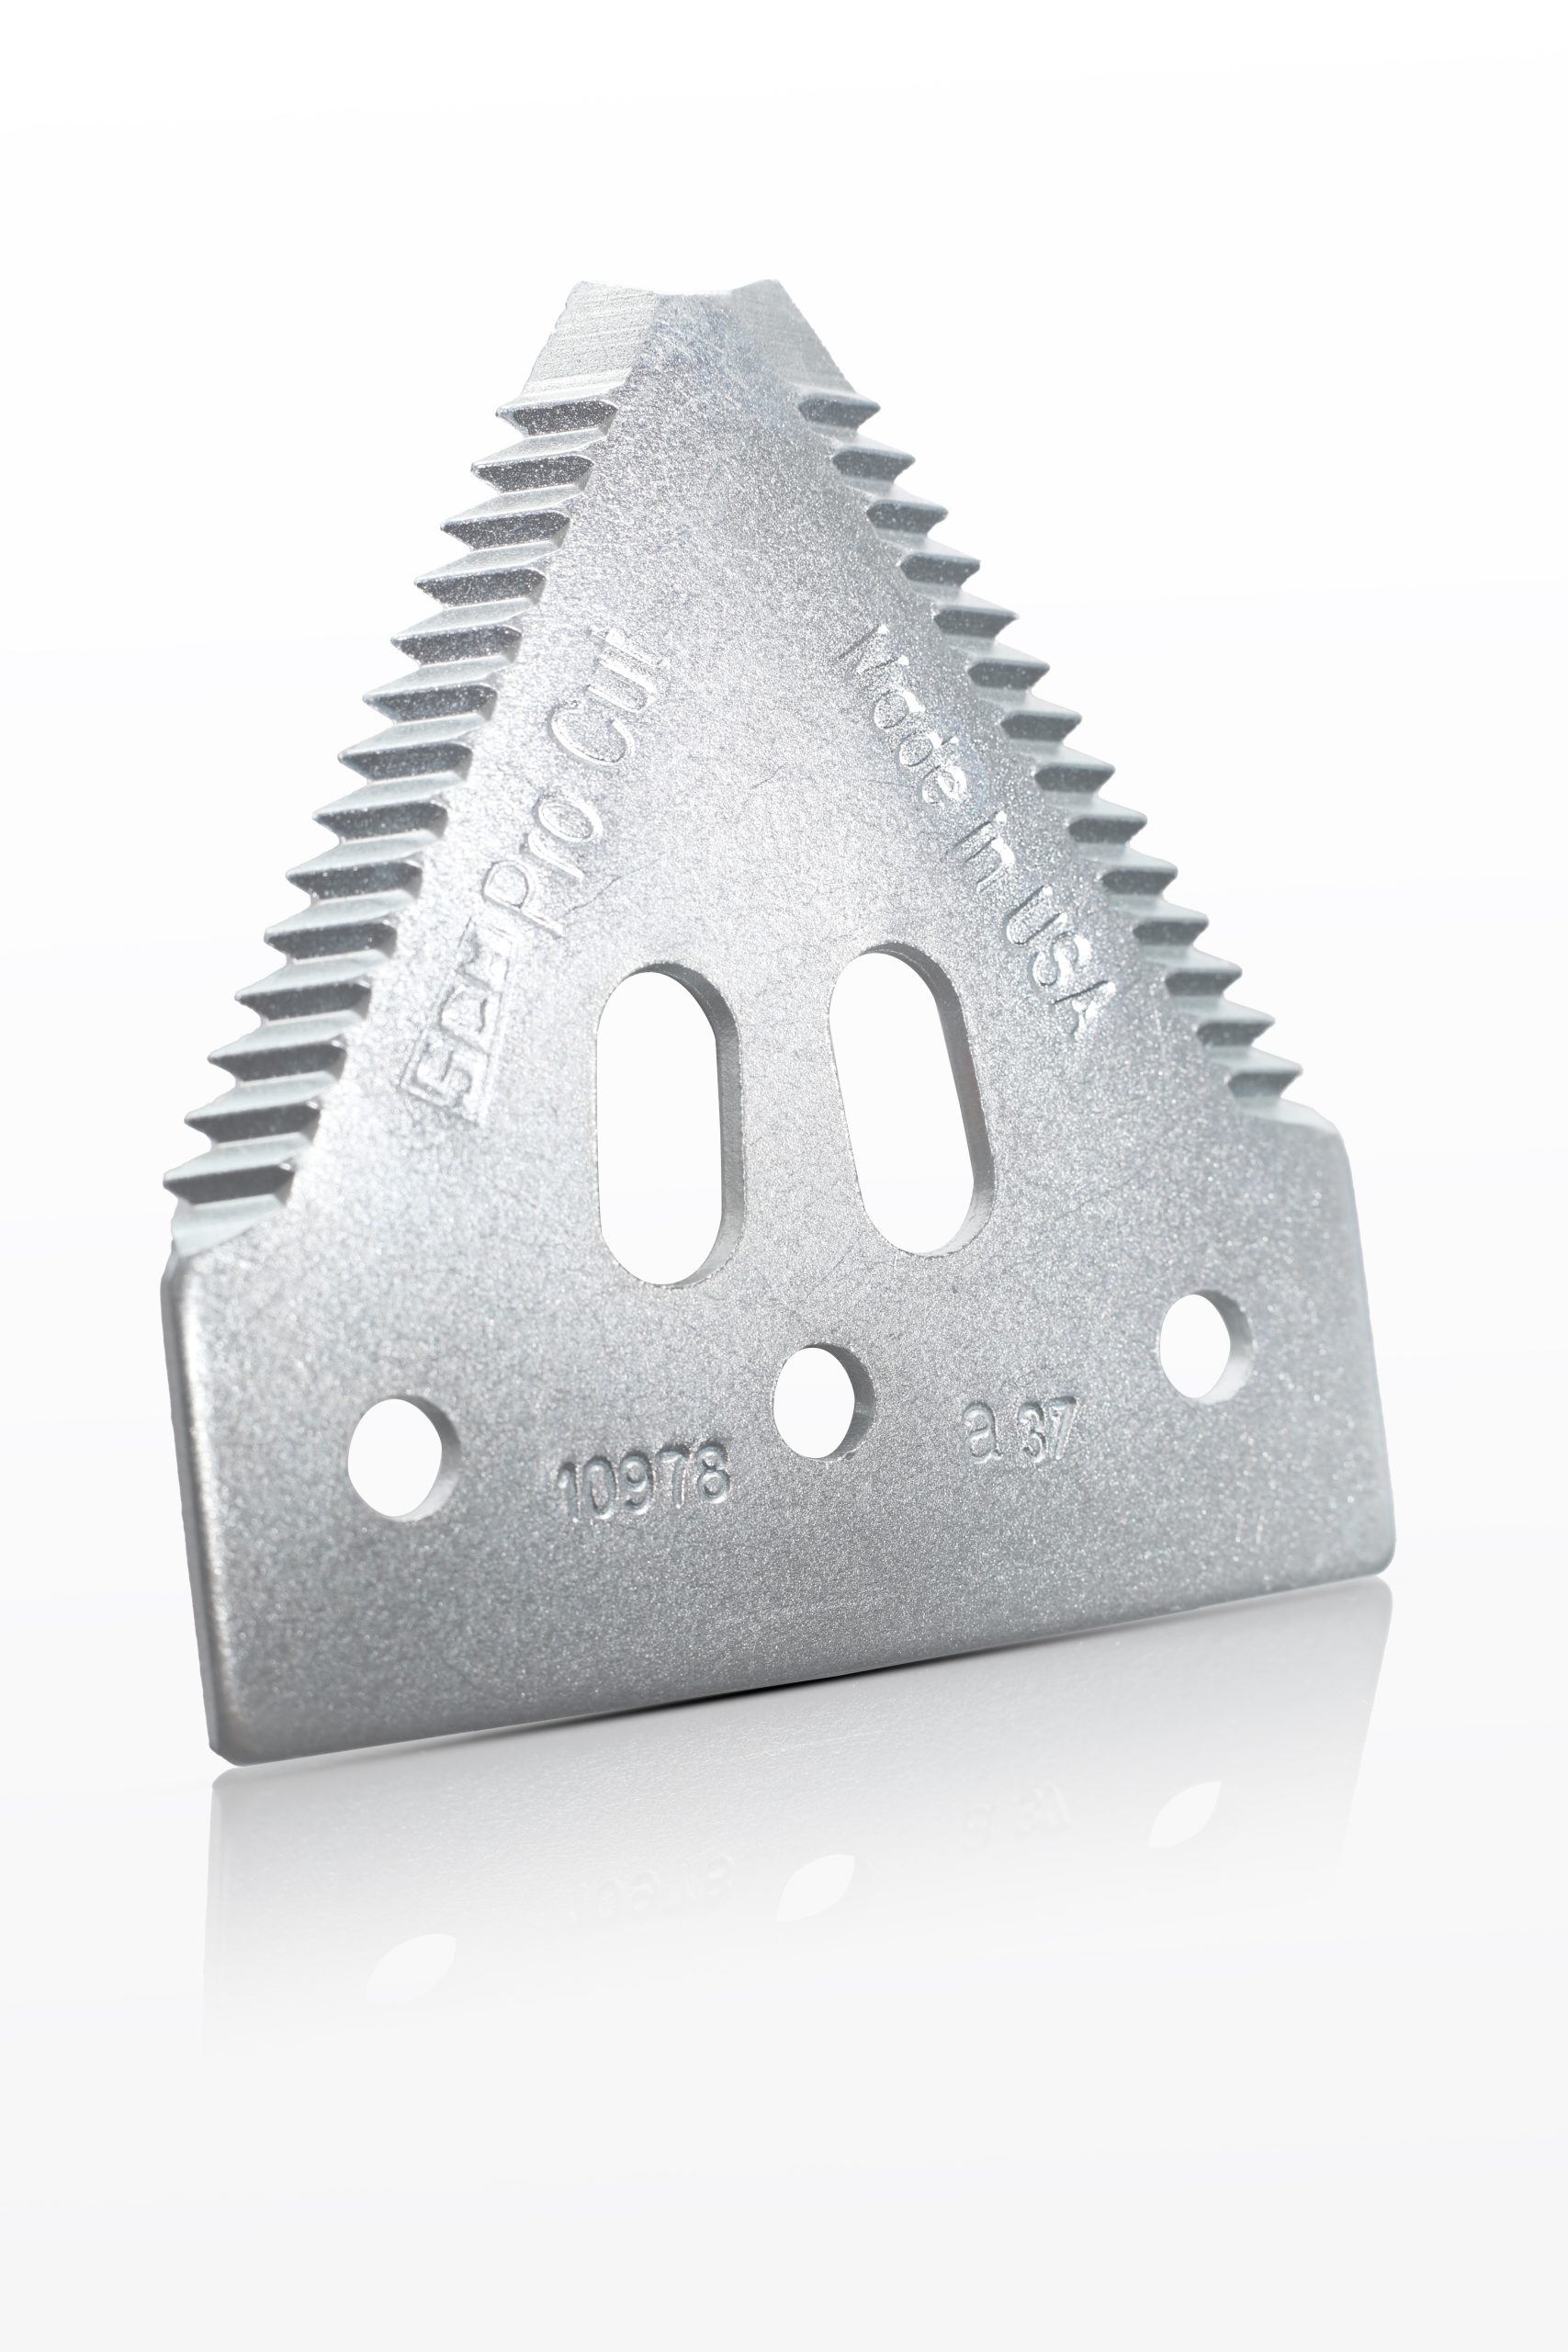
Exposed to enormous stress and strain, parts such as knifeheads, knife sections, mower blades, rakes and guards need regular replacement and Radura® offers high-quality, perfect-fit parts every time. We’re offering a wide range of options to fit all common machinery brands, with hardened knife sections, precision engineering and superior wear resistance as standard.

Radura® key benefits:

  • Bolted elements for easy replacement
  • Easy exchange of sections and knife sections
  • Convenient shipping in compact boxes
  • Maximum resistance to breakage & wear
  • Multiple options for various crops
  • Multiple attachment options

What other harvest parts will you be stocking?

In addition to the Group Schumacher range of harvest parts, we’re proud to announce that we will also be supplying a wide range of aftermarket harvest parts under the Wearparts brand.

This includes a huge array of one-piece and sectional sickles, ranging in size up to 40ft, plus sectional knifeheads and a wide range of other premium quality components to fit all common harvesters, including Case, Ford, Hesston, John Deere, MacDon, New Holland and more.

You can now browse our Harvest Catalog online here, or click here to find your nearest Wearparts dealer. Alternatively, contact our sales team for further information about our harvest parts range.

Attack of the zombie weeds: How herbicide resistance is threatening US crops (and what farmers can do about it)

Farmers in the US have been using herbicides to control weeds for generations, with their availability and use becoming widespread in the 1960s.

But what was once hailed as a miracle solution to invasive weeds is now being flagged as a significant threat to food security as new strains of herbicide-resistant weeds spread across the country, squeezing out crops.

But how does herbicide resistance develop? How widespread is the problem – and what can farmers do to overcome it? Let’s explore the situation in more detail.

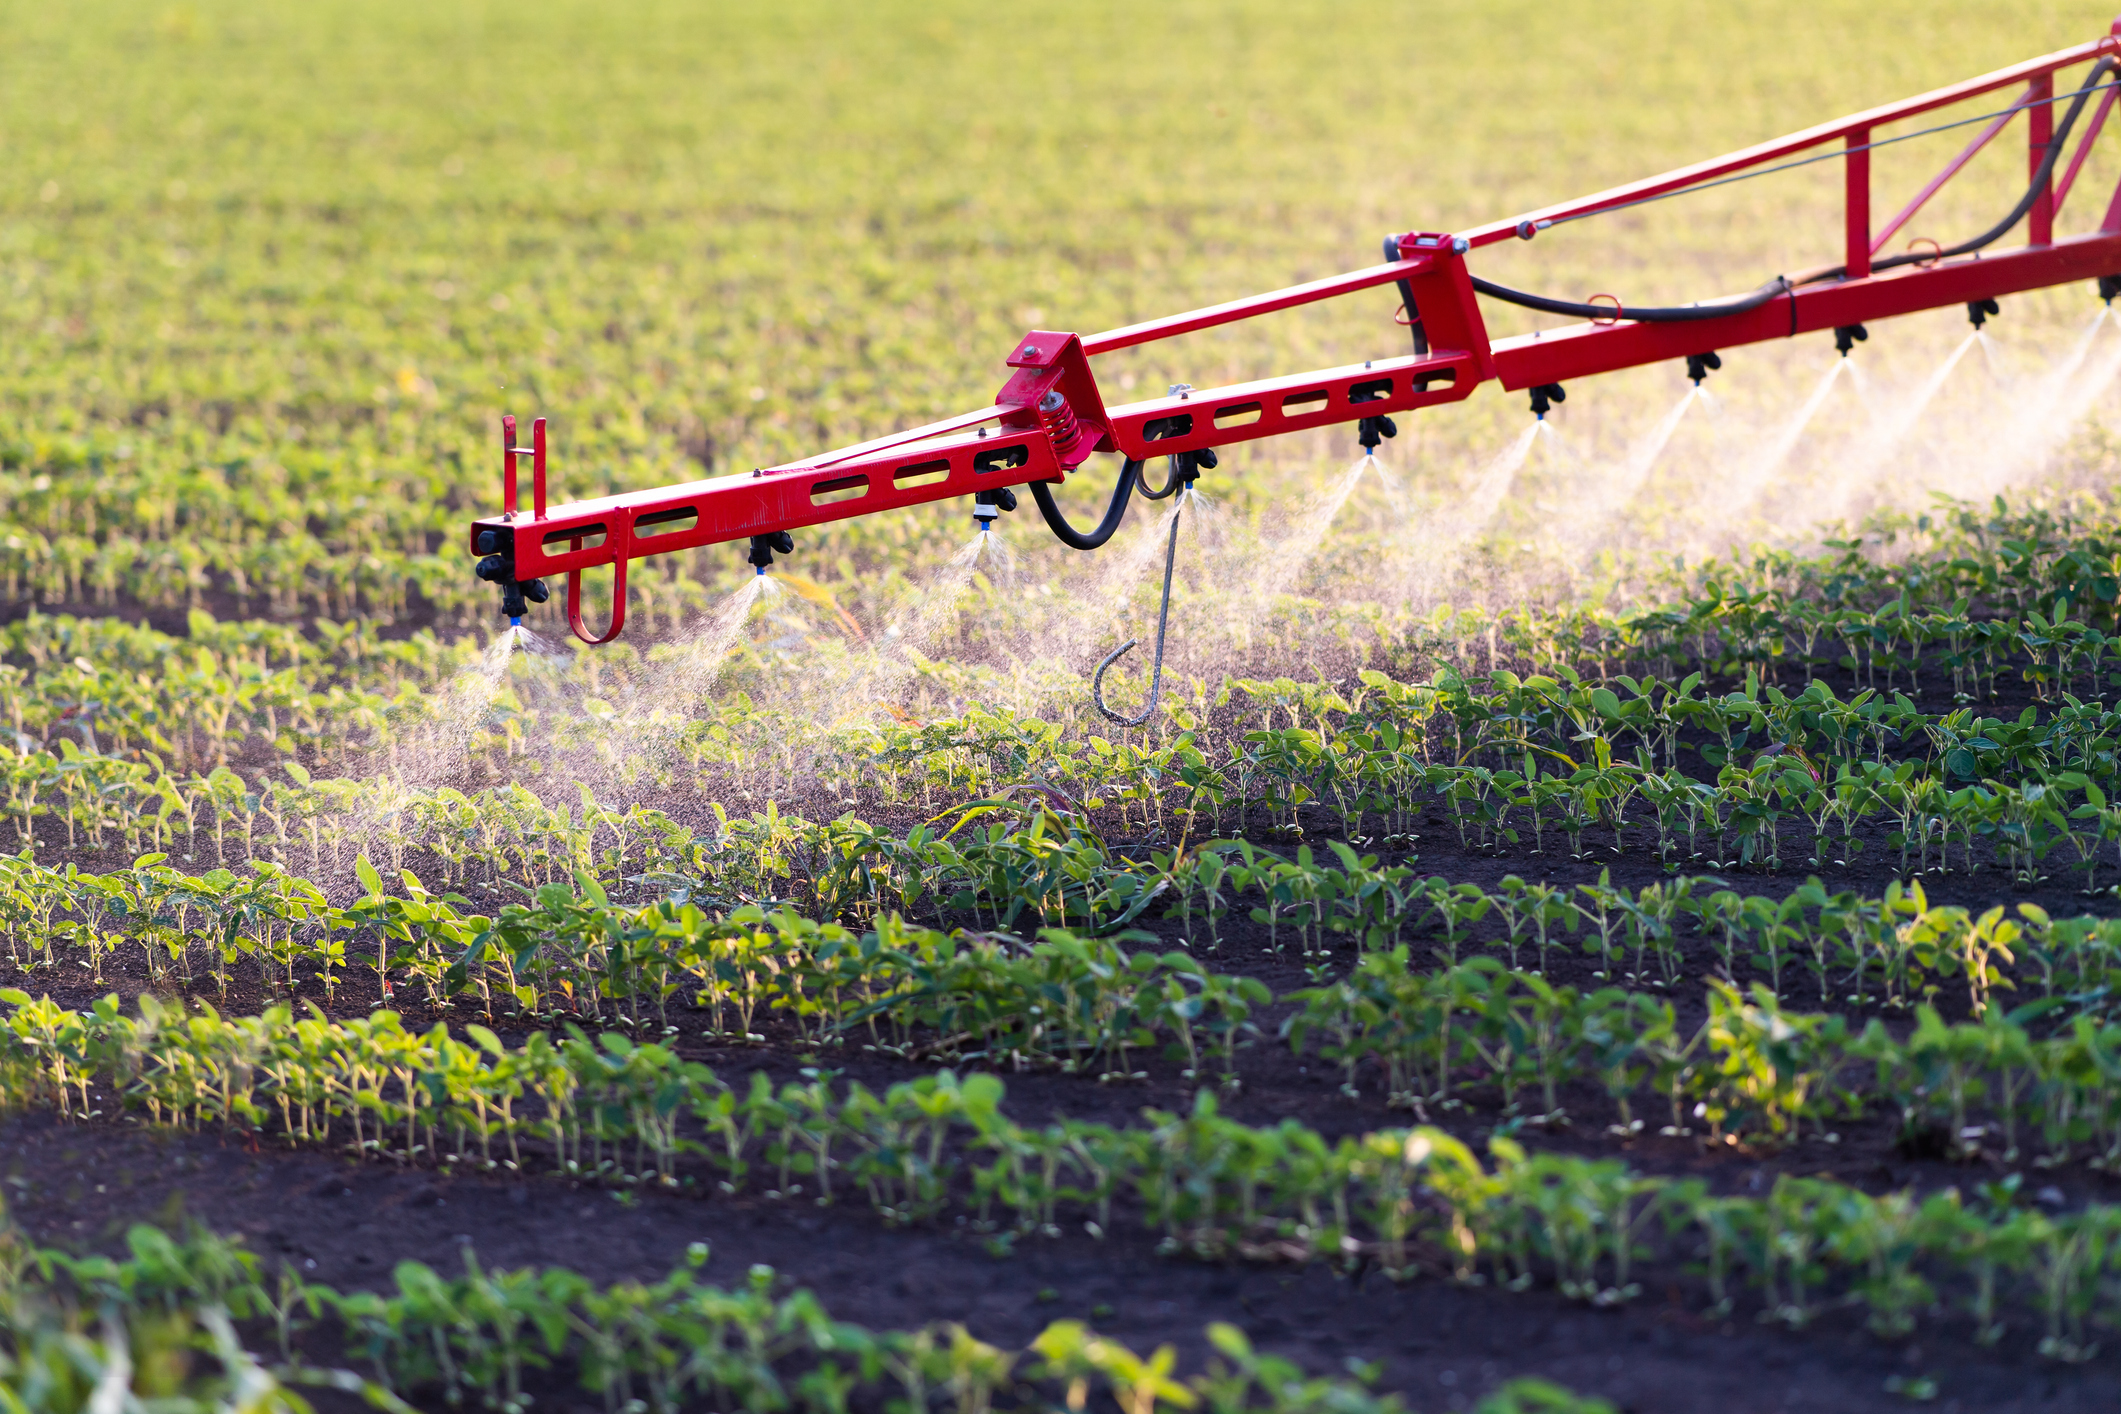
Spraying crops with herbicide

How does herbicide resistance occur?

Herbicide resistance is the inherited ability of a plant to survive and reproduce following a dose of herbicide that would normally be lethal to that plant. It’s linked to the repetitive use of the same herbicides. In every weed population, there will be a very small number of individual plants that look the same as all their counterparts, but have very slight genetic differences that enable them to survive herbicide application and go on to self-seed. At first, it might just look like a few plants or a small patch got ‘missed’. But over time, when the same herbicide is used every year, the offspring of these plants eventually become the dominant weed species, with the majority of plants now able to withstand the herbicide.

How bad is herbicide resistance in the US?

The top four most popular agricultural herbicides used in the US are glyphosate (Roundup), Atrazine, 2,4-D and Dicamba, with glyphosate being the longest in use and also the most widely used, while current generation Dicamba is the newest, having been approved for use over GMO dicamba-resistant crops in 2016.

Research from the International Survey of Herbicide Resistant Weeds, which collects data from more than 80 countries worldwide, shows that glyphosate is losing effectiveness against 361 weed species, 180 of them prevalent in the US. Some 21 species already show resistance to Dicamba.

It’s estimated that some 60 million acres of US farmland are already infested with herbicide-resistant weed species – nearly half of all farms – and this number is growing every year. “We’re in for big problems over the next 10 years for sure,” Ian Heap, director of the International Survey of Herbicide Resistant Weeds, told news agency Reuters in 2023. “We are in for a real shake-up.”

ploughing crops

Which herbicide-resistant weeds present the biggest threat?

Problematic weed species include pigweed and waterhemp species (amaranths) as well as kochia, ragweed, horsetail, foxtail and ryegrass.

Herbicide-resistant pigweed and kochia are arguably some of the most troublesome species, particularly pigweed, which can re-root itself after being pulled up and can grow up to three inches per day. Palmer amaranth is known to be resistant to six different types of herbicide and can suppress soybean yields by nearly 80 percent – corn yields by 90 percent.

Kochia exhibits rapid growth in late summer, reaching up to 6ft tall and producing up to 30,000 seeds per plant. It can reduce crop yields by up to 70% according to Take Action, a farmer resource program of the United Soybean Board.

ploughing crops

What can farmers do to tackle herbicide resistance?

Experts in agriculture tell us that herbicide resistance isn’t going away, with some predicting that problematic species could become completely resistant within a decade. Many farmers live in hope that a new ‘miracle’ herbicide will come along in the same way that glyphosate did in the 1960s.

But it’s clear that weeds are evolving faster than man can produce new weedkillers. Roundup’s manufacturer spent 10 years bringing a new generation of genetically modified seeds, bred to resist both glyphosate and dicamba, to the marketplace. It took the weeds just 5 years to catch up – by 2020, scientists had confirmed the existence of dicamba-resistant pigweed.

Advice from the experts is that integrated weed management – a combination of chemical and mechanical methods – is key to slowing the proliferation of herbicide-resistant weeds because even so-called ‘zombie weeds’ can’t survive being mechanically chopped down, which means they can’t pass their herbicide-resistant genes on to future generations.

Six tips for integrated weed management:

  1. Rotate herbicides
    Avoid making more than two consecutive applications of the same herbicide (or different brands with the same mode of action) in the same field.
  2. Use tank mixtures
    Certain herbicides can be mixed together in the same tank and applied simultaneously for greater weed-killing effect. You should aim to use herbicides with differing effective modes of action (for example, some herbicides are root growth inhibitors while others stop the plant from photosynthesizing) and ALWAYS follow the manufacturer’s directions for safe usage.
  3. Rotate crops
    Diversity is key to the prevention of herbicide resistant weeds – and weeds in general. When you switch up the crop, you switch up the environment – the amount of light and moisture, the types of pests, the soil nutrients – which means the weeds are constantly having to adapt. This prevents one weed species from becoming dominant.
  4. Scout your fields
    Be vigilant for weed escapes that can mark the start of a resistance problem on your farm. What looks like a ‘missed patch’ is often a canary in the coal mine. Take steps to identify and eliminate any significant weed stands before they become a larger problem – which can happen from one year to the next.
  5. Reduce residual times
    Use herbicides with short soil residual times—herbicides with long soil residual times generally favor herbicide resistance. This is because long residual times keep susceptible plant species suppressed for longer – so resistant variants have even less competition to keep them in check.
  6. Practice good biosecurity
    Clean your equipment before moving to a different field to prevent the spread of resistant biotypes and save work in fields with suspected herbicide resistance for last.

Premium weed management tools

At Wearparts, we supply an extensive range of premium tillage tools suitable for effective weed management that leaves young crops undisturbed, including cultivator and Fallowmaster-style sweeps, trash management tools and more – check out this blog on mechanical weed management, or contact us for further information.