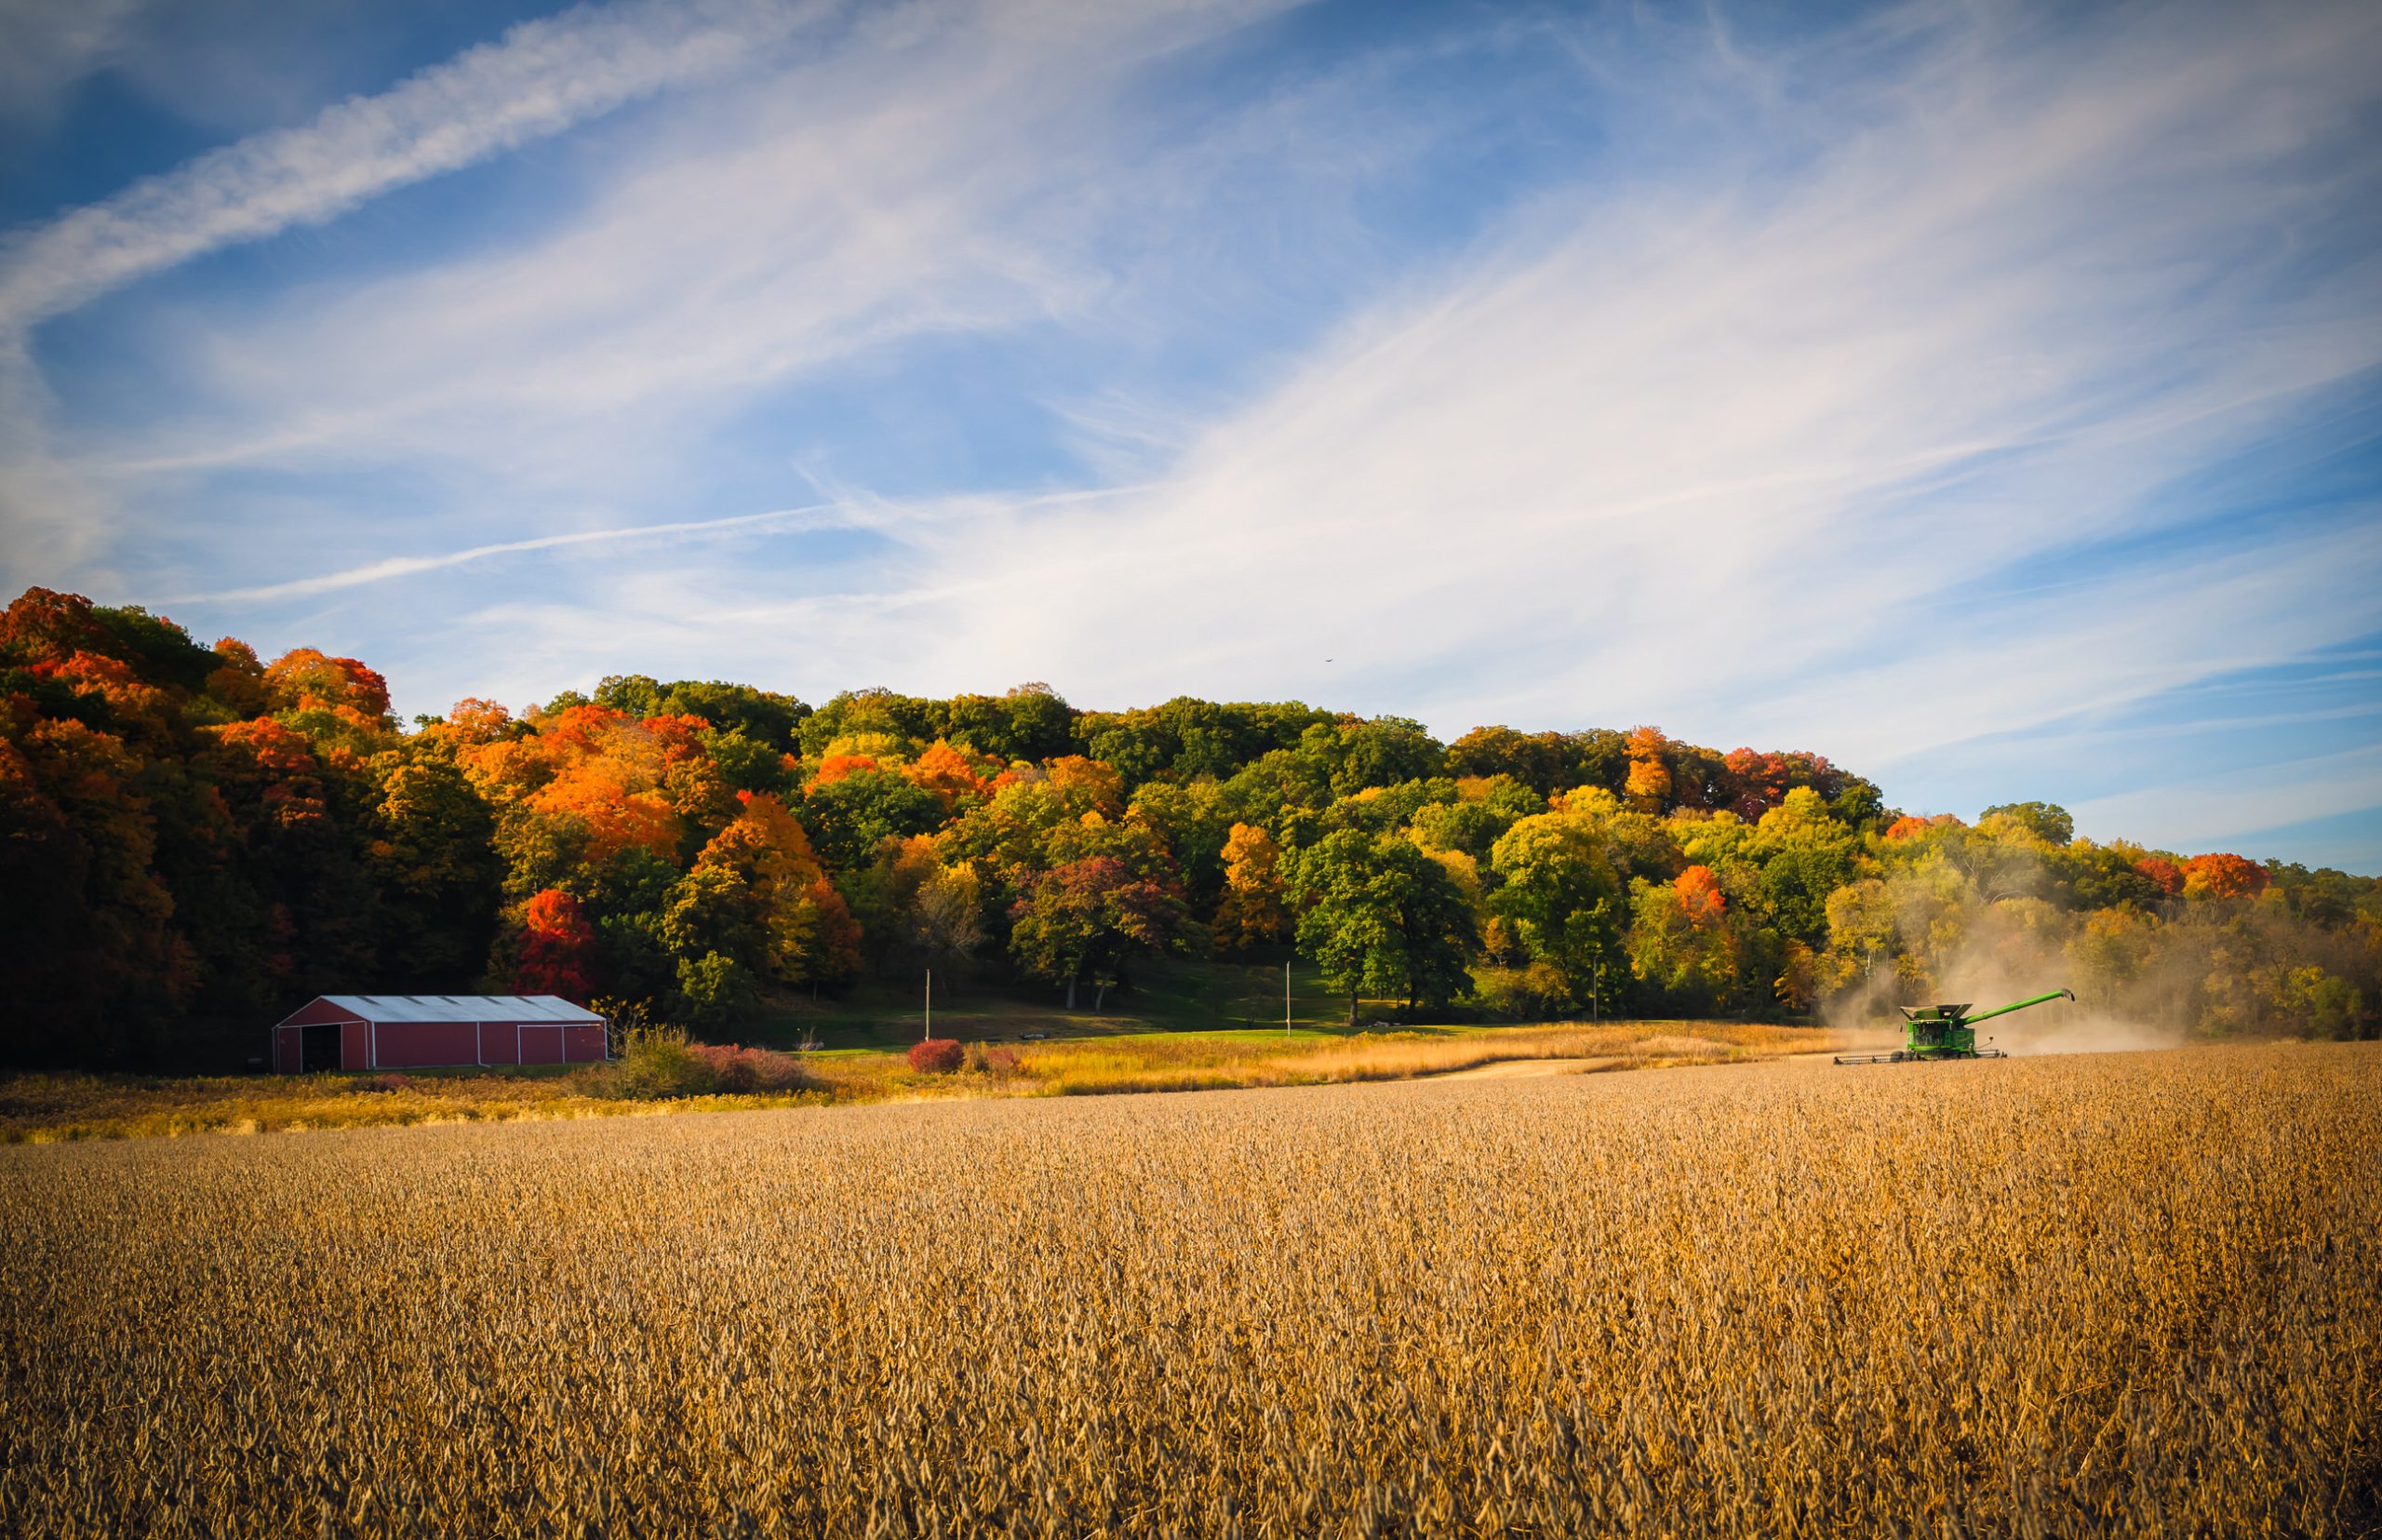
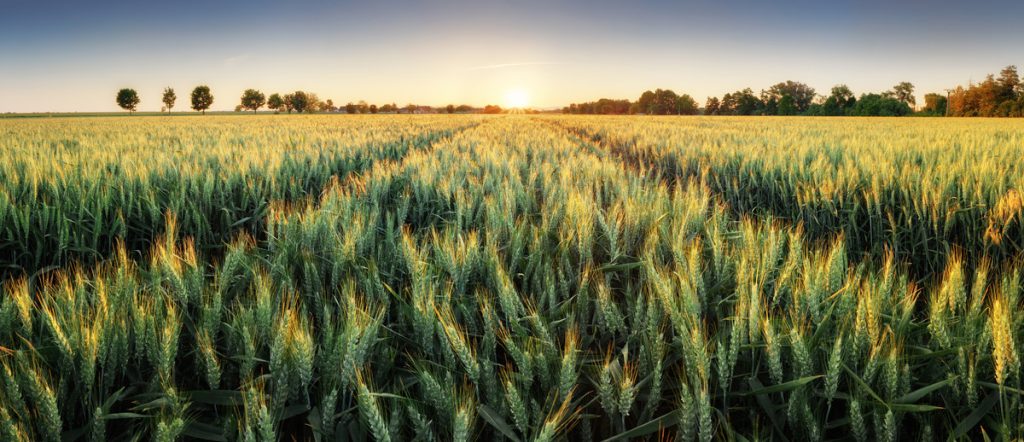
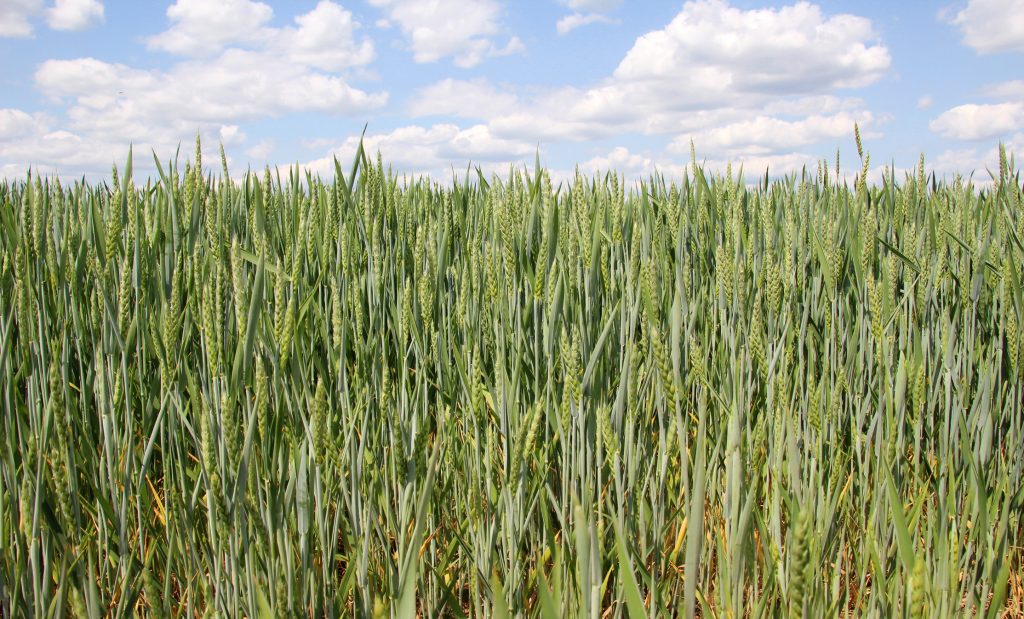
Winter wheat is a crucial crop for many farmers, not only for its profitability but also for the role it plays in crop rotation and maintaining soil health.
But growing a successful winter wheat crop can be challenging, especially in the face of an increasingly unpredictable climate. In order to maximize yields, it’s vital to understand the optimal conditions for growing wheat, but also to have a good grasp of the specific growing conditions on your own farm.
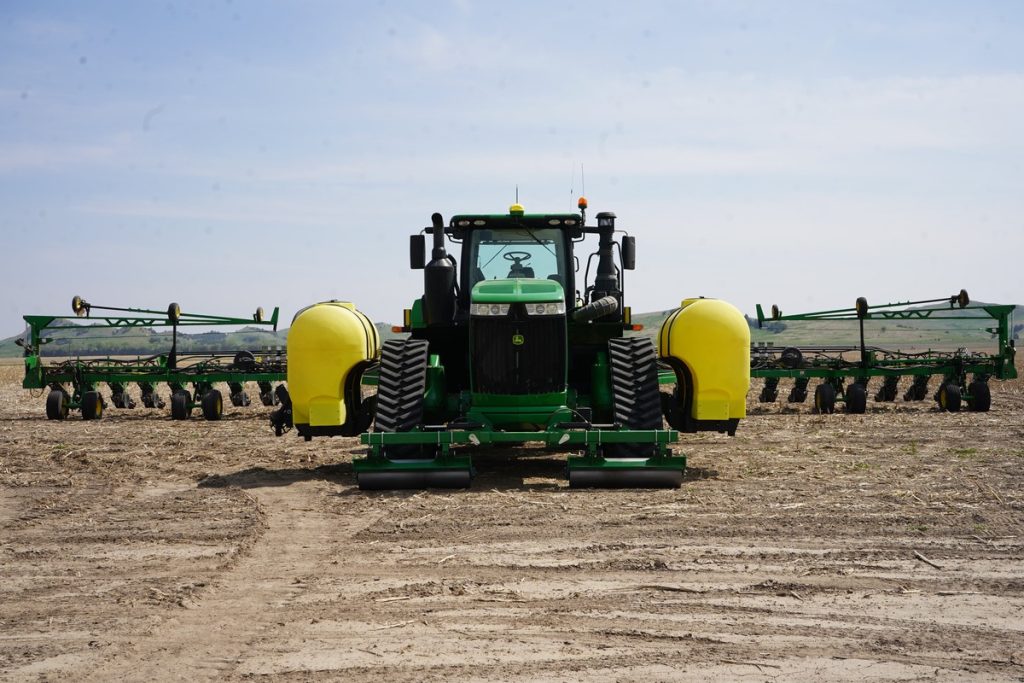
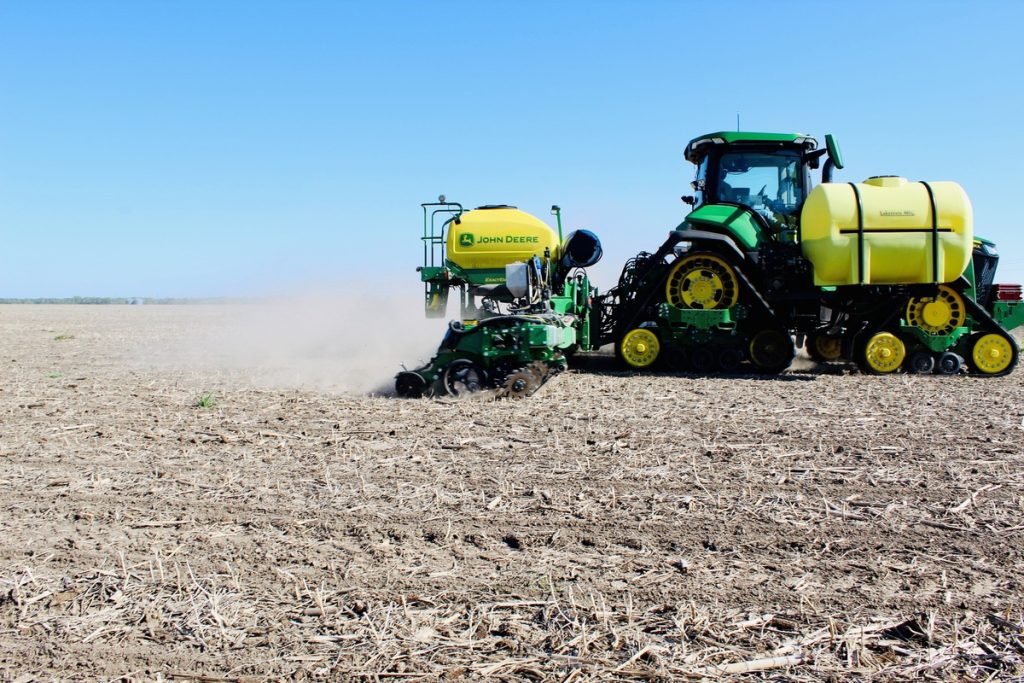
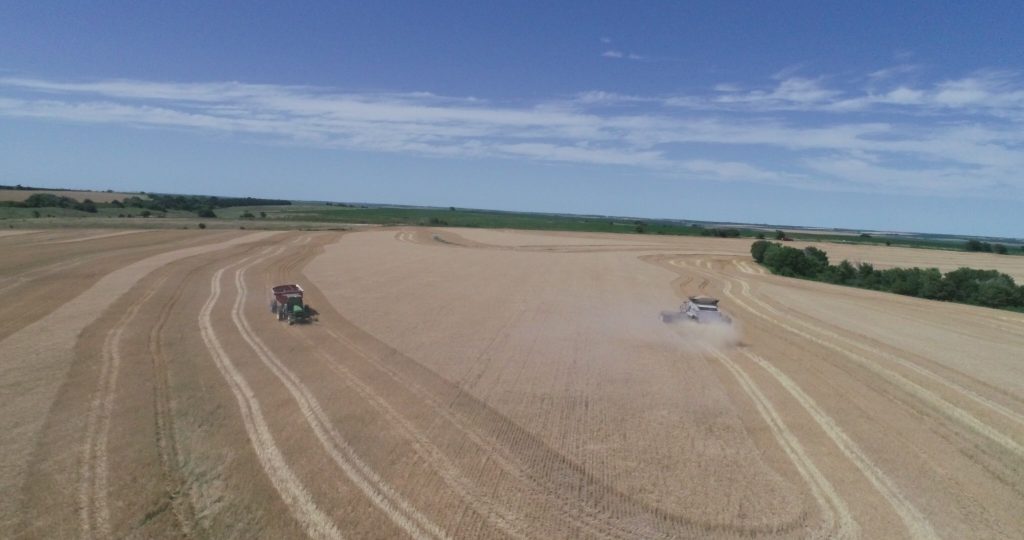
At Wearparts, we’re committed to supporting farmers with durable, high-quality parts for tillage, planting, and harvesting winter wheat crops. Let’s dive into some essential tips for winter wheat success.
First of all, why grow winter wheat?
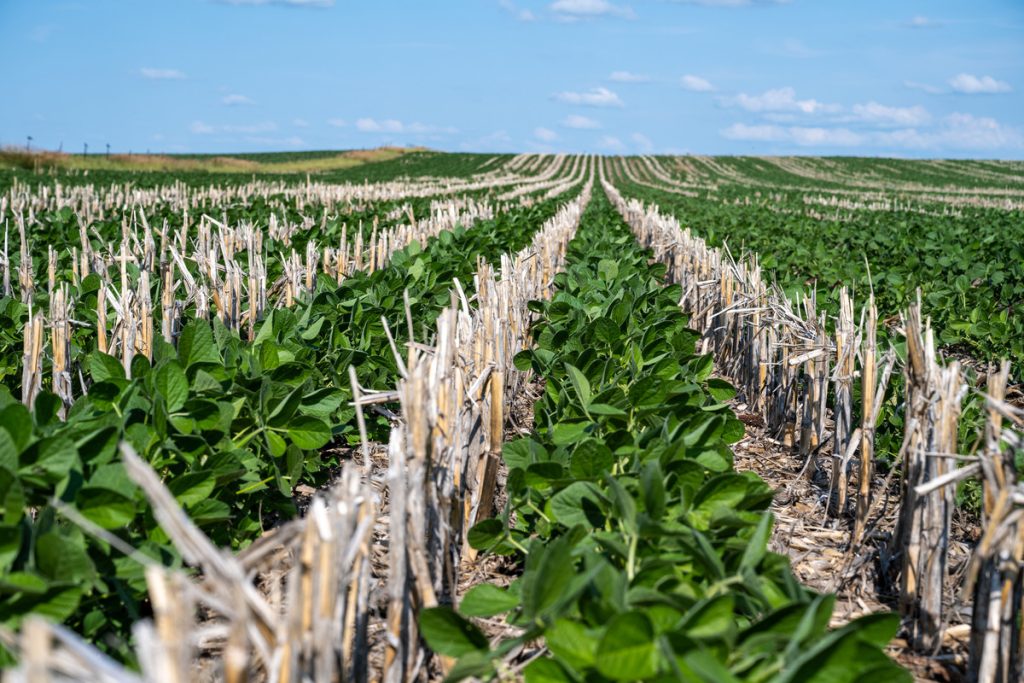
Many farmers grow winter wheat as part of a double-cropping initiative which serves two main functions – firstly, to maximize farm outputs by growing crops all year round, and secondly, for soil conservation reasons – the wheat acting as a cover crop that prevents soil loss in the winter, plus valuable organic matter to feed next year’s main crop while simultaneously reducing dependency on herbicides. Cover cropping alone is shown to increase subsequent crop yields by 2-3%, but research shows that including winter wheat in the crop rotation – even as infrequently as once every four years – could increase subsequent soybean yields by 12%.
There are financial incentives too – in 2022, prompted by grain shortages due to the war in Ukraine, the USDA announced it was expanding the availability of crop insurance into new parts of the country, to cover some potential losses. In all, 1,500 counties where corn and sorghum can be grown after winter wheat is harvested are now eligible for insurance, reducing risk for farmers at a time of increased climate uncertainty.
What are the best soil conditions for winter wheat?
Winter wheat grows best in well-drained, loamy soils with moderate levels of organic matter. Soil pH is also critical, with an ideal range between 5.5 and 7.0.
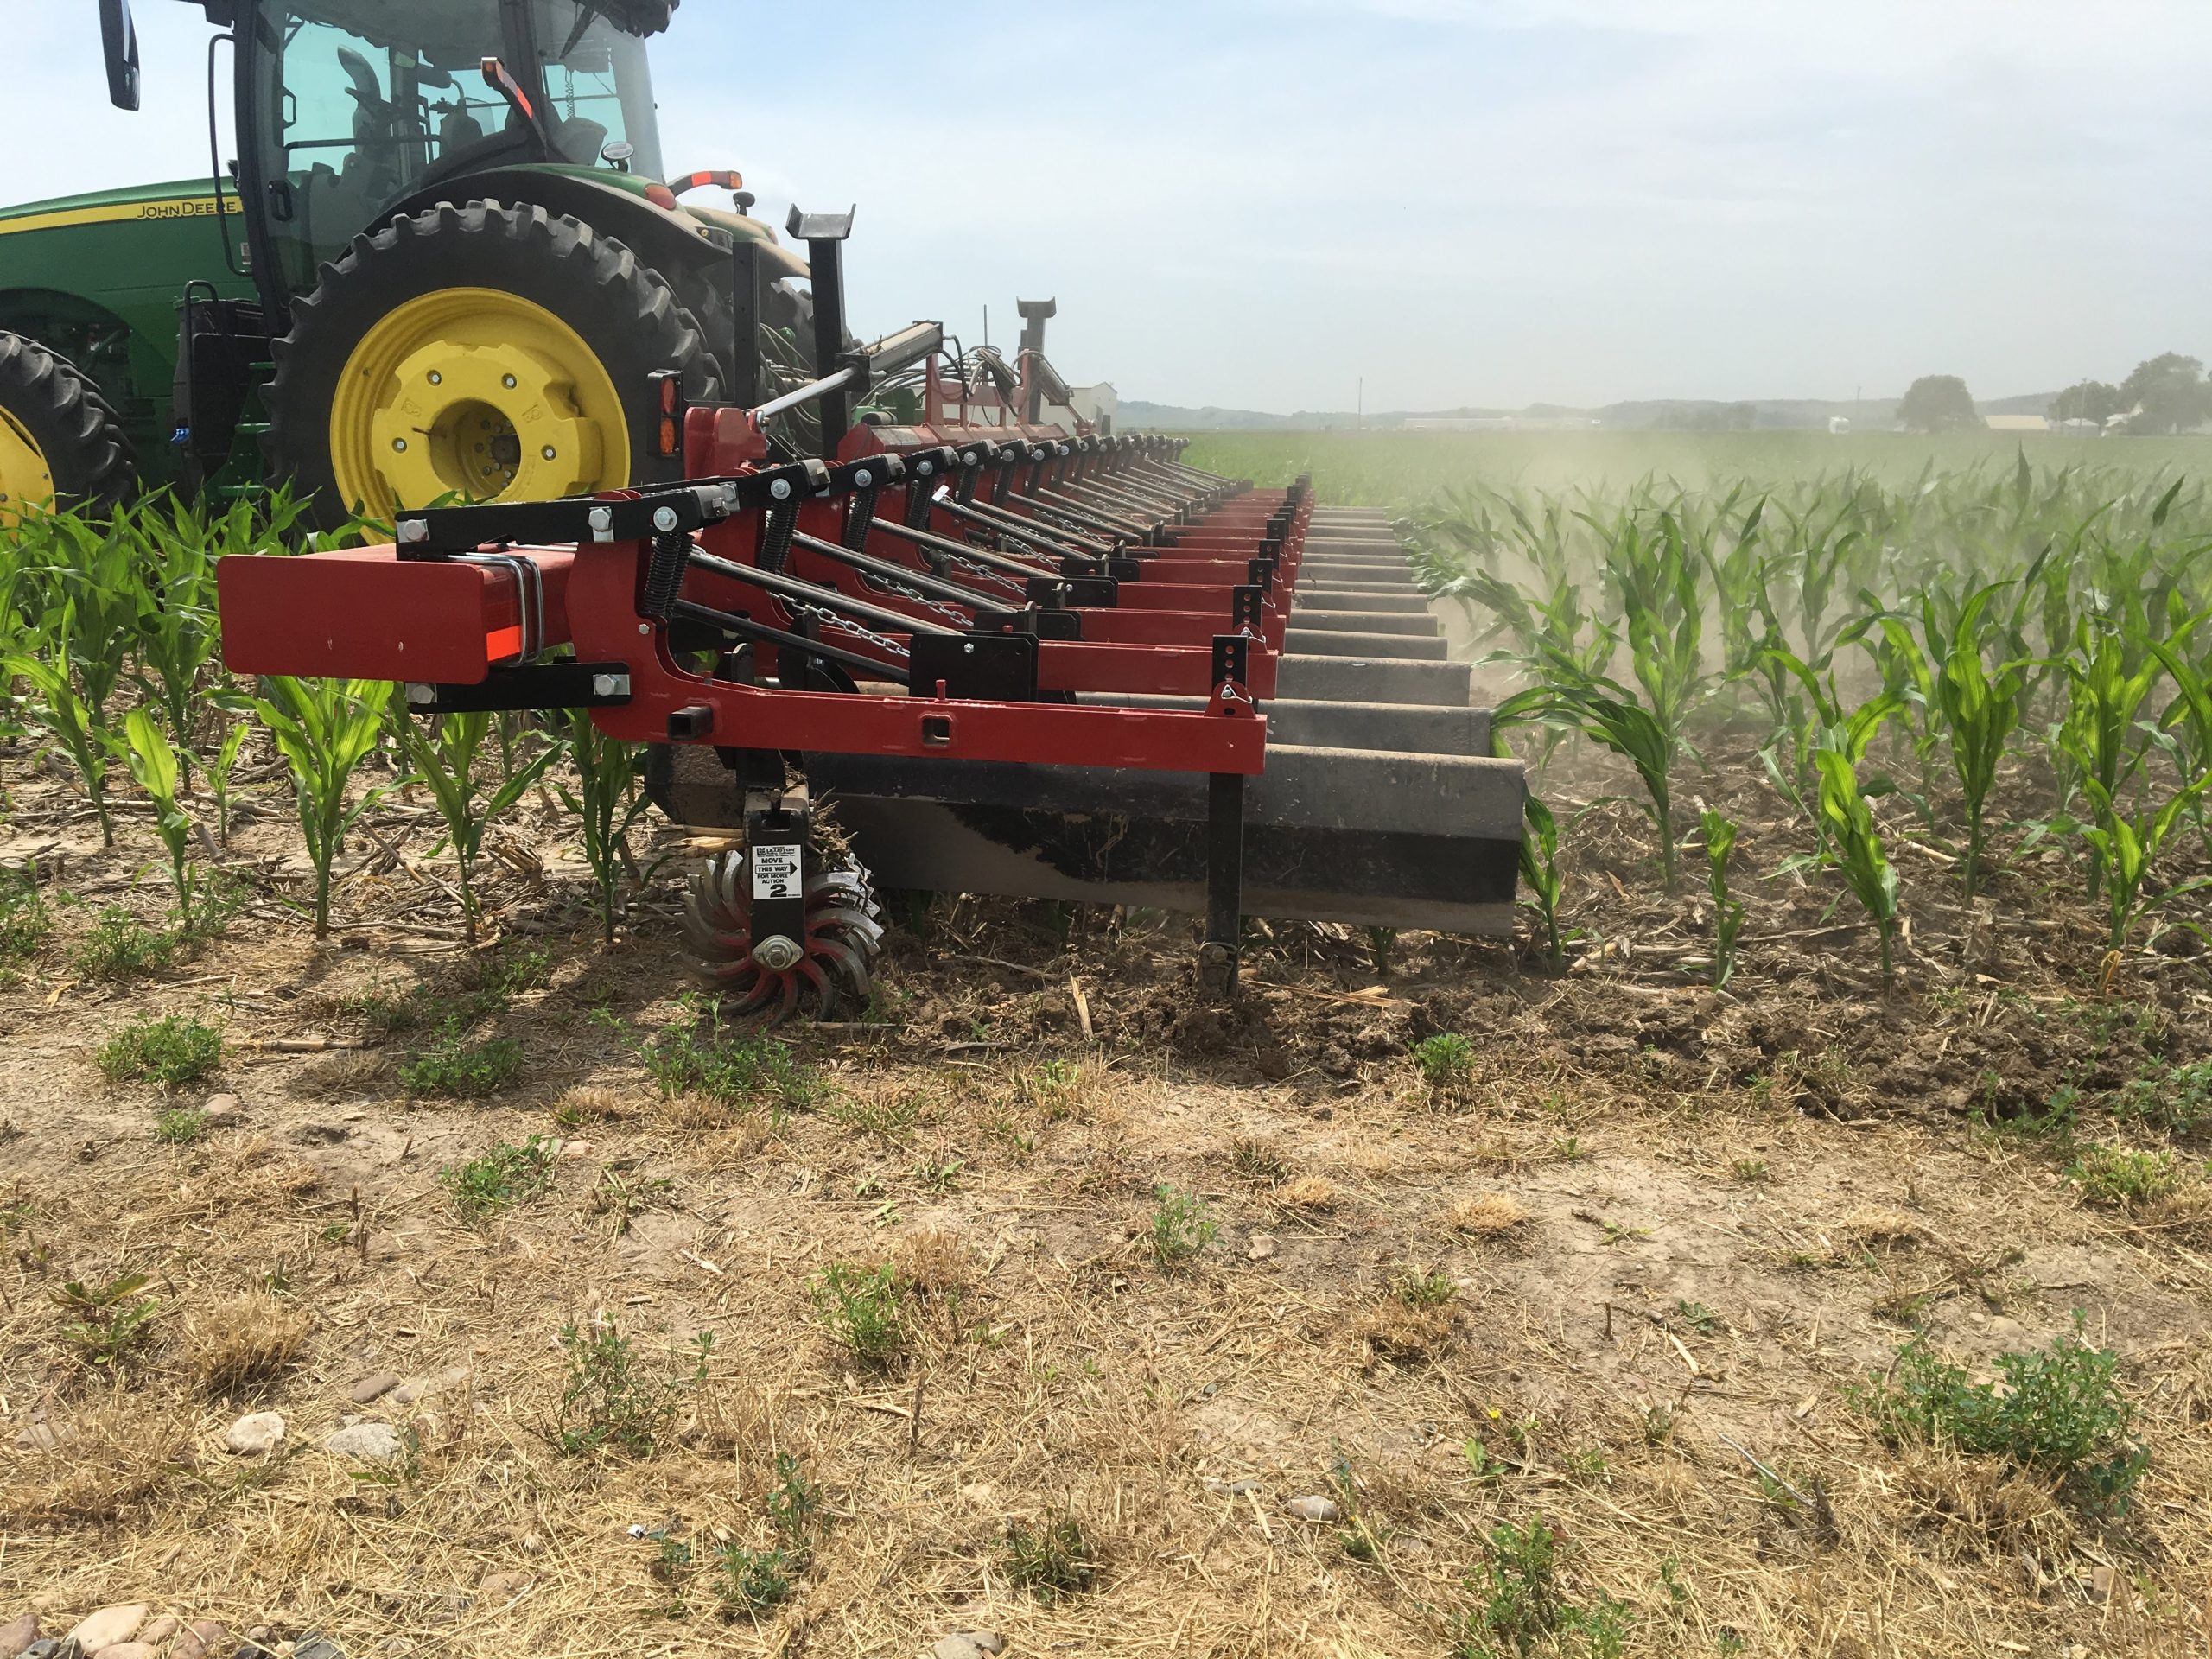
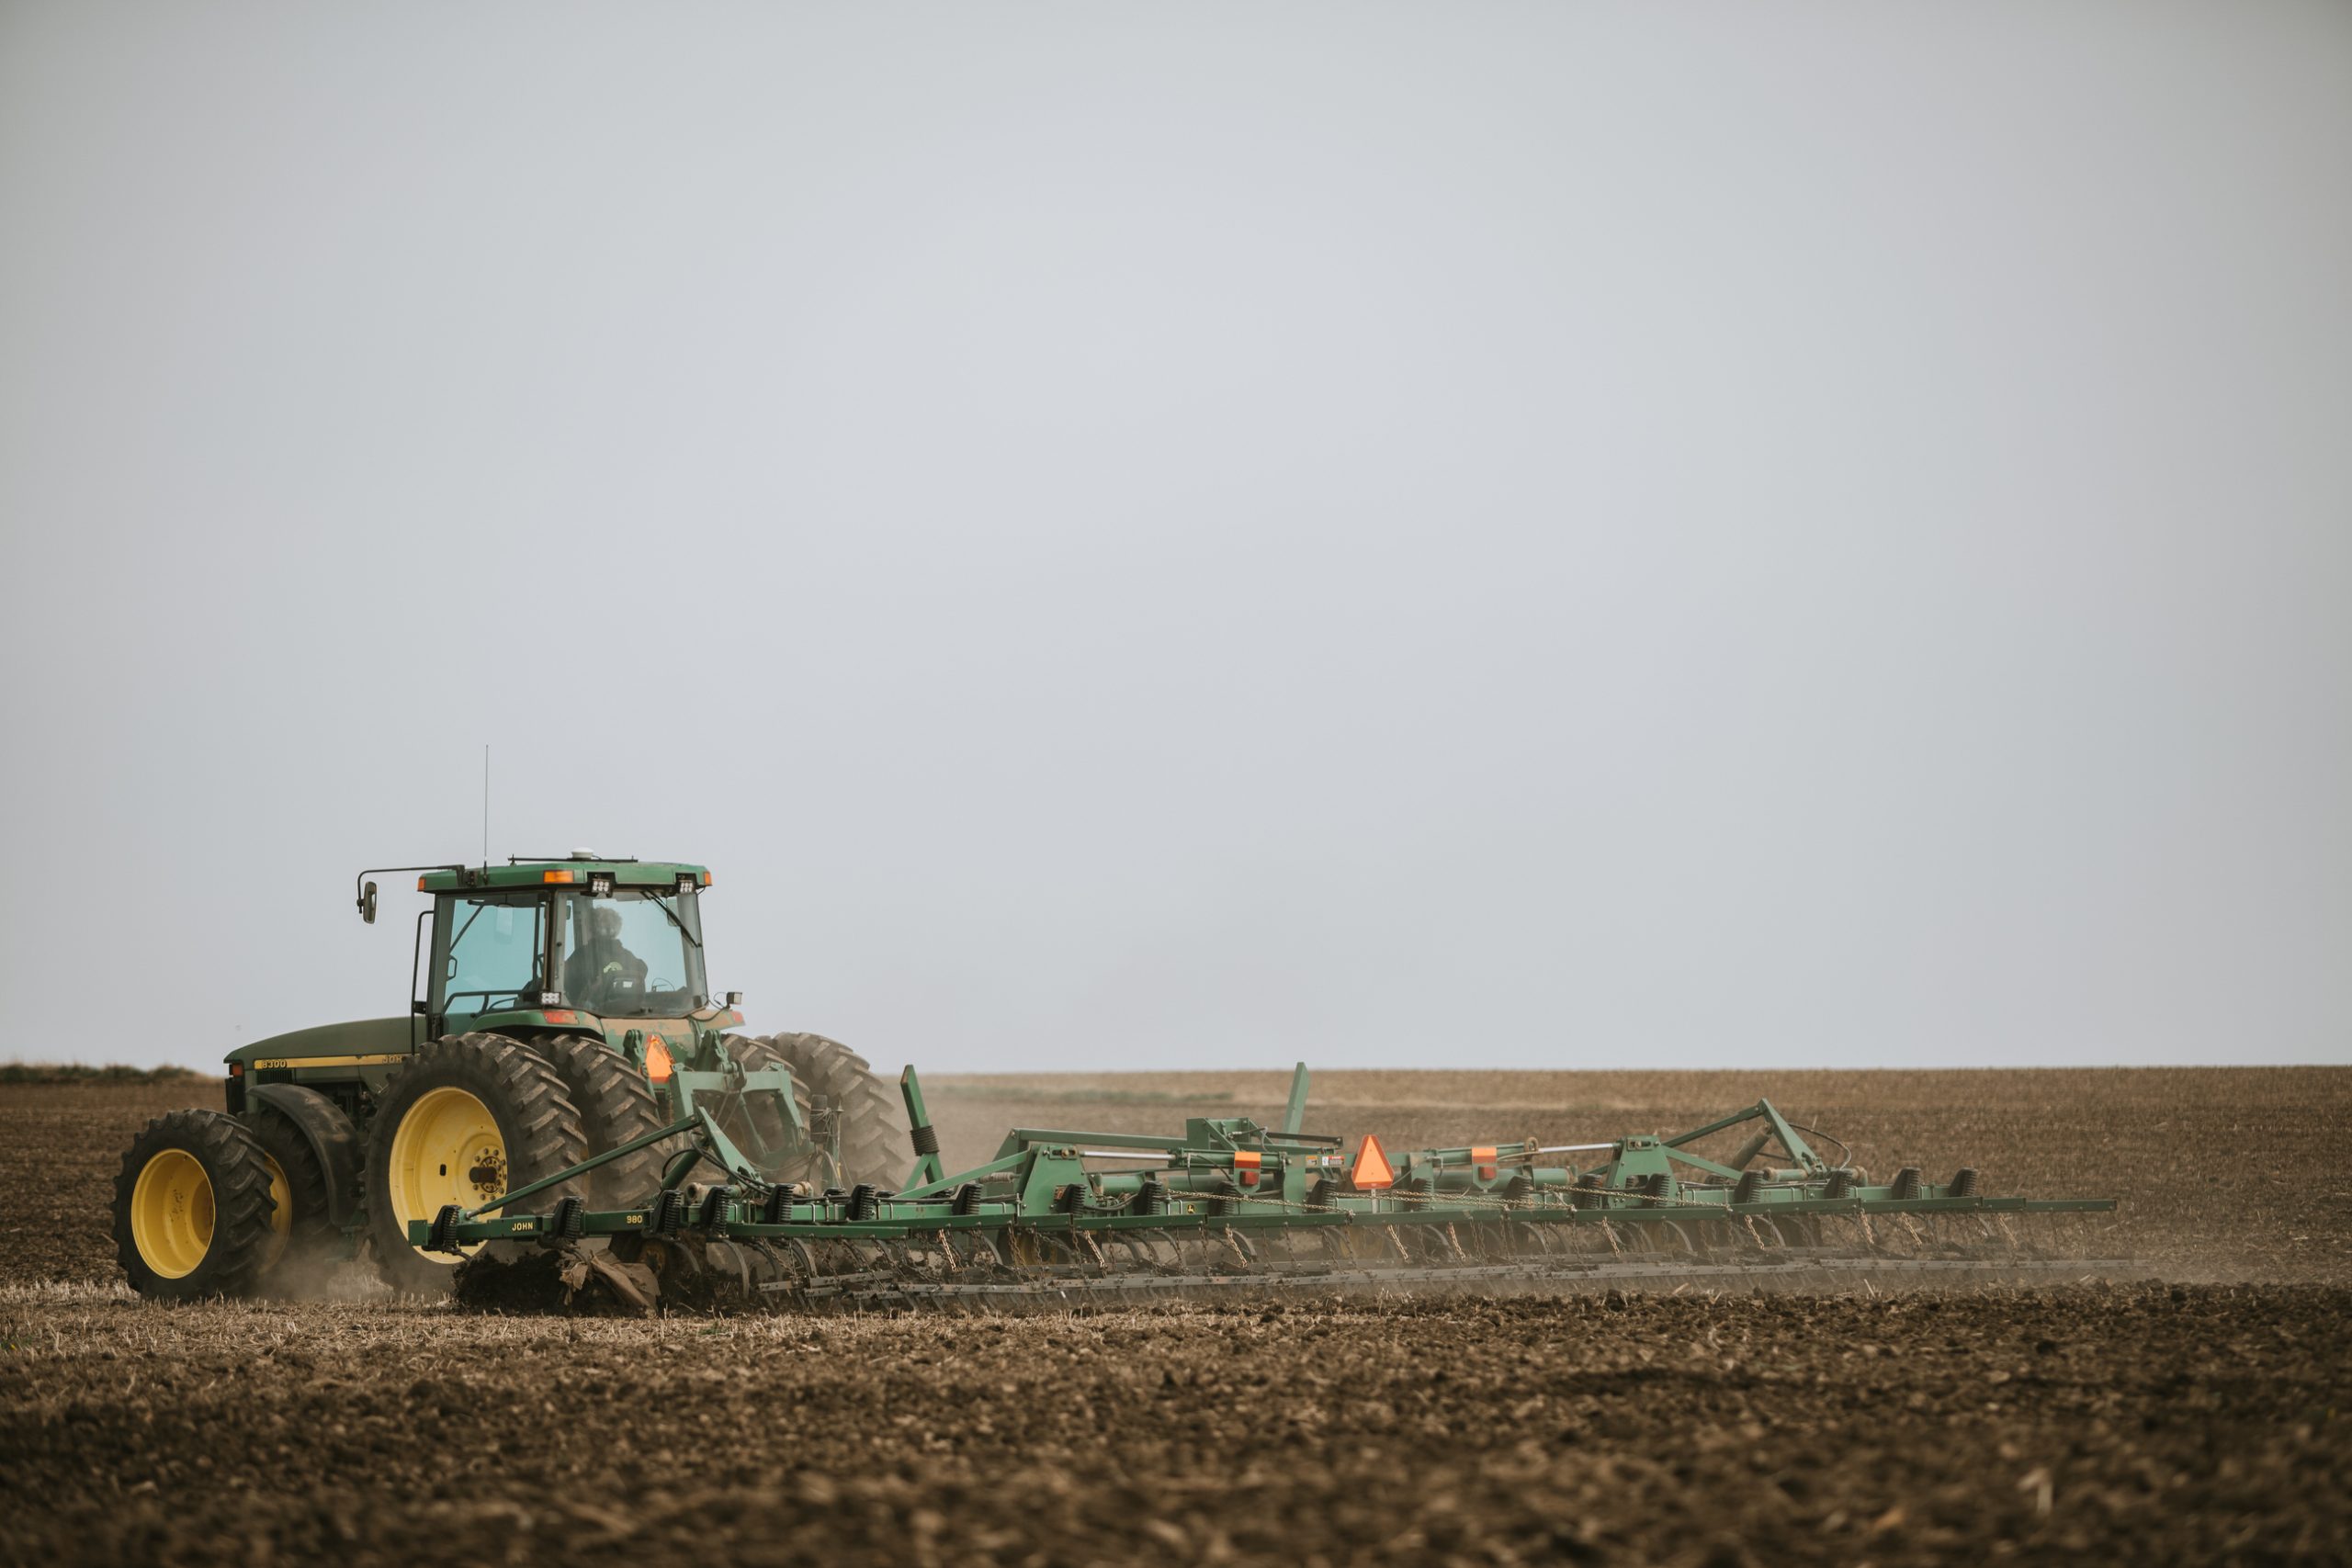
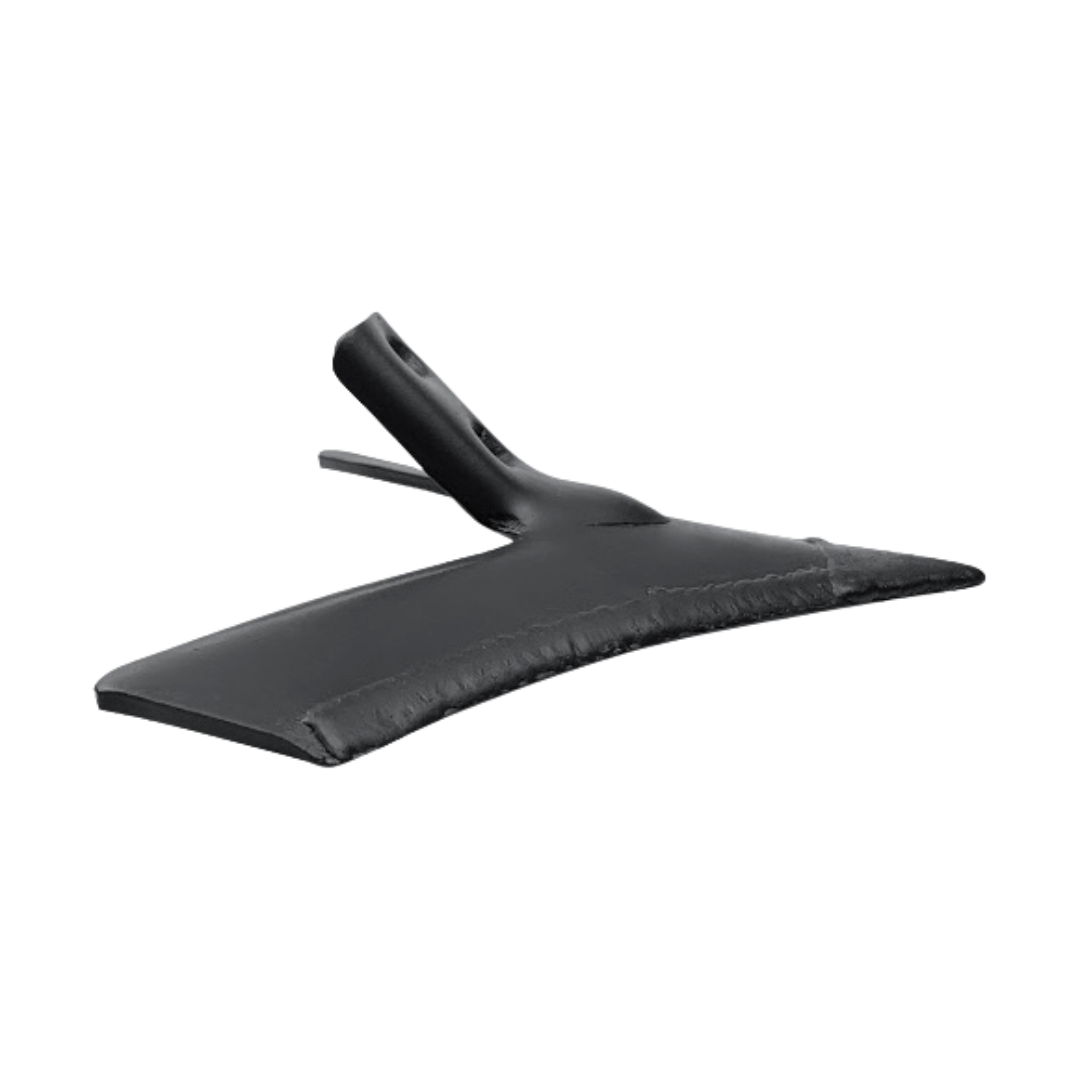
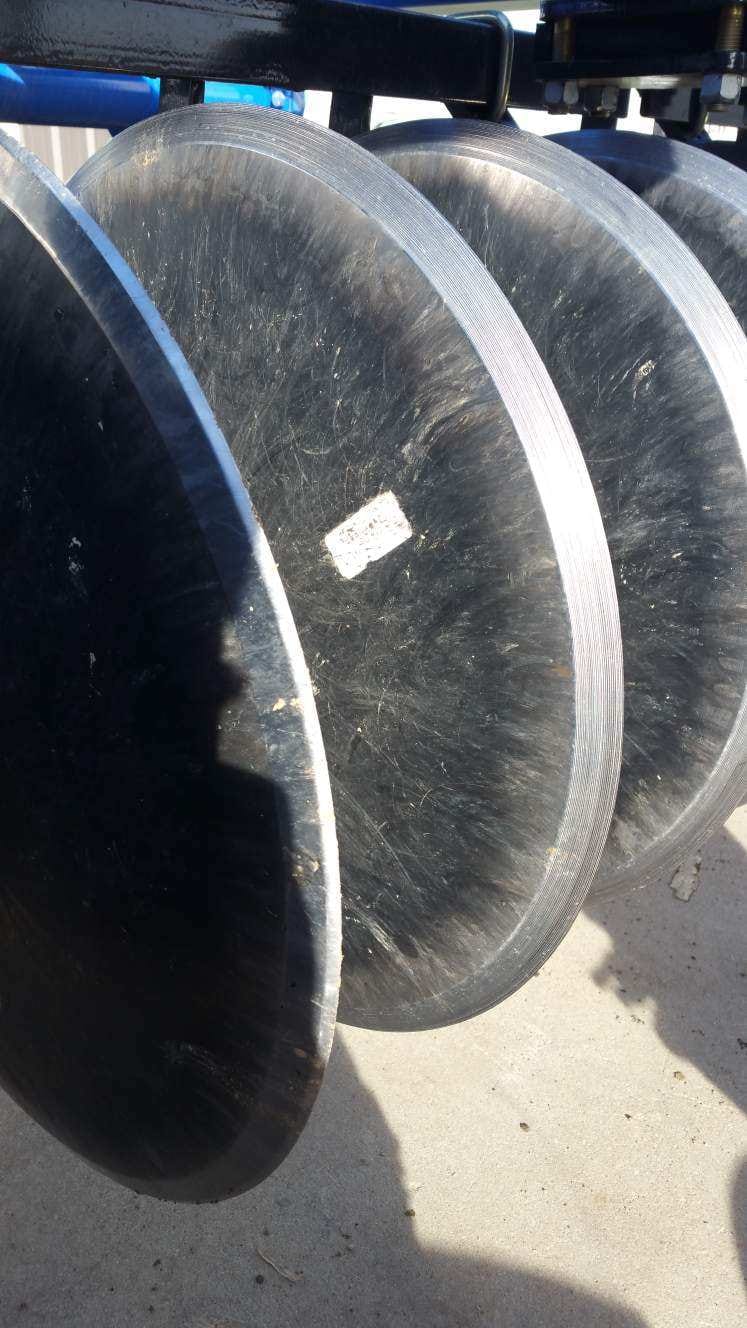
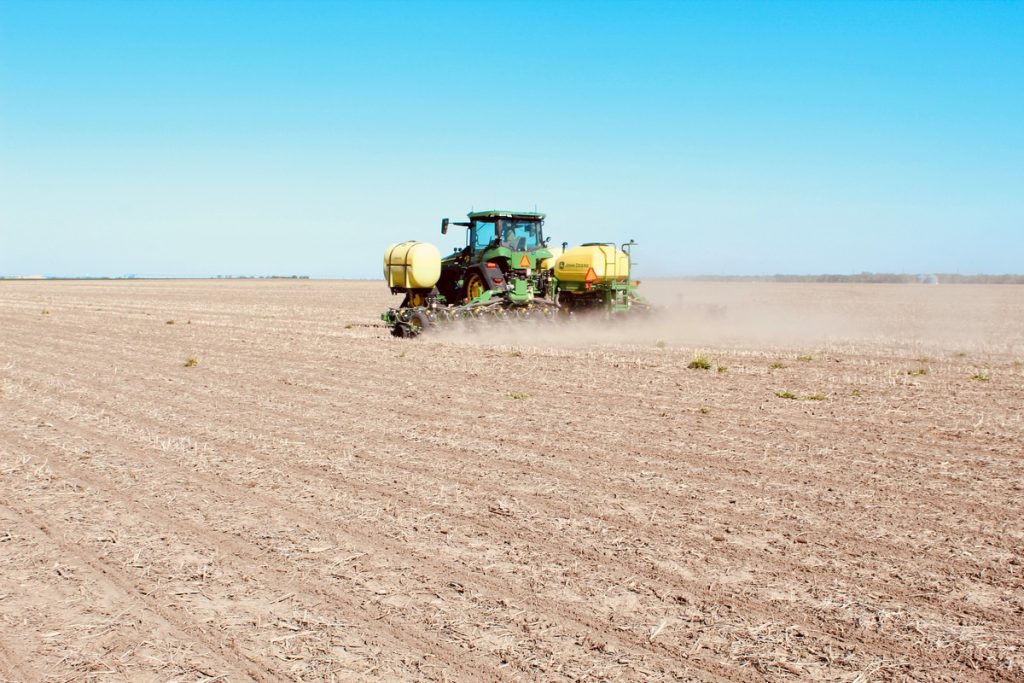
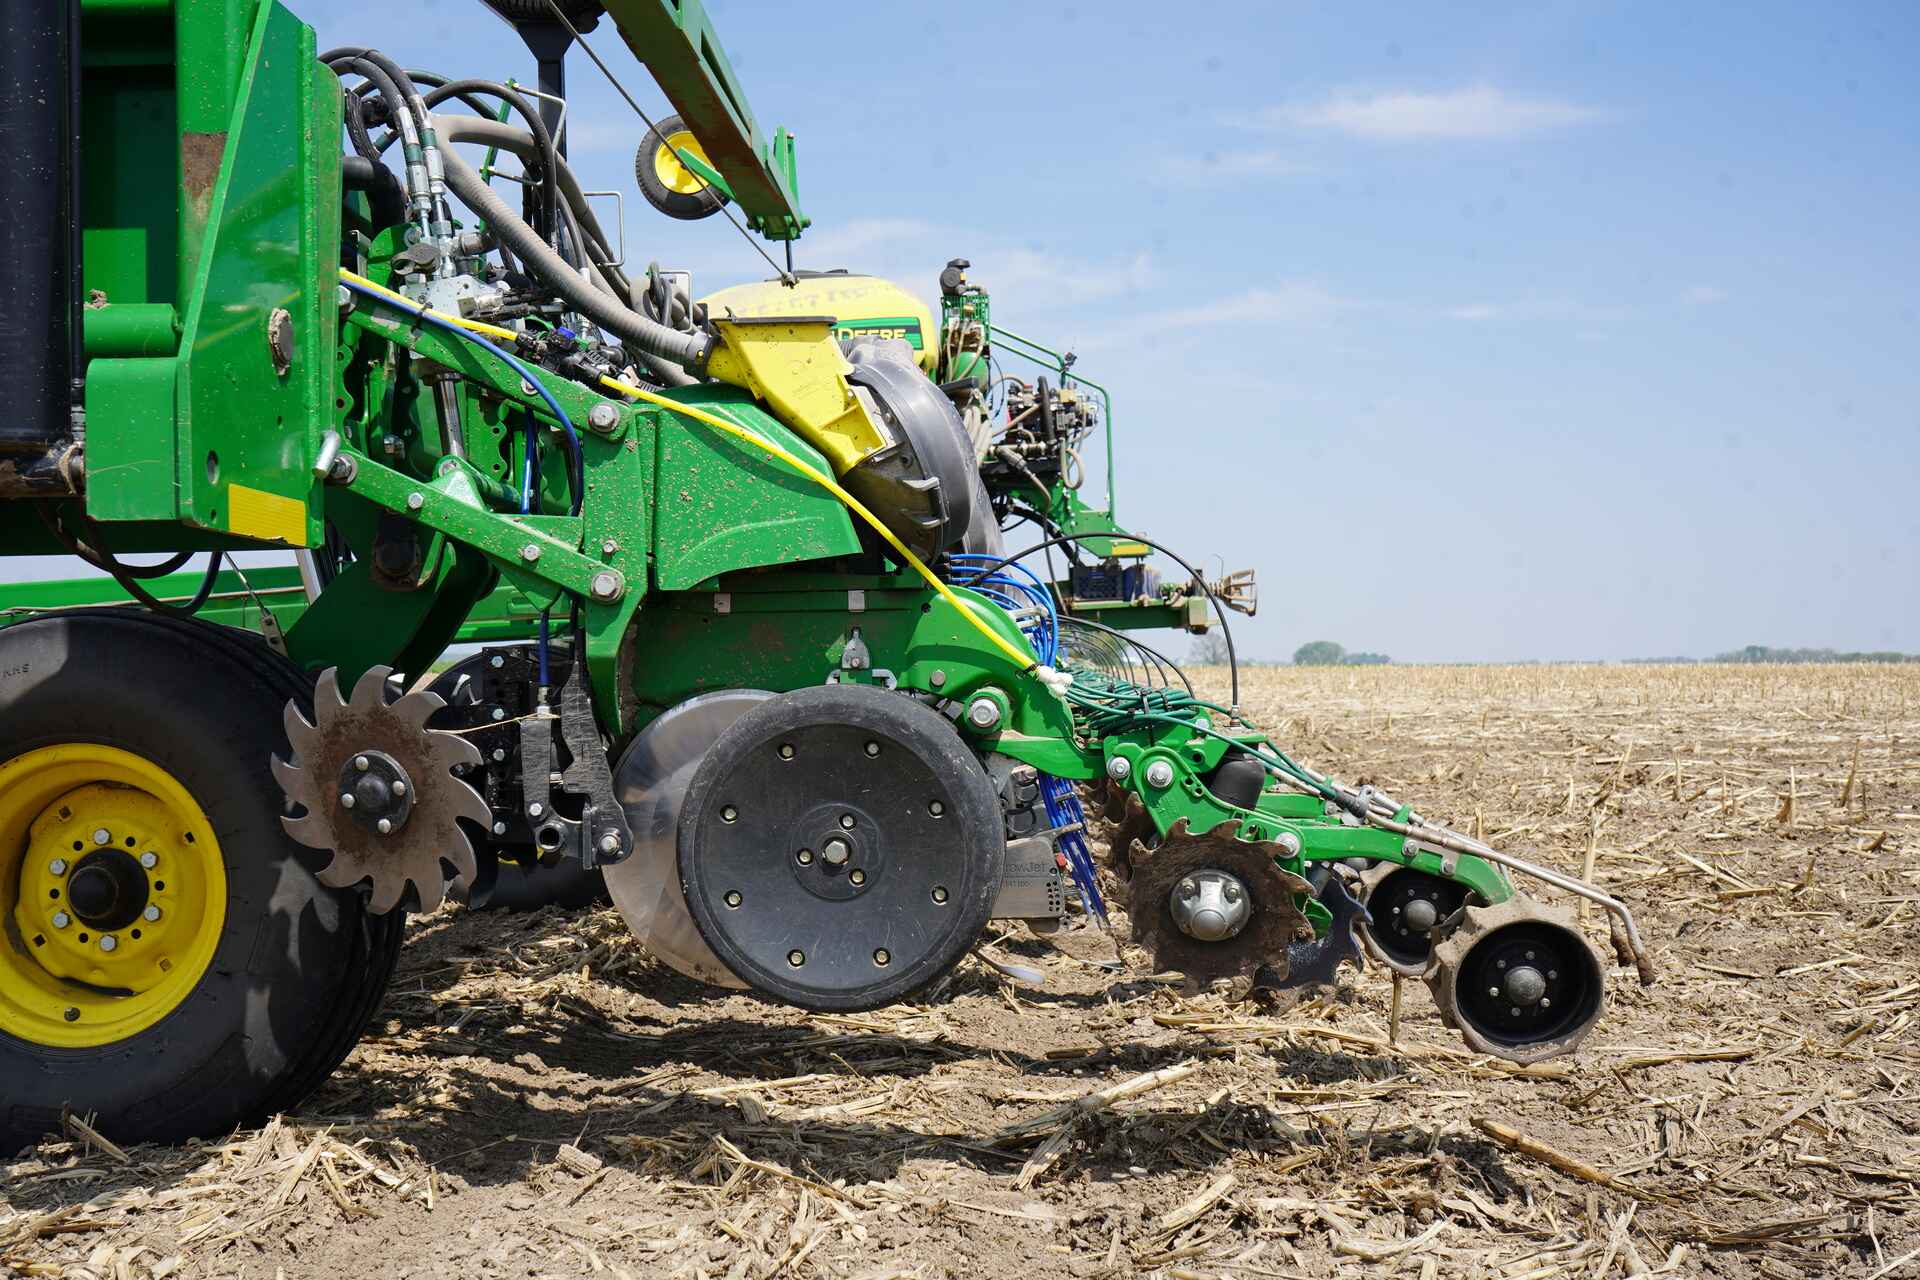
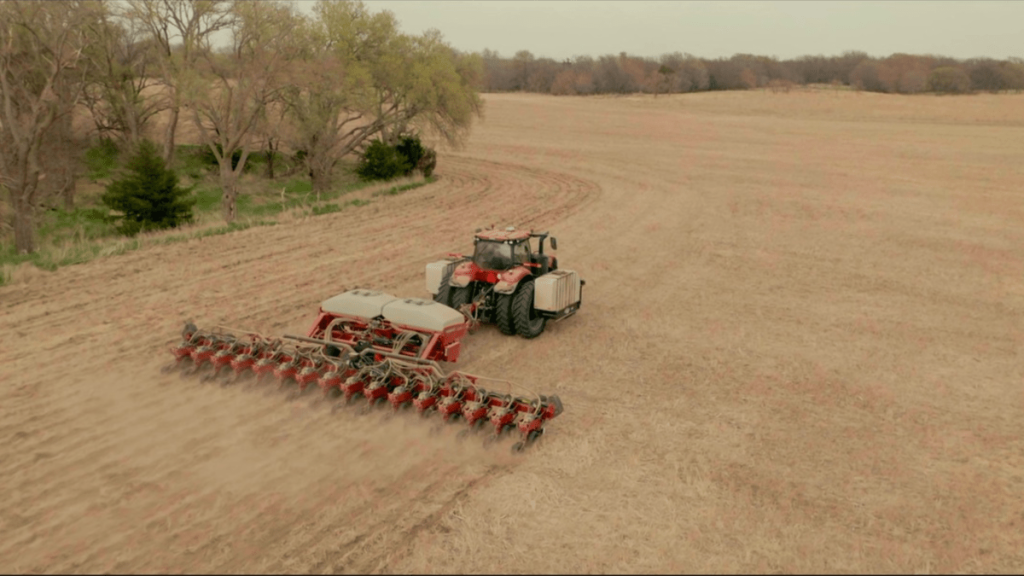
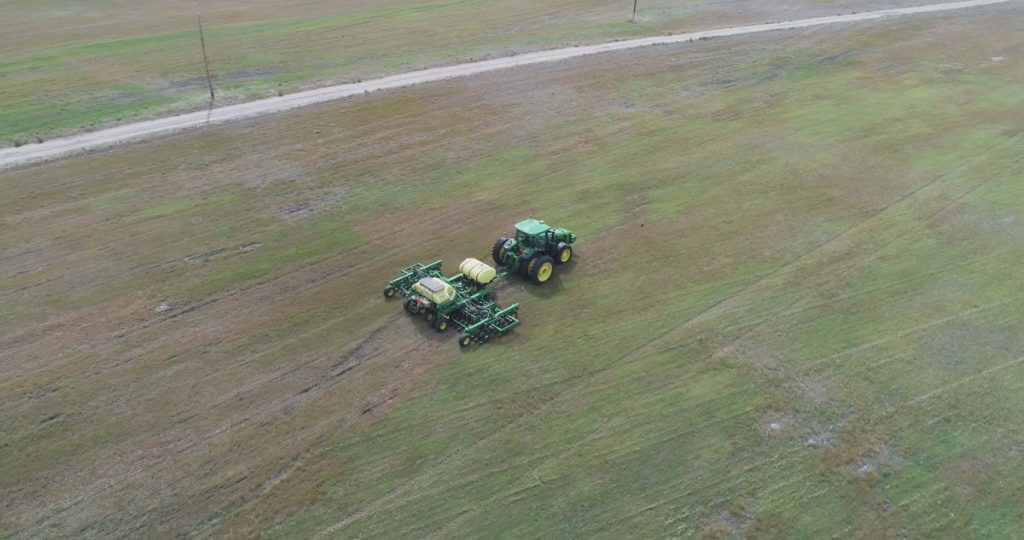
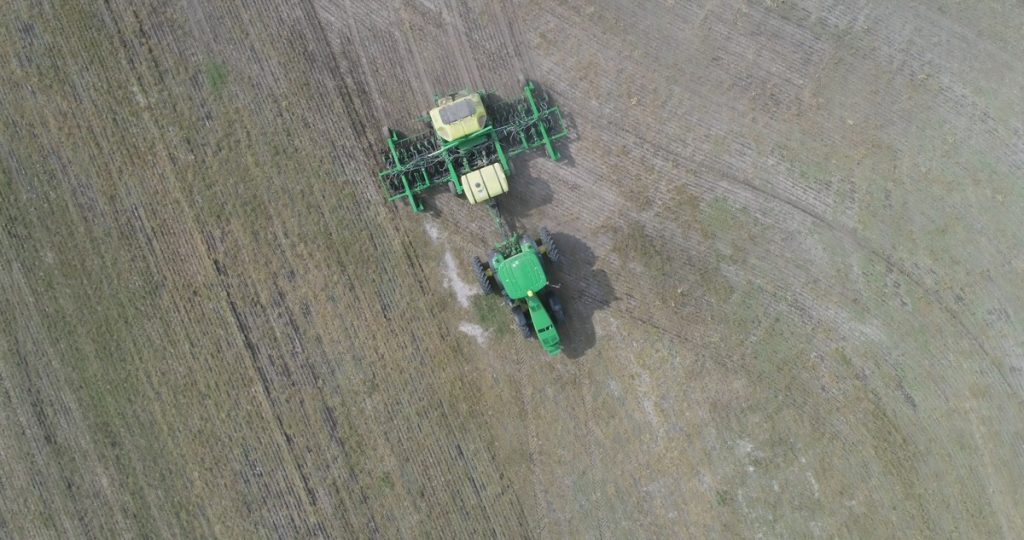
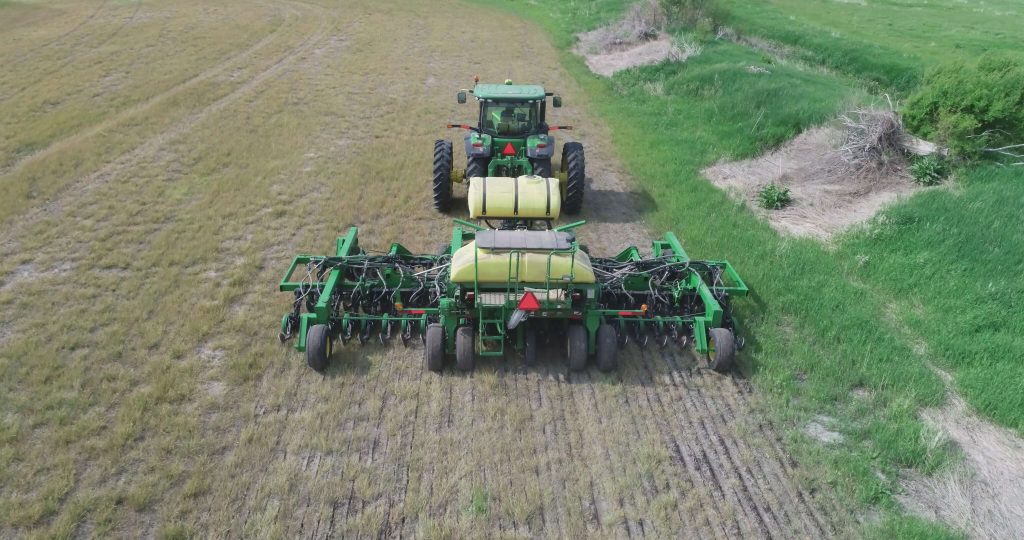
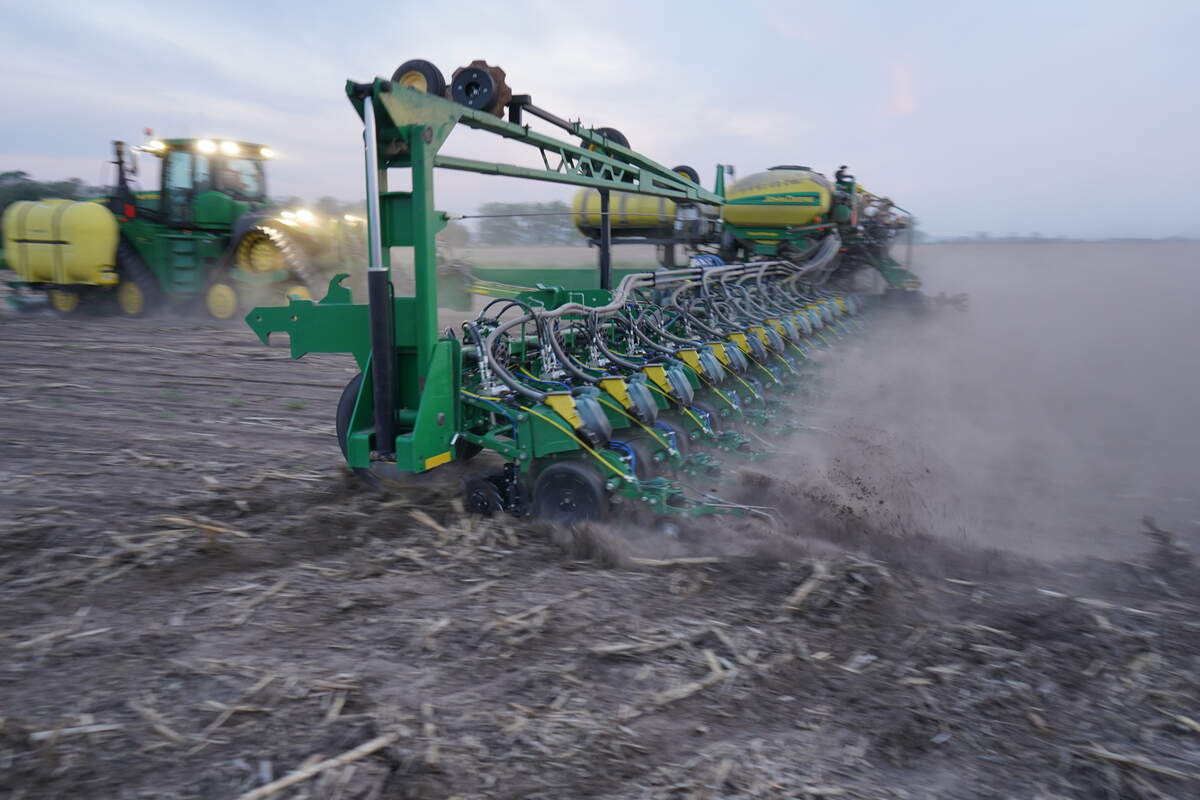
One of the most common challenges farmers face is managing soil compaction, especially in no-till systems or after heavy machinery use. This is where proper tillage comes in. At Wearparts, we provide durable tillage tools that can help alleviate compaction, improve soil aeration, and enhance water retention, setting the stage for a successful winter wheat crop.
When is the best time to plant winter wheat?
The question of when to plant winter wheat is always a hot topic for farmers, especially in locations with hot, arid summers where spring wheat isn’t a viable option.
The ‘fly free date’ is a key milestone for farmers, determining when it’s safe to plant wheat and avoid problems associated with hessian flies – this typically occurs in early to mid-September depending on location.
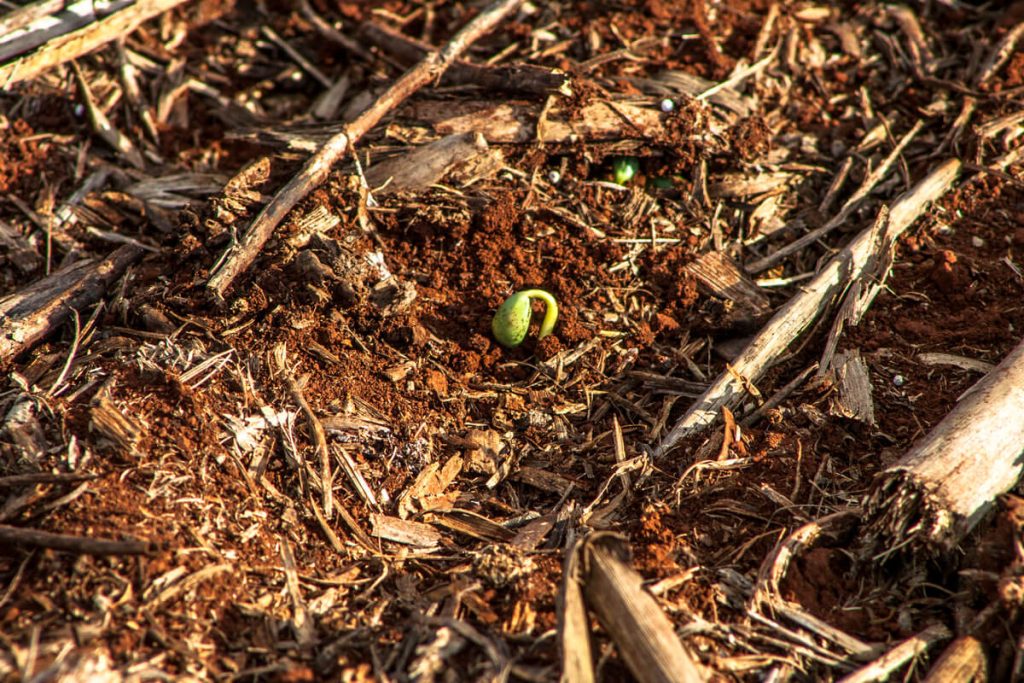
Winter wheat must be planted early enough for the young crop to reach 10-15cm in height, with mature enough roots to survive the dormant winter phase. Plant too early following a dry summer, and you risk low emergence. Plant early when conditions are wet, and there’s a chance your wheat will get too tall, too soon – leaving it vulnerable to lodging (where the stalks get flattened) during winter storms.
Plant your winter wheat too late, however, and it won’t have a chance to grow on enough to then survive the dormant winter phase – winter wheat needs temperatures to drop to at least near freezing for the plant to enter its reproductive cycle, and won’t yield seed until it endures a prolonged period of cold conditions, below 40°F (4°C). Deep, persistent freezing can, however, kill off the young plants.
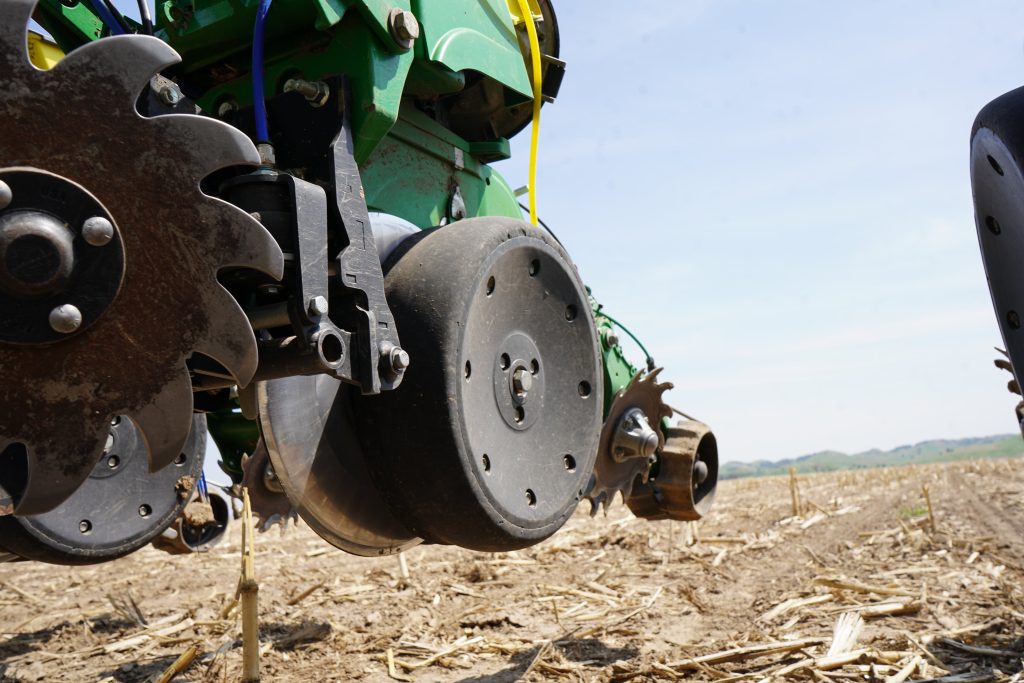
Getting it right is all about knowing your own microclimate, monitoring the weather closely and making smart decisions about when and how deep to plant winter wheat. Of course, choosing quality tillage and planting tools to get seed in the ground right first time is vital – and that’s where a manufacturer like Wearparts can make all the difference to your crop yields.
What’s the best seed variety for winter wheat?
Selecting the right variety of winter wheat is one of the most important decisions you’ll make when planning your crop. Different varieties thrive in different regions, so it’s essential to choose a variety that suits your local climate and soil conditions. Cold tolerance, disease resistance, and yield potential are key factors to consider.
For farmers in the northern U.S., cold-hardy varieties with strong winter survival rates are crucial, while those in the southern regions may focus more on disease resistance. Always consult with local agricultural extensions or seed suppliers to find varieties best suited to your region.

What’s the recommended seeding rate for winter wheat?
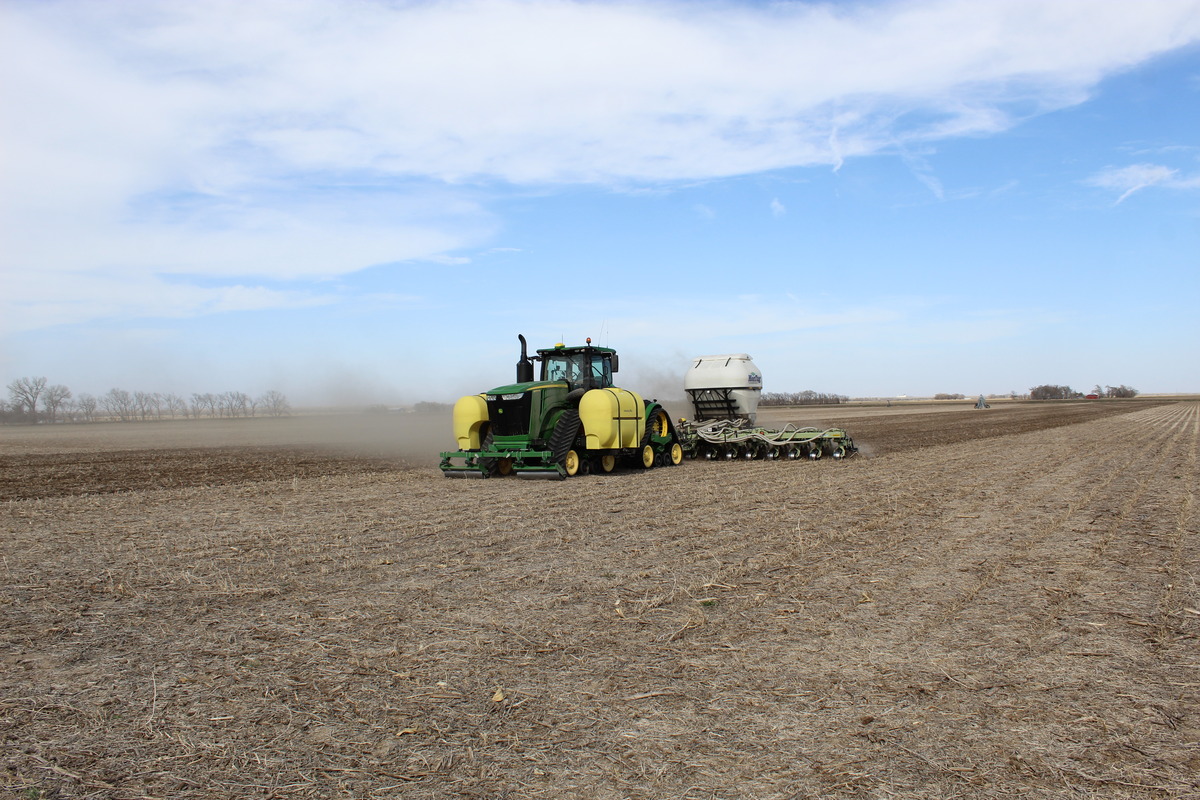
The best seeding rate for winter wheat depends on a whole range of factors including region, soil conditions, planting date and seed size. These days most farmers calculate seeding rates in seeds per acre, as opposed to lbs of seed per acre – and the rate can vary from 300,000 to 2,000,000, with a typical range of between 1.2 and 1.8 million seeds per acre.
As a general rule, winter wheat that is planted earlier in the year can cope with a lower seeding density since emergence will be higher, but it’s still important to establish a good crop stand early in order to minimize competition from weeds and reduce the need for herbicides.
When you plant later, you’ll typically plant more to mitigate for failed germination – but the risk here is that warmer conditions and abundant rainfall will result in higher than expected germination rates, which can increase the risk of lodging or disease due to poor airflow. It’s recommended to run some seed rate strips so you can learn what works best on your farm for specific planting conditions.
Managing weed populations in winter wheat
Weed pressure is a significant challenge during the fall in winter wheat production, when essential warmth and rainfall required to get young crops up out of the ground quickly tends to have the exact same effect on competitors like wild oats, foxtail, and chickweed..
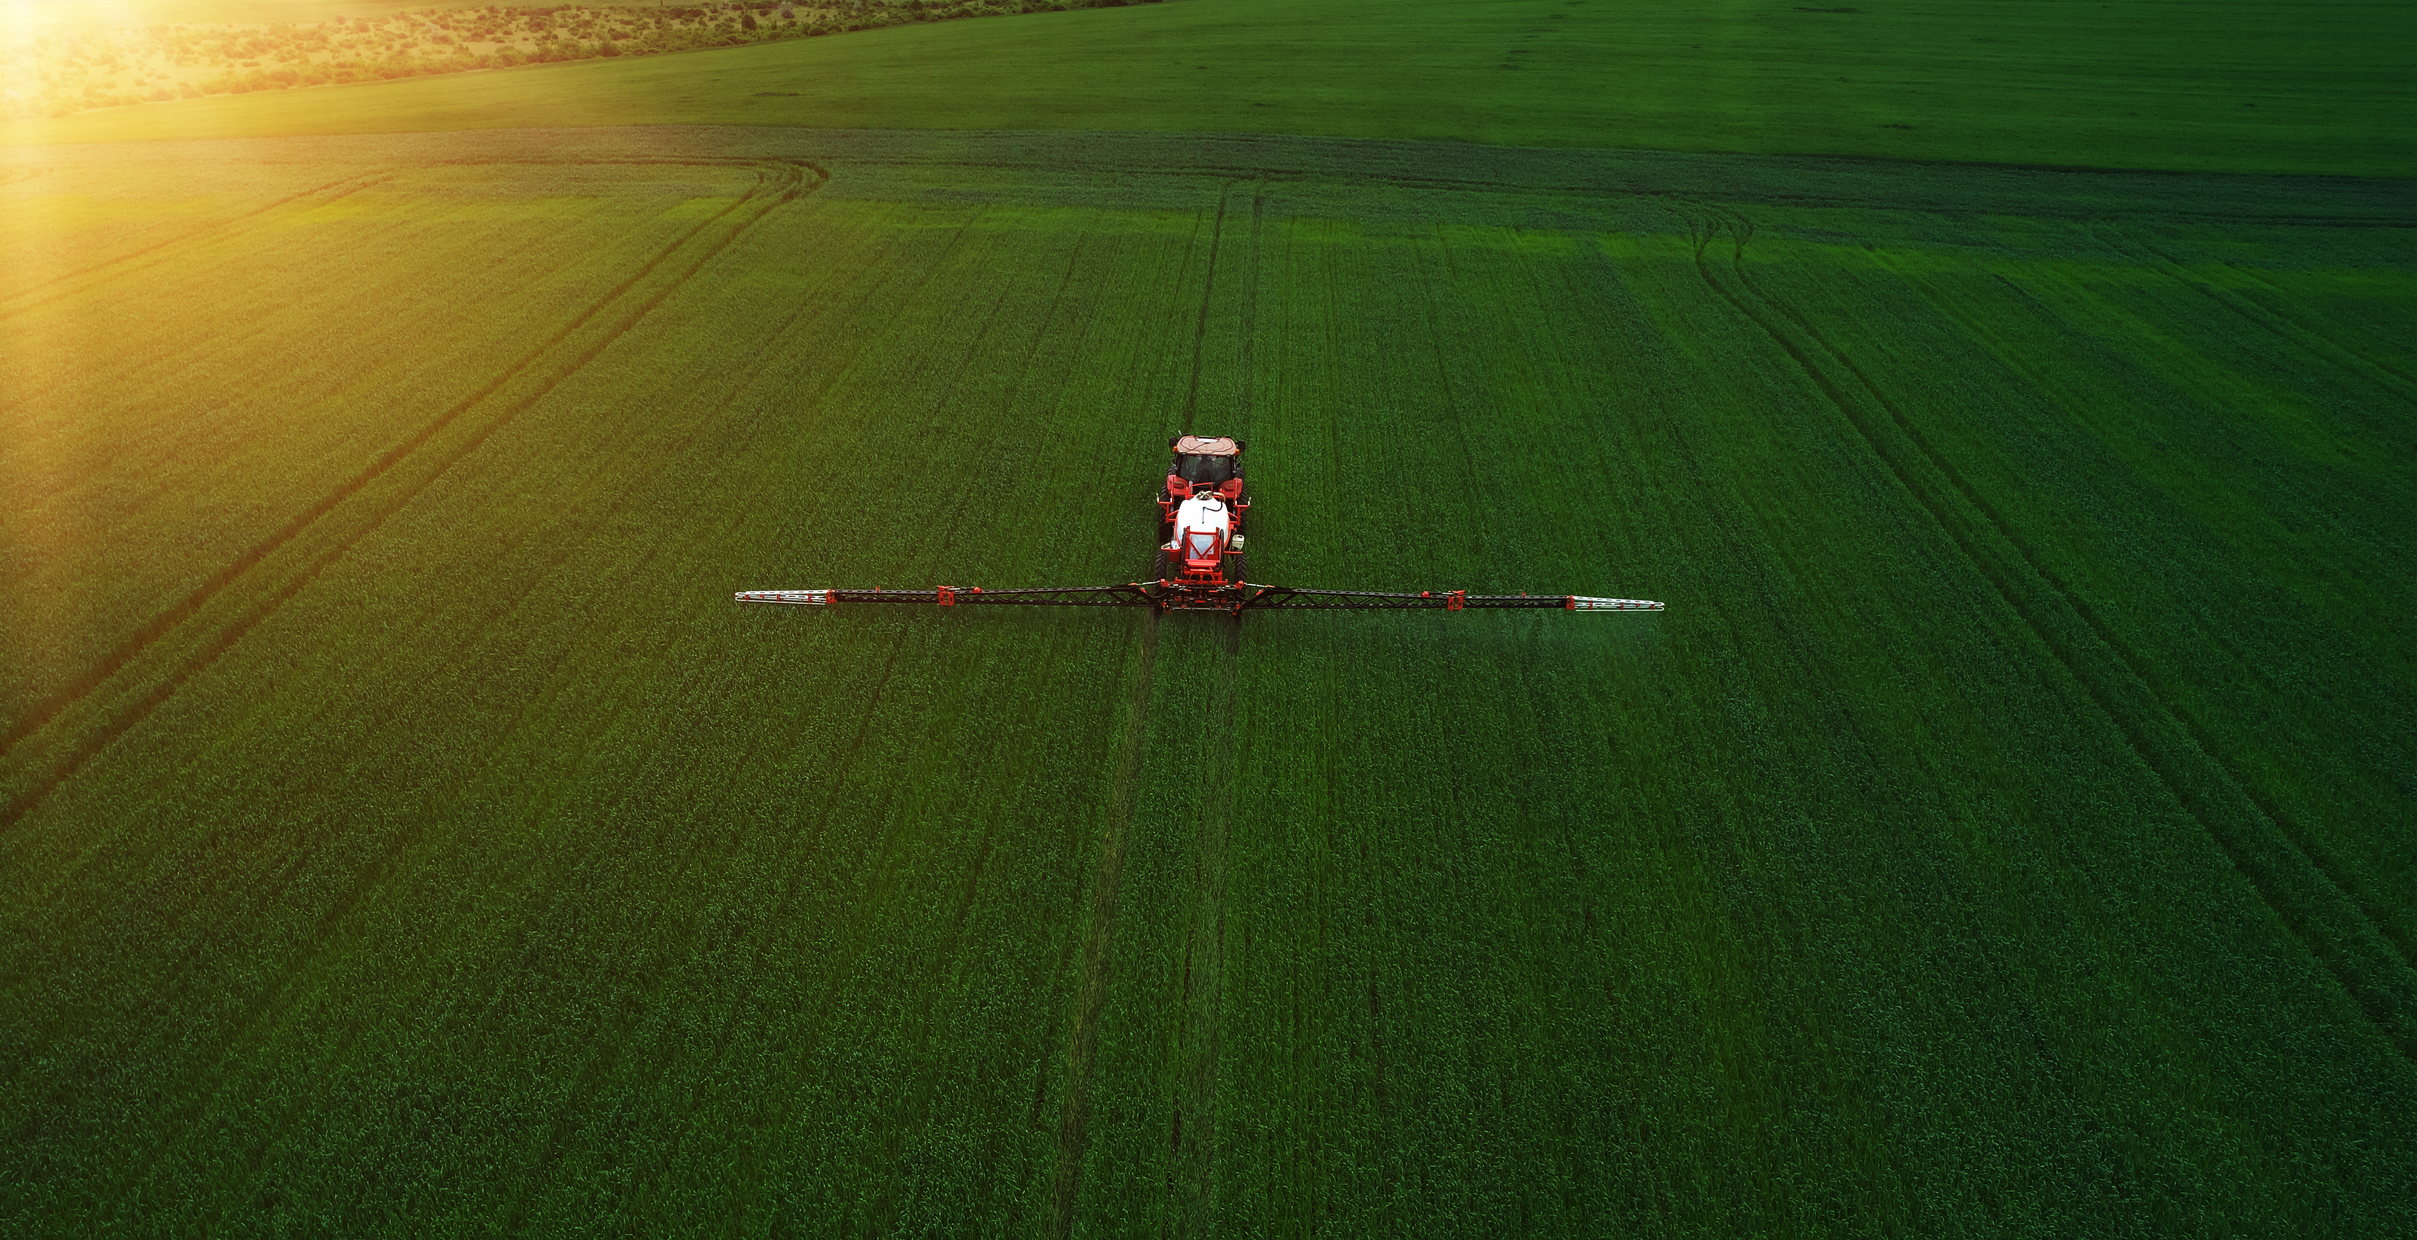
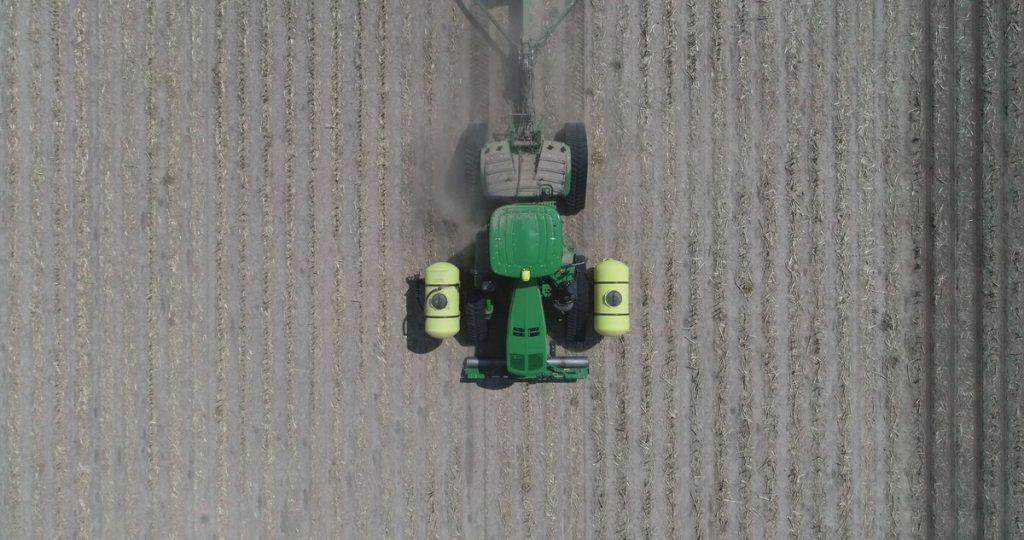
Many farmers use a combination of pre-emergent and post-emergent herbicides to manage weed growth. However, crop rotation and mechanical weed control, such as using robust tillage equipment, can also reduce weed populations. Wearparts offers high-quality tillage tools that help keep fields clear before planting, giving your winter wheat the best chance to thrive.
Want to know more?
Growing winter wheat requires careful attention to soil preparation, seeding rates and weed control. By taking a strategic approach to each stage of the growing process, farmers can maximize their yields and profitability.
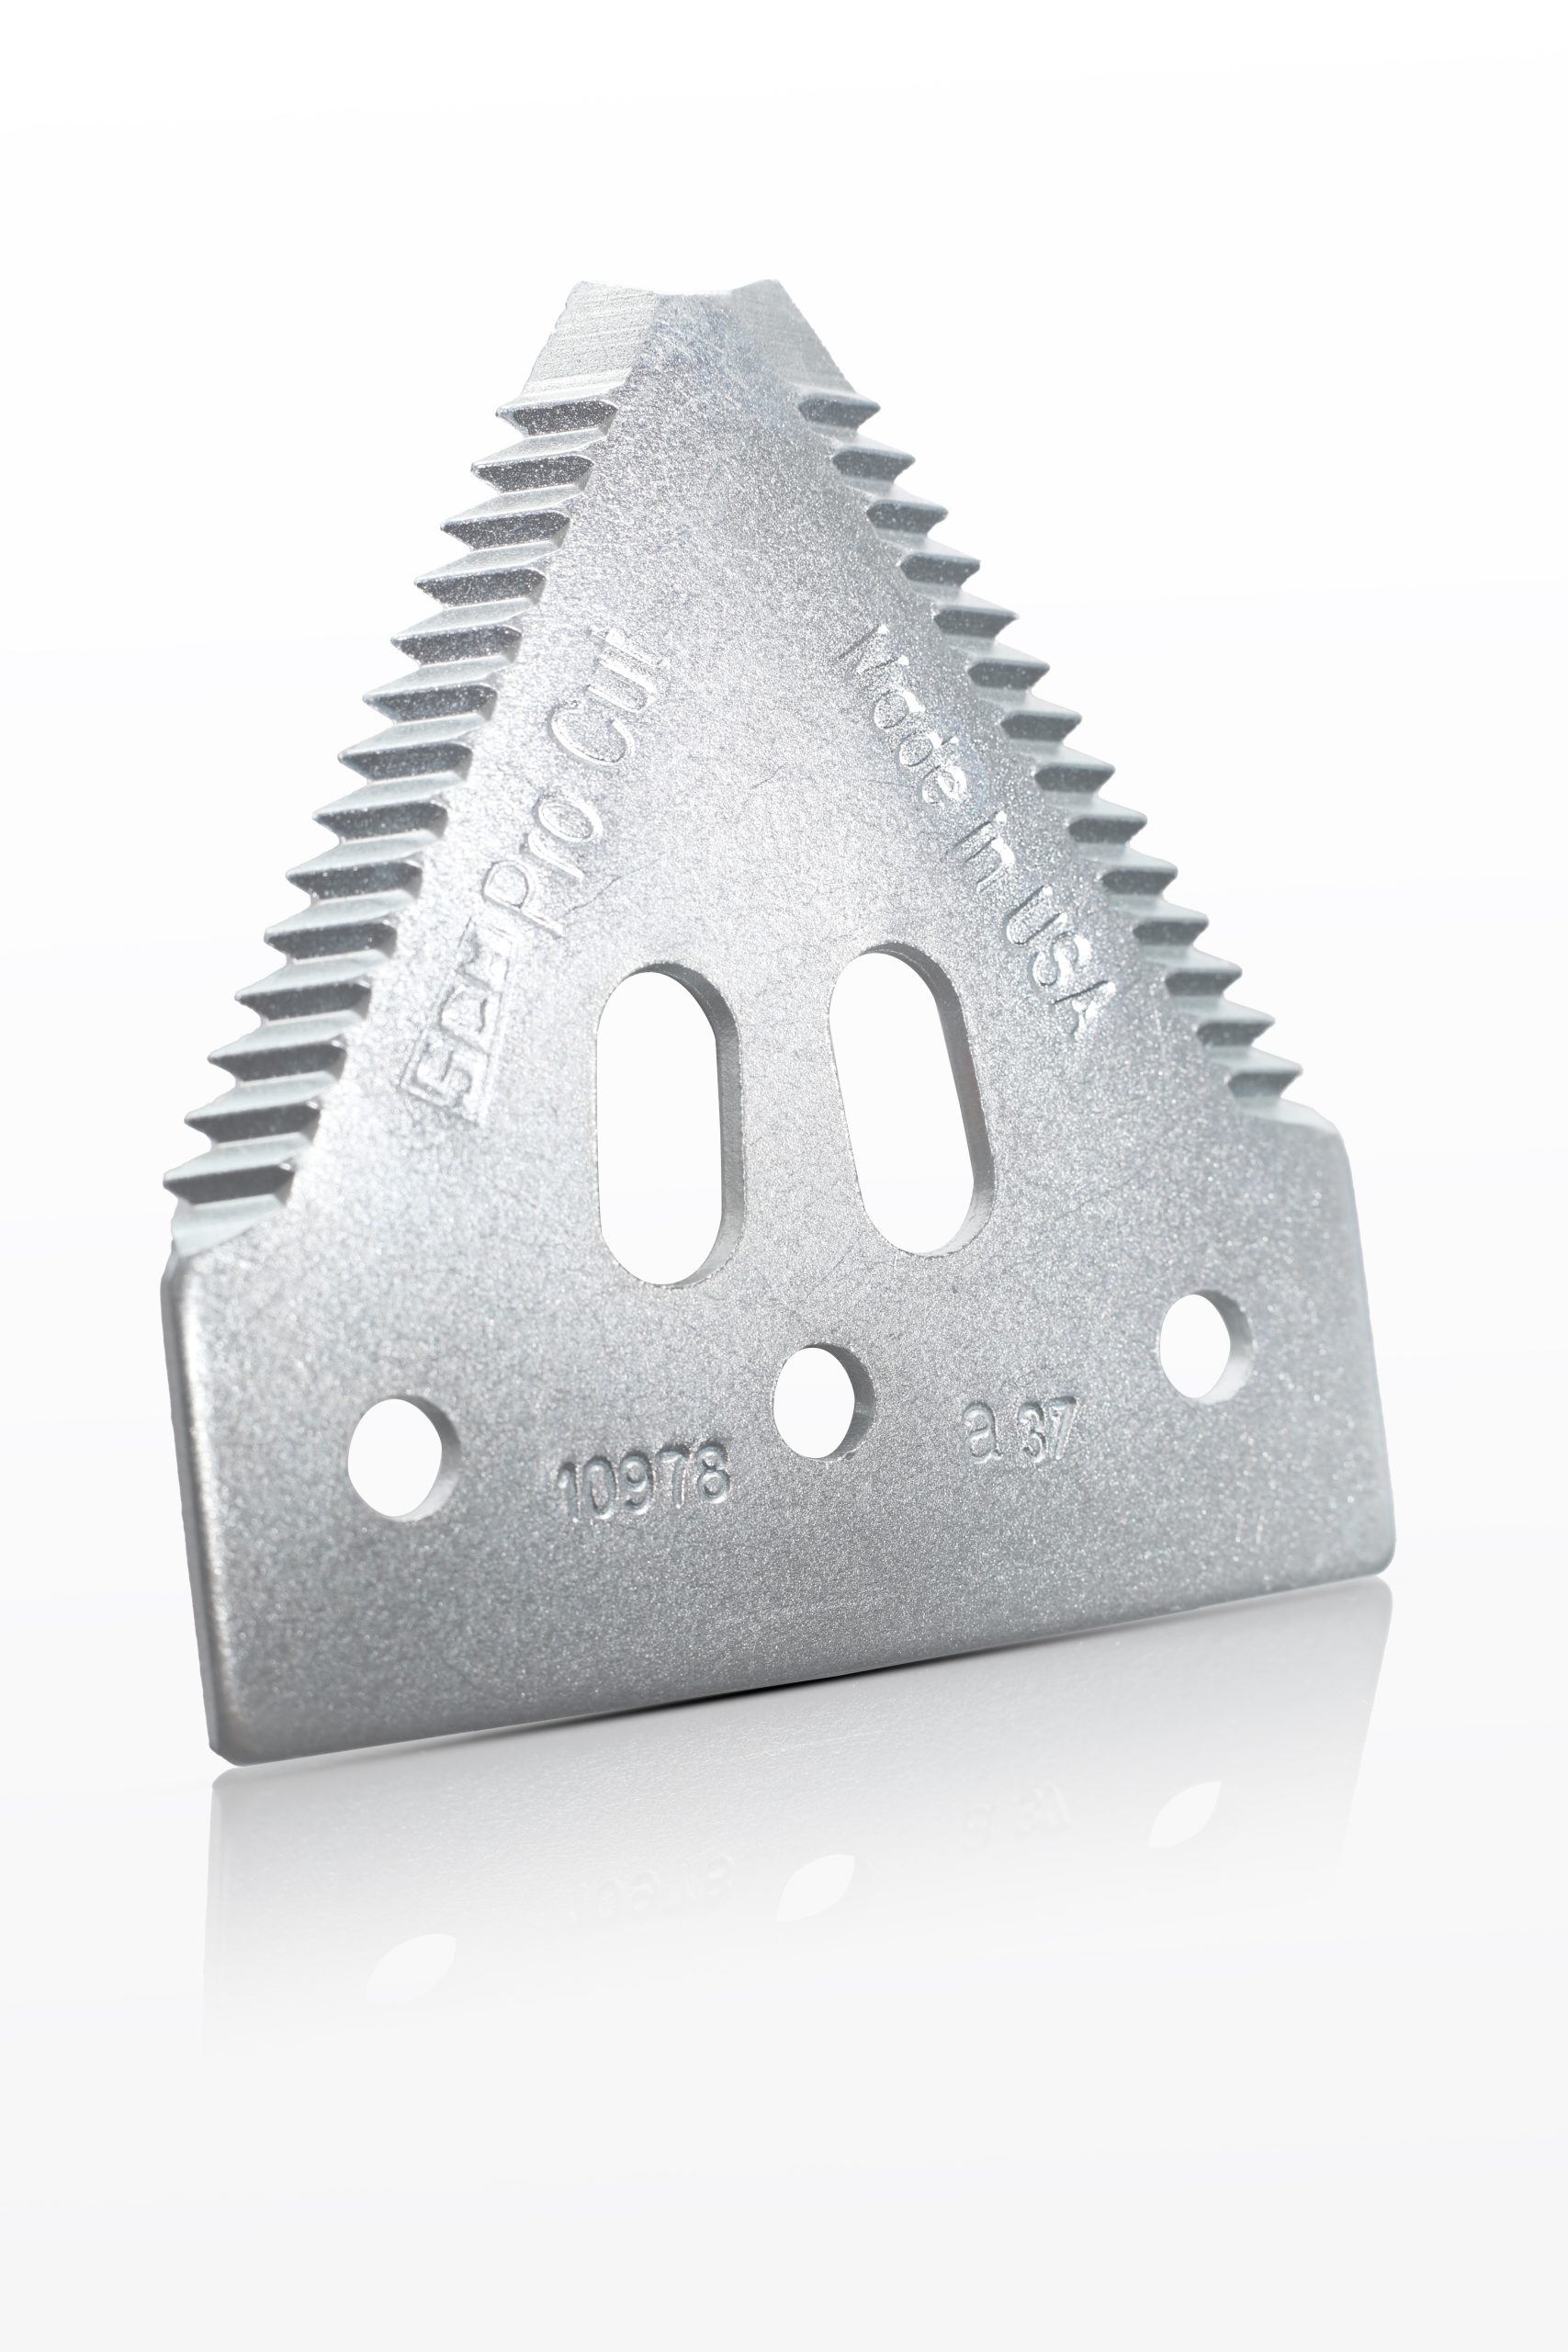
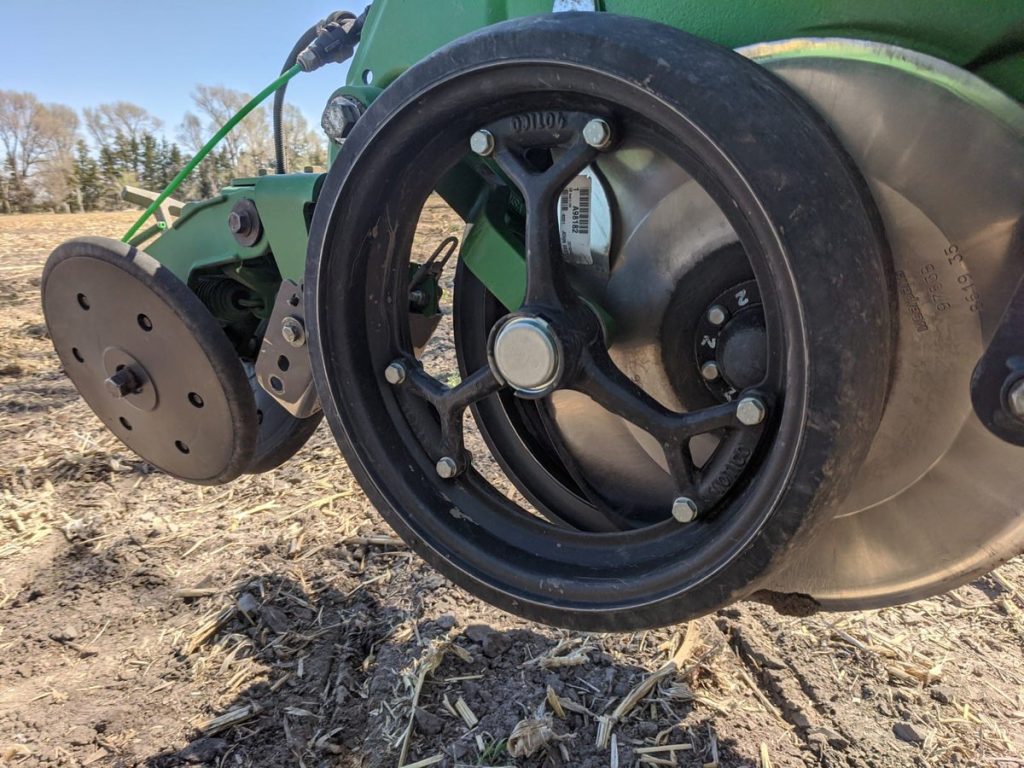
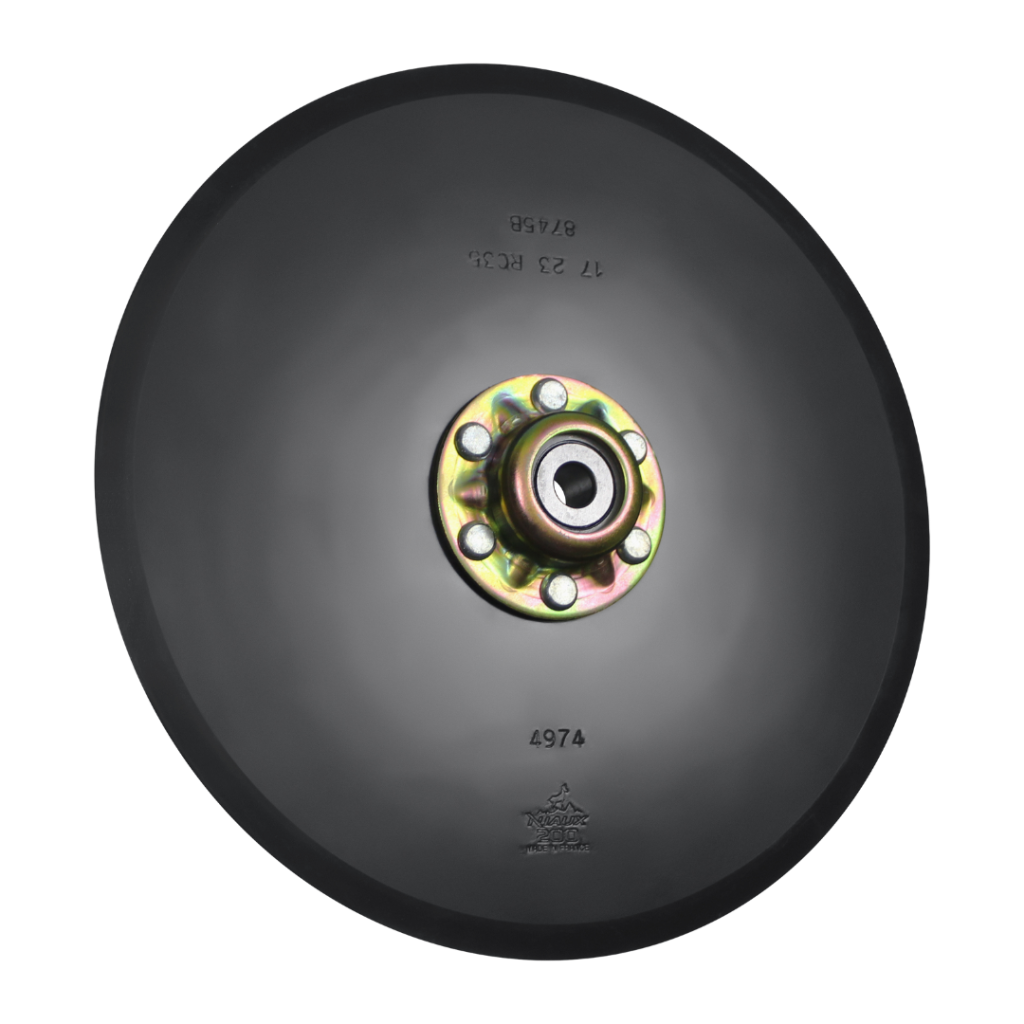
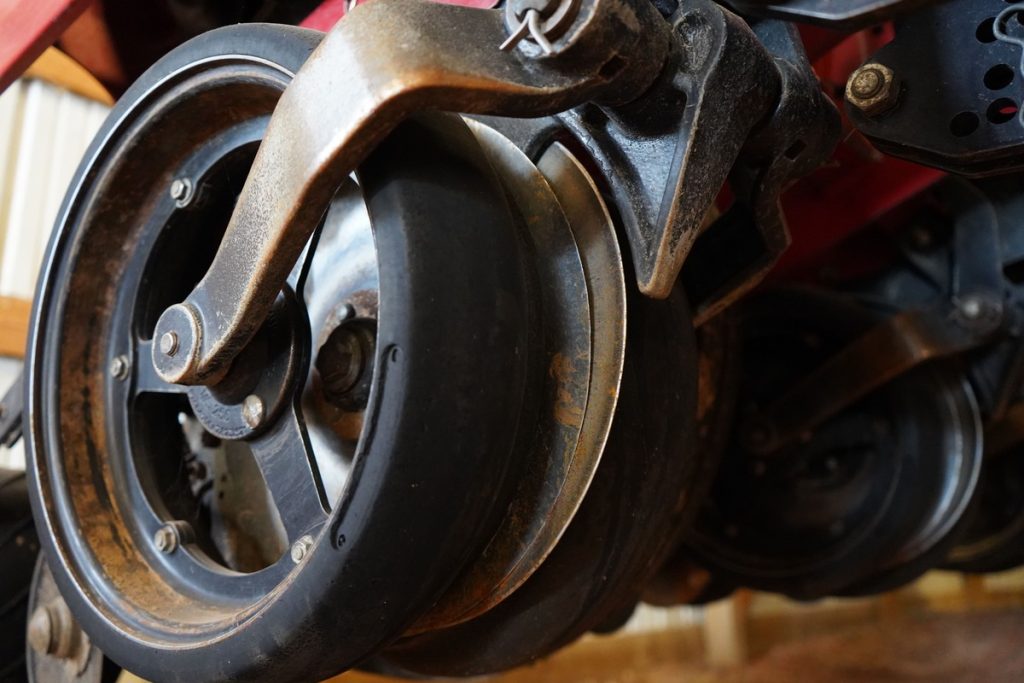
At Wearparts, we’re here to support you with high-quality, durable parts to assist with tillage, planting and harvesting wheat. From quality seed openers and air seeder parts to gauge wheels, cultivator sweeps and cutting components, our products deliver proven performance that saves you time and money while maximizing yields. Find your nearest Wearparts dealer here, or get in touch for advice from our customer service team.