weareparts logo

1-888-4-BLADES (425-2337)

FREE SHIPPING ON Qualifying Orders

Get the most from your planter this season

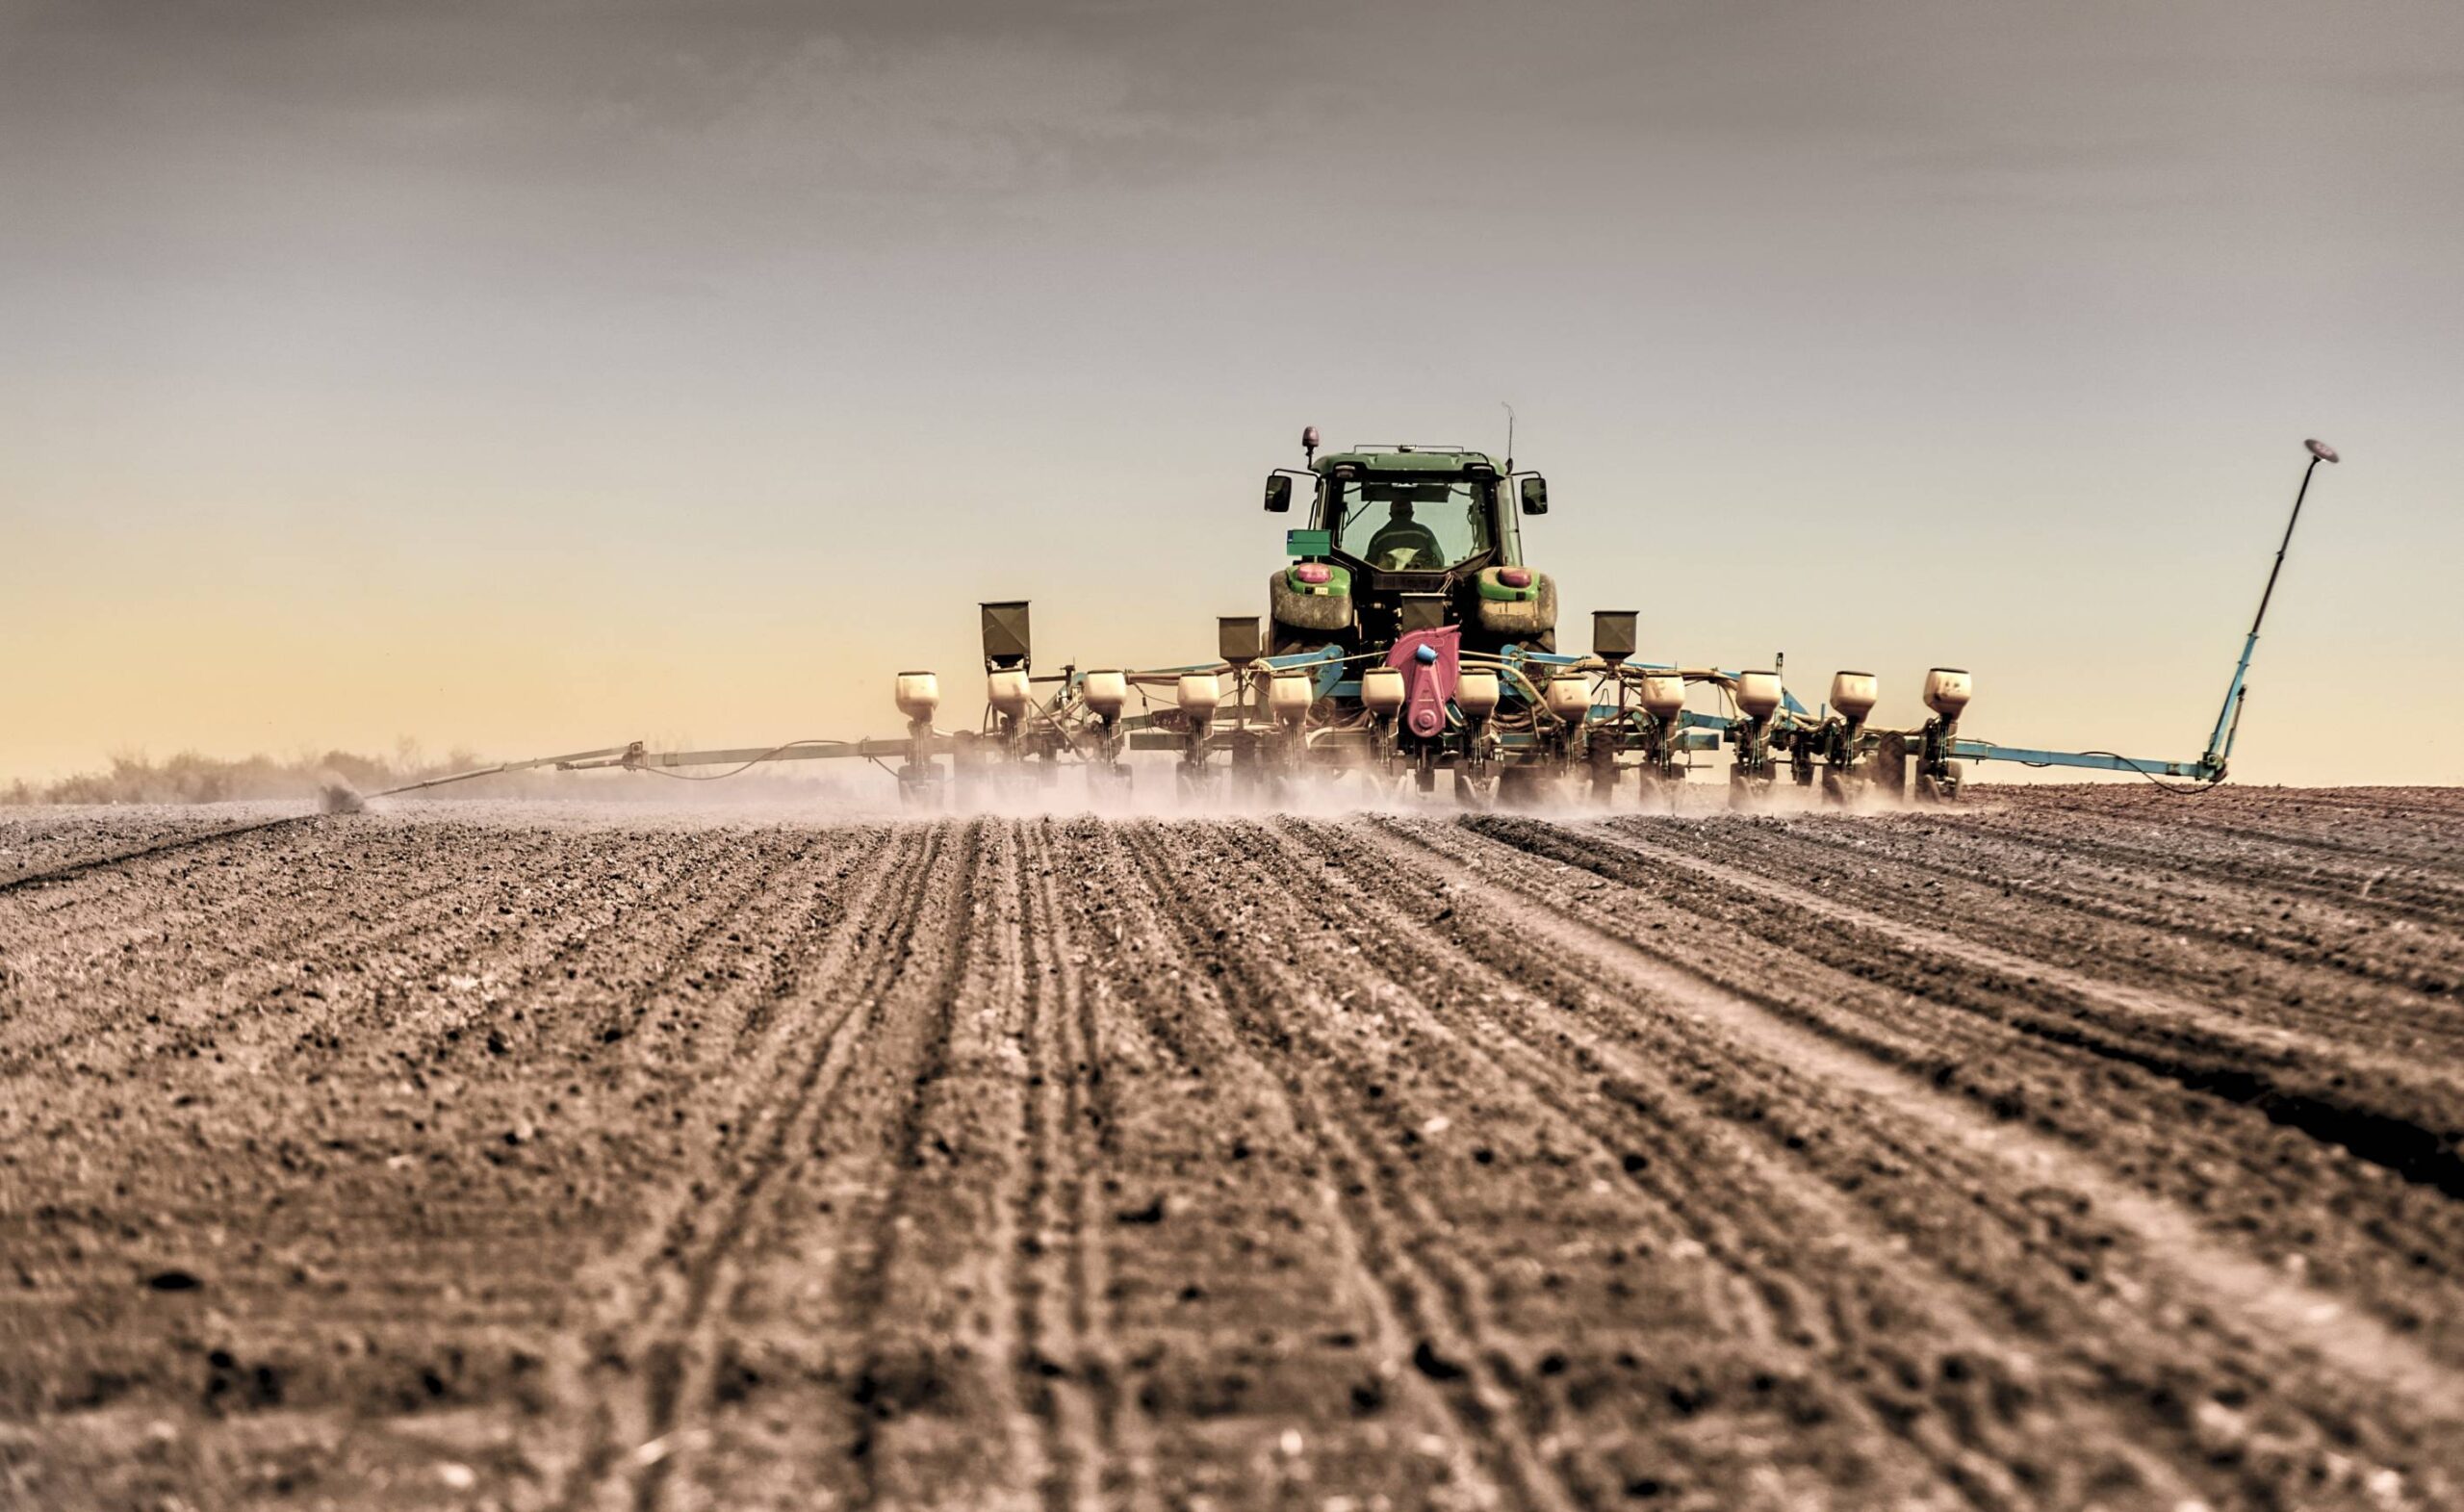
Planting season is just around the corner which means just about every crop farmer in the US right now will be thinking about how they can mitigate for the unknown and secure a good yield.

The truth is, you can’t predict what the weather or the market is going to do in 2023 – but there ARE things you can control, and that starts with the fundamentals of successful seed planting and germination.

Ensuring your planter is in the best condition, and selecting the right ground engaging components for your crop and soil type, are two steps every farmer can take to increase the chances of success this growing season – especially in no-till systems, where soil conditions can have a big impact on the performance of your planter.

Although digital technology has a big part to play in managing the performance of machinery these days, there’s no substitute for a hands-on approach to maintaining and adjusting your setup for the best possible results. Let’s take a look at some essential planter maintenance tasks you should be performing in advance of the planting season, and the details you should be paying attention to as the season gets underway.

General planter maintenance

Just like you wouldn’t set off on a long drive without checking your car for things like oil, water and tire pressure or treads, you’d be crazy to bring your planter out of a year-long storage and head straight to the field.

Pre-season, it’s vital to give your planter a complete once-over, checking for broken or worn components and ensuring that all moving parts are well lubricated. Key things to check include the bearings and mechanisms on row cleaners, and the bushings on the parallel arm linkage. Move the row unit up and down and side to side manually, to check if there’s too much movement that could cause inconsistent depth or seed spacing, and replace any worn parts.

You should also check for wear on the bottom of your seed tubes. Sometimes the disc opener comes into contact with the bottom of the seed tube, causing wear. This can result in inconsistent seed spacing or worst case, in seeds not being able to drop out of the seed tube at all.

Disc opener 101

Seed disc openers are arguably the most vital component of any planter because they are responsible for opening the furrow that will be the seed’s home for the next 8+ months. However, your disc openers don’t work in isolation – they rely on the frame weight of the planter itself to push them into the soil, and on the gauge and press wheels to ensure the correct depth, soil contact and eventual closure of the furrow.

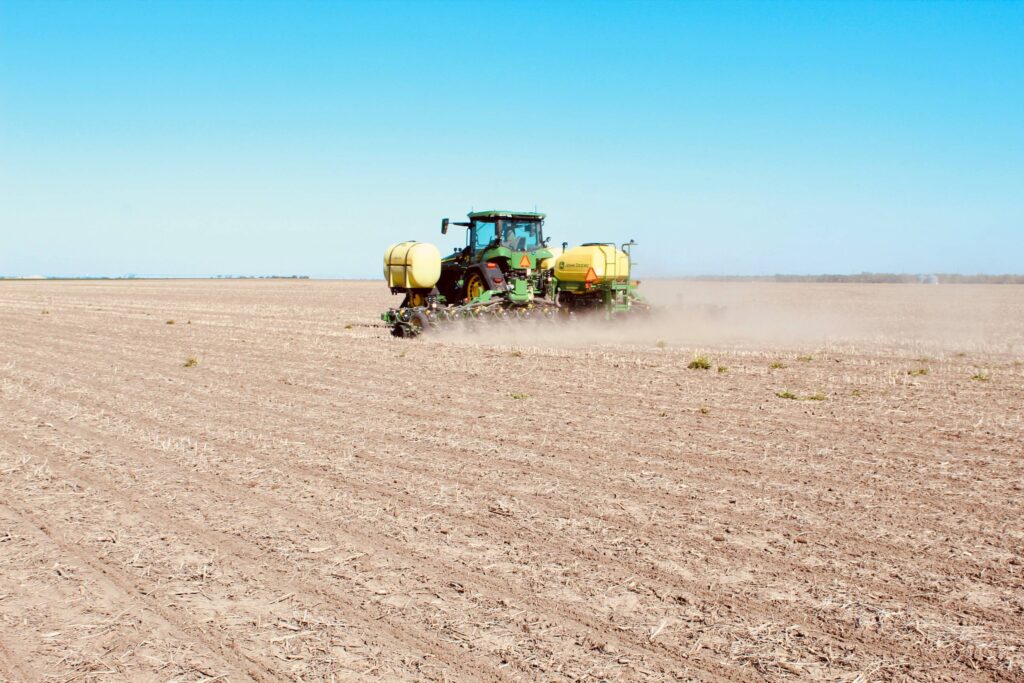
Assessing soil conditions and physically checking the correct contact on your disc openers with the soil it VITAL – it’s not uncommon in dry conditions to see a planter riding up on the disc opener blades instead of on the gauge wheels, resulting in a furrow that is too shallow for the seed to access the correct moisture and nutrient levels for germination and strong growth.

Downward spring pressure may need to be increased in drier surface soil for adequate soil contact and to help bring moisture up to the seed. Pressure should be decreased after rainfall to avoid compacting soil around the seed.
Choosing the right blade

As for the seed opener itself, there are some important steps to consider when selecting a blade, and adjusting it for optimal performance on your machine.

Choosing the correct blade thickness is key for efficient planting and reduced cost per acre. Seed disc openers are generally available from 3 to 4.5mm thick, and farmers will differ in their opinion according to which is optimal. Since seed openers work in pairs, thicker blades will require more downward force to penetrate the soil. Thinner blades penetrate more easily, but lack rigidity and can be prone to warping or breaking.

Most farmers will agree that a thicker blade with a longer bevel delivers optimal performance in terms of precision and wear life. A shorter bevel – especially on a thicker blade – will result in the blades becoming blunt more quickly, which increases downtime and cost per acre. Worn beveled edges on seed opener discs also tend to let soil and residue into the furrow, which can impact on germination and ultimately on yield. A longer bevel increases wear life and ensures that blades stay sharper for longer.
Why choose Wearparts seed openers?

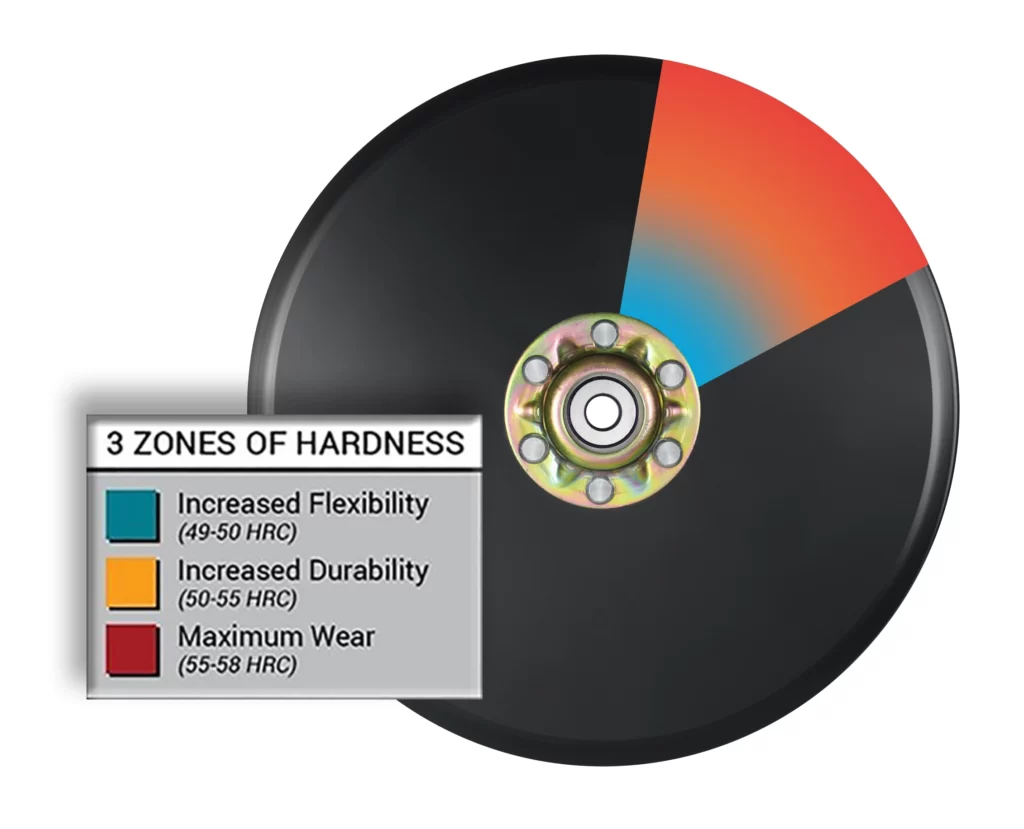
Wearparts seed opener blades have been developed in response to feedback from farmers about what they need from a seed opener, and have a number of unique features. They’re heat treated, which results in three zones of hardness – harder close to the cutting edge, and softer near the hub. This allows for greater flexibility, which facilitates better furrow closure and reduced chance of breakage. Our blades also have a larger hub, and a longer bevel for increased wear life. We test all of our seed opener assemblies in-house, and our tolerances are tighter than anything else on the market – which means we can guarantee that Wearparts seed opener assemblies will always run true.

Adjusting your Wearparts seed openers

The final thing to make sure of is that your seed disc openers are properly adjusted. Seed disc blades are designed to touch at the point of contact with the soil. In this moment, the two blades act as one to give a precise, V-shaped furrow with a clean bottom. If the blades do not touch, they’ll create a ‘W’ shaped furrow with potential to leave an air pocket around the seed when the trench is closed.

The blades should touch consistently along a certain amount of their circumference – this varies according to blade thickness, but typically 1.5-2 inches is optimal. You can check the contact distance by placing two business cards into the gap between the blades – one in front, and one in back. Push them down until they stick in the contact zone, then measure the distance between the two cards – check out this video for a how-to.

Don’t forget that even if your blades are straight and true, with sharp edges and a good contact zone, they will still wear down over time. Once a blade has lost a half inch in diameter, it’s time to replace it.

To find out more about Wearparts seed openers or to access support with planter problems, get in touch with our expert team.

An essential guide to conservation tillage

There’s an old saying in farming that “when tillage begins, other arts will follow”.

It’s certainly true that the ability to cultivate crops has advanced humanity as much as any other technological innovation, but the world – and the climate – are changing.

We know more now than ever before about how to get maximum productivity from the land at our disposal, but we also face a unique set of challenges that are forcing our industry to adapt.

Conservation tillage is one of those adaptations – and it’s growing in popularity year on year. But what exactly is conservation tillage, and how can it help farmers to work with the soil, instead of against it? Let’s take a look:

What is conservation tillage?

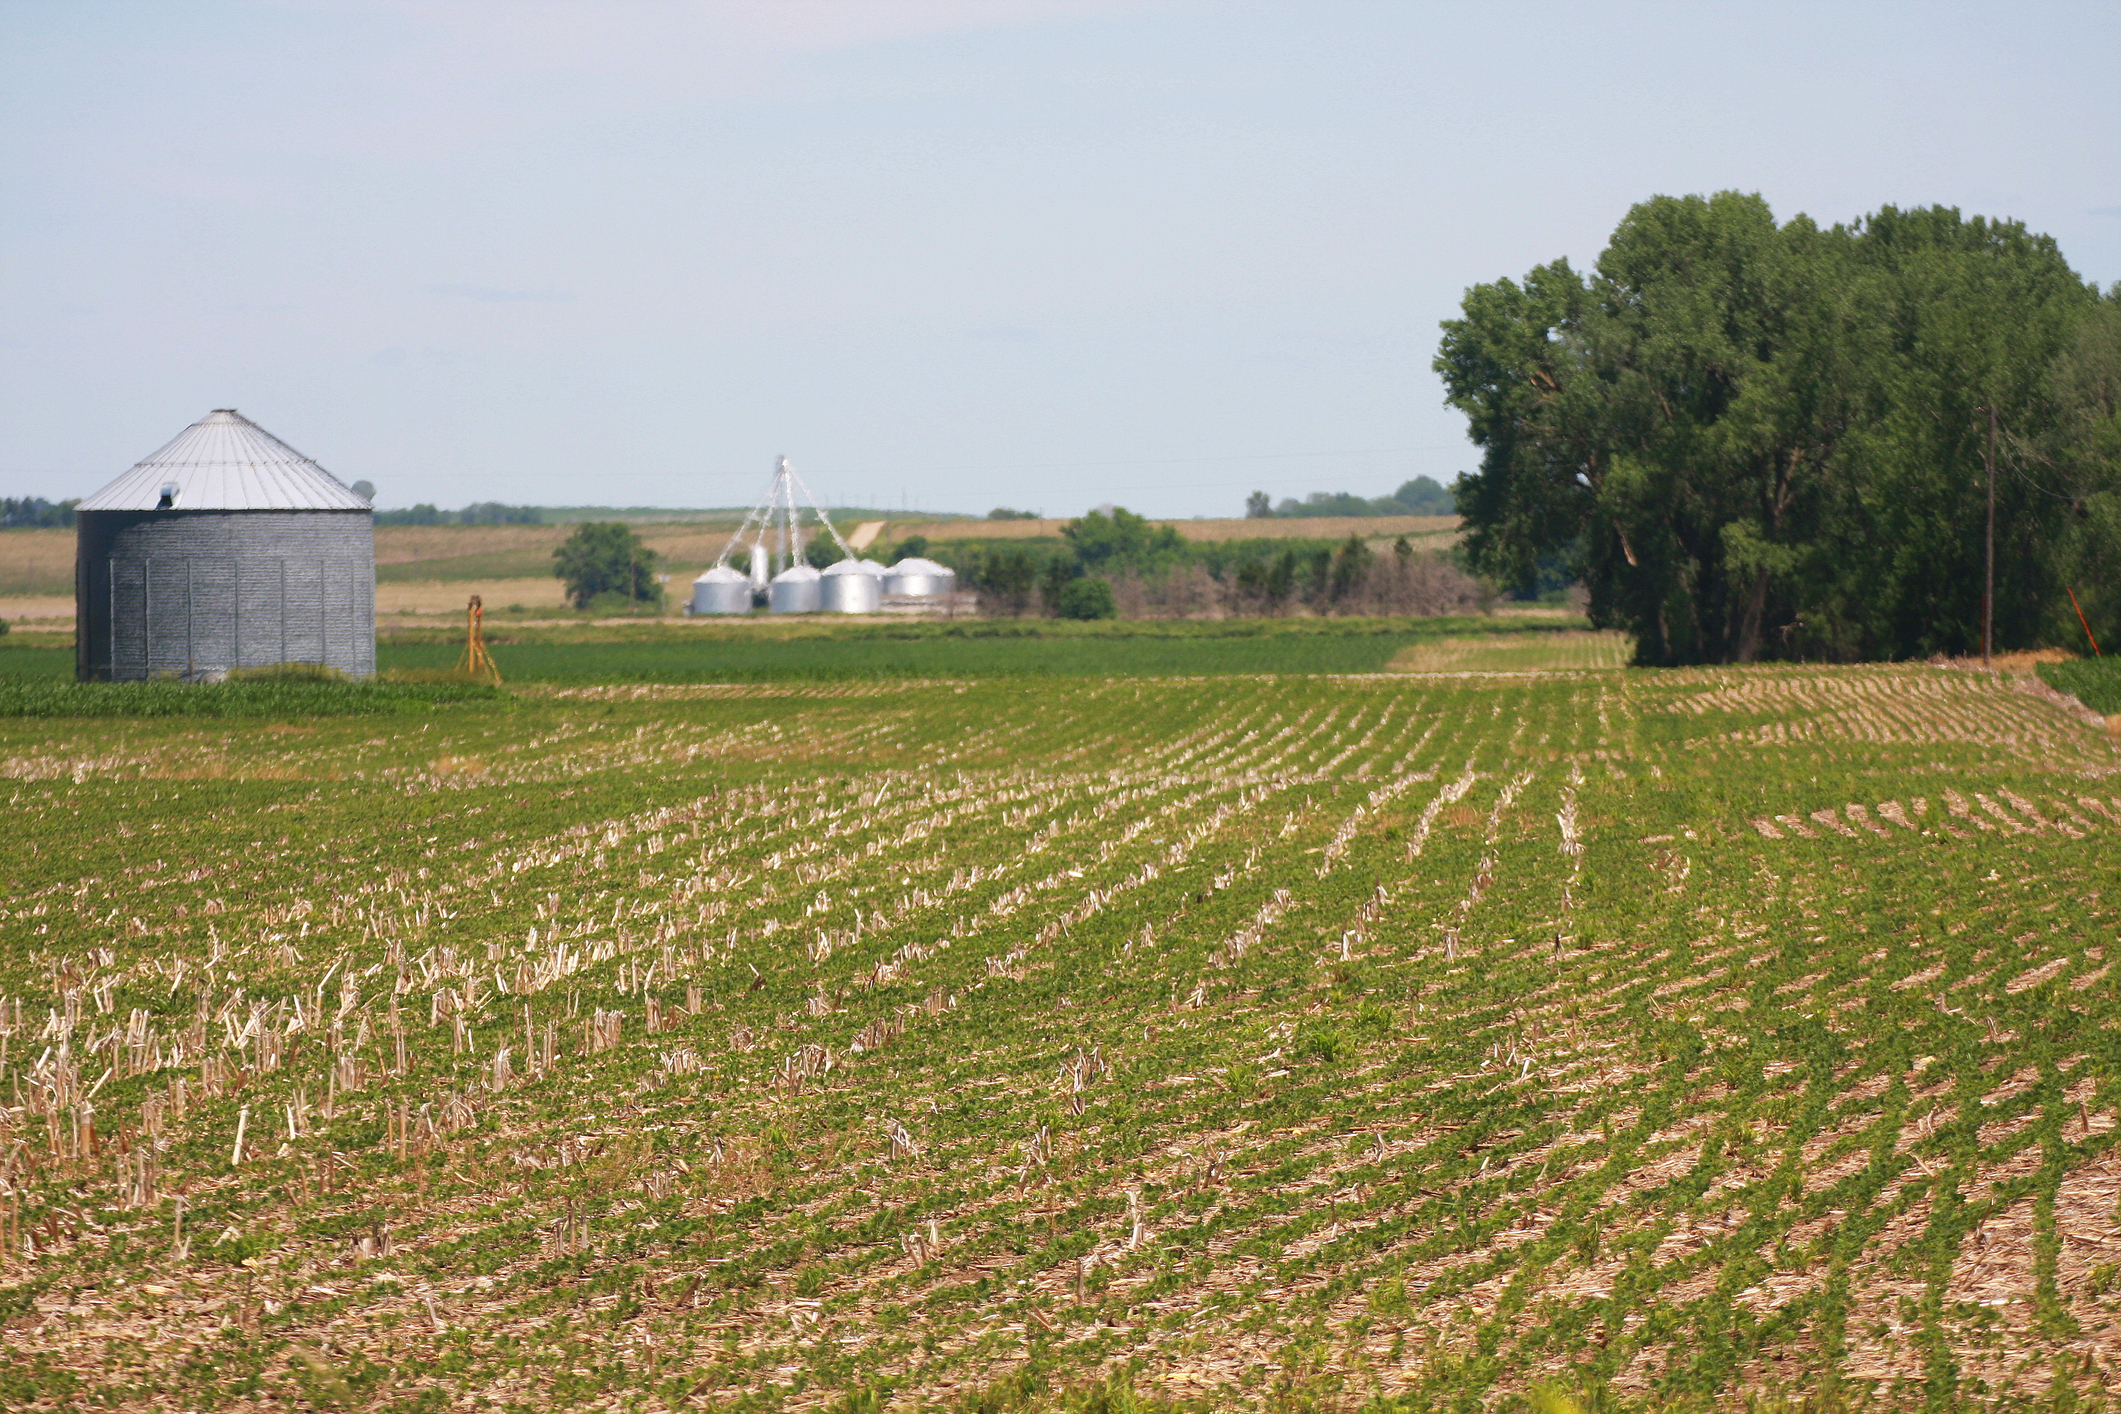
Conservation tillage is a collective term for a range of tillage practices that seek to conserve soil, nutrients, water and energy, mainly through the reduction in the intensity of tillage, and retention of plant residues. It is often defined as “any tillage and planting system that covers 30 percent or more of the soil surface with crop residue, after planting, to reduce soil erosion by water”.

Why choose conservation tillage?

Science is waking up to the reality that farming techniques adopted since the mechanisation of the industry, and designed to maximise the productivity of arable land, have actually been having the opposite effect in the long-term.

Earth is currently losing around 23 billion tons of fertile soil every year. If we keep going like this, experts predict that we only have enough fertile soil to last us for another 150 years. At the same time, factors that contribute to soil loss – such as desertification and flooding – are becoming more significant due to climate change. Farmers are also facing rising costs for everything from fuel to fertilizer to machinery.

It’s clear that in order to continue producing food for an ever-increasing global population, we need to revisit the way we think about soil conservation, and tillage farming in general.

What are the main types of conservation tillage?

Under the umbrella of conservation tillage, there are a number of recognised tillage techniques, each with different features. Here are some of the most common:

No-till

As the name suggest, no-till farming is a technique that avoids tilling altogether. Conventional tillage was developed because it enabled farmers to plant more seeds, faster – but now the technology exists to help them do this without tilling at all. The use of seed opened blades means they can plant directly into the soil without disturbing the organic matter, in a single pass.

No-till has significant benefits for soil health as well as reducing labor and fuel costs. On average, farmers practicing continuous conventional till use just over six gallons of diesel fuel per acre each year. Continuous no-till requires less than two gallons per acre. Across the country, that means nearly 282 million gallons of diesel fuel saved annually by farmers who practice continuous no-till instead of continuous conventional till.

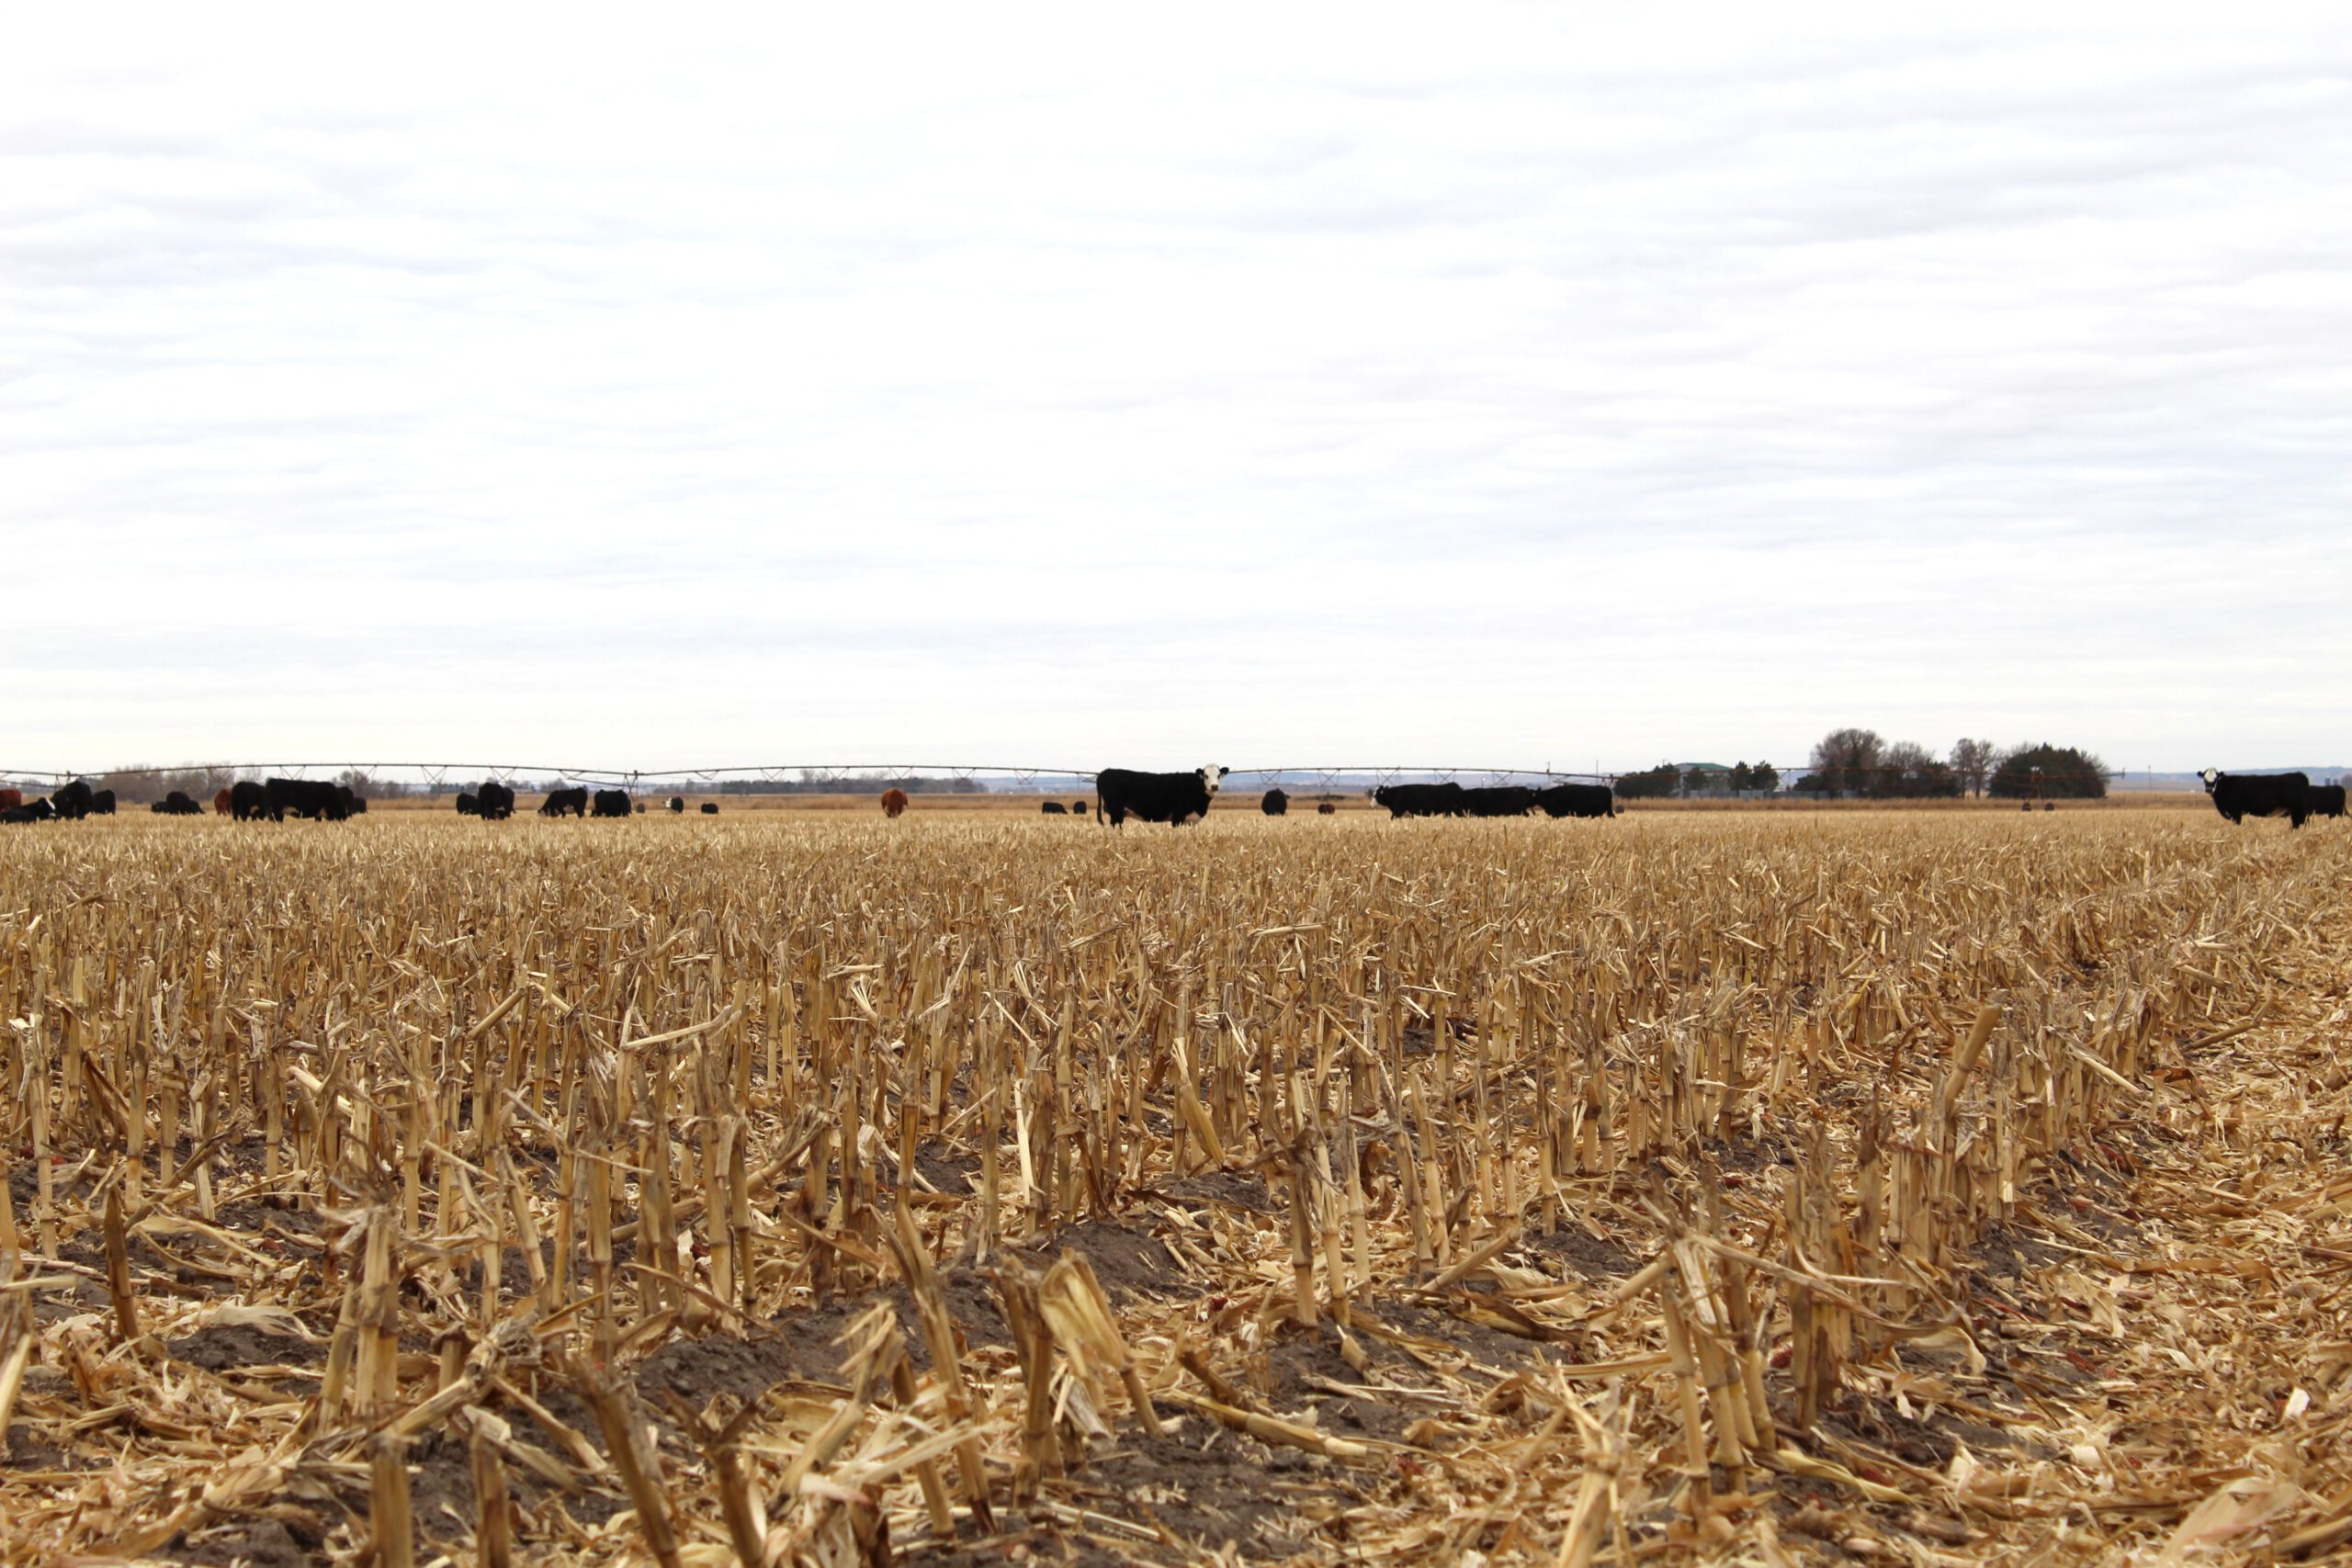
However, there can also be additional costs with no-till, particularly in relation to herbicides. Controlling the growth of the vegetation on the surface is vital to ensure seedlings can germinate successfully and get access to enough light and nutrients to thrive. In many cases, farmers practicing no-till have higher herbicide costs than those on conventional tillage systems. However, organic no-till IS possible, using free range livestock or cover crops to suppress weeds.

Strip or zone till

Strip or zone tillage is a conservation tillage system where only the seed bed is tilled, leaving plenty of crop residue to surround the crop rows. The strips or zones are alternated each year so half the field is always resting while the other half is tilled.Strip tillage offers farmers the best of both worlds – a tilled strip offering a good tilth and soil temperature, plus the moisture and nutrient-retaining benefits of no-till.

Ridge till

Ridge tillage is a system that involves the creation of raised beds or ridges in the field. Crop residue and stubble are left following the harvest until planting time. Tillage before planting is generally very shallow, disturbing only the ridge tops. Ridge tillage is an excellent system for retaining moisture in the soil while also providing a ‘dry zone’ on the shoulder of the ridge, which reduces run-off and prevents nutrient loss. The ridges also warm up faster in spring, making this system useful in zones with a shorter growing season. Mechanical weed control is also possible with ridge tillage, making it a popular option for organic farms.

How does it benefit the soil?

Undisturbed soil resembles a sponge, held together by an intricate structure of different soil particles and channels created by roots and soil organisms. It is also teeming with microbes and insects, all working together in a delicate ecosystem that retains and moves nutrients and water around under the surface.

Tillage disturbs this balance, by loosening or removing the plant matter that binds the soil, and displacing or killing the living organisms that contribute to its fertility. Over time, tillage means soil loses organic matter, is less able to absorb water and nutrients, and is more prone to erosion by wind and water. The long-term use of deep tillage can convert healthy soil into a lifeless growing medium that relies on chemical inputs for productivity.

Conservation tillage (particularly no-till) reduces soil disturbance and enables the soil’s ecosystem to remain intact. Essentially, it allows nature to do the work for the farmer. Organic matter from the previous year’s crop decomposes naturally, and is incorporated into the soil by earthworms and insects. Burrowing organisms and plant roots create channels that allow water and nutrients to move around more freely, reducing the need for fertilizer.

How does it help with climate change?

Farmers all over the USA are struggling with the effects of a changing climate. In 2022, 75% of US farmers said they struggled with drought conditions and in some areas, the growing season just past was the driest on record for 1,000 years. Along the banks of the Mississippi, the opposite problem – a higher water level, and frequent flooding.

Conservation tillage has benefits for both scenarios. Leaving vegetation on the surface and not disturbing the soil’s own drainage system means less surface runoff and increased soil absorbency in wet conditions, reducing the risk of flooding and soil loss due to overland flow.

This same structure means that in dry conditions, the soil is able to store more moisture, so plants have stores to draw on in drought periods. Surface vegetation protects the soil from erosion by wind. Crucially, conservation tillage means that the soil remains a carbon sink – carbon dioxide is sequestered underground, reducing emissions that are contributing to a warming planet.

Tillage parts for conservation systems

At Wearparts, we specialize in high-quality replacement tillage parts ideal for conservation tillage practices.

From our famously strong seed disc openers to ripper points, press wheels and air seeder parts, we’ve got everything you need to achieve efficient soil maintenance and planting, for reduced cost per acre and guaranteed yields. We also offer in-house hardfacing services that can extend the wearlife of our products by up to 30%.

We’re very proud to be official sponsors of the National No-Till Conference, taking place in St. Louis, Missouri from January 10-13. If you’d like to find out more about our replacement tillage parts or no-till in general, make sure you visit us there – or get in touch for more information.