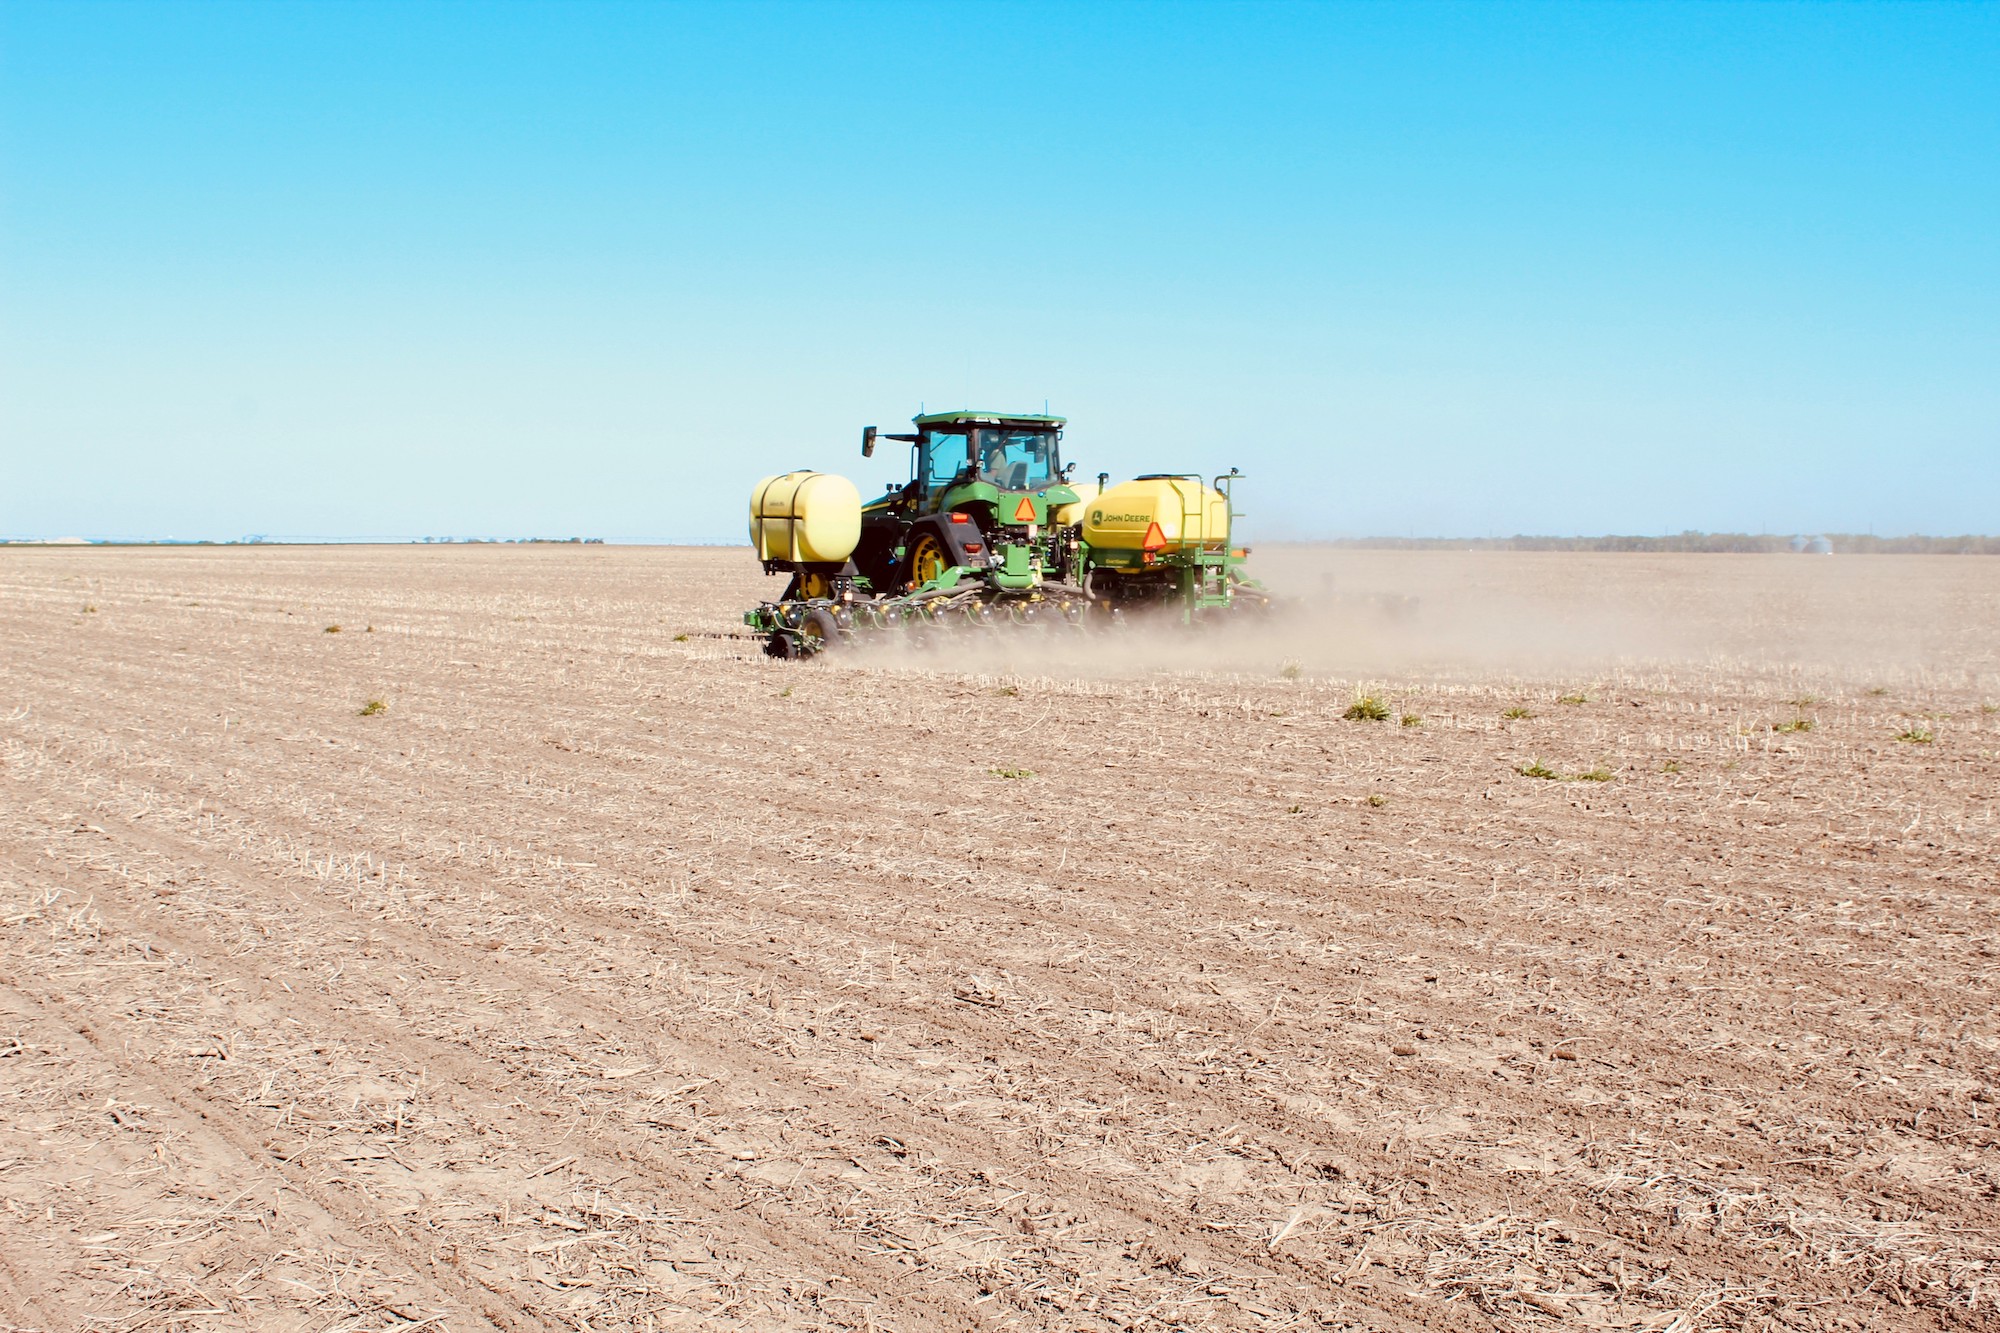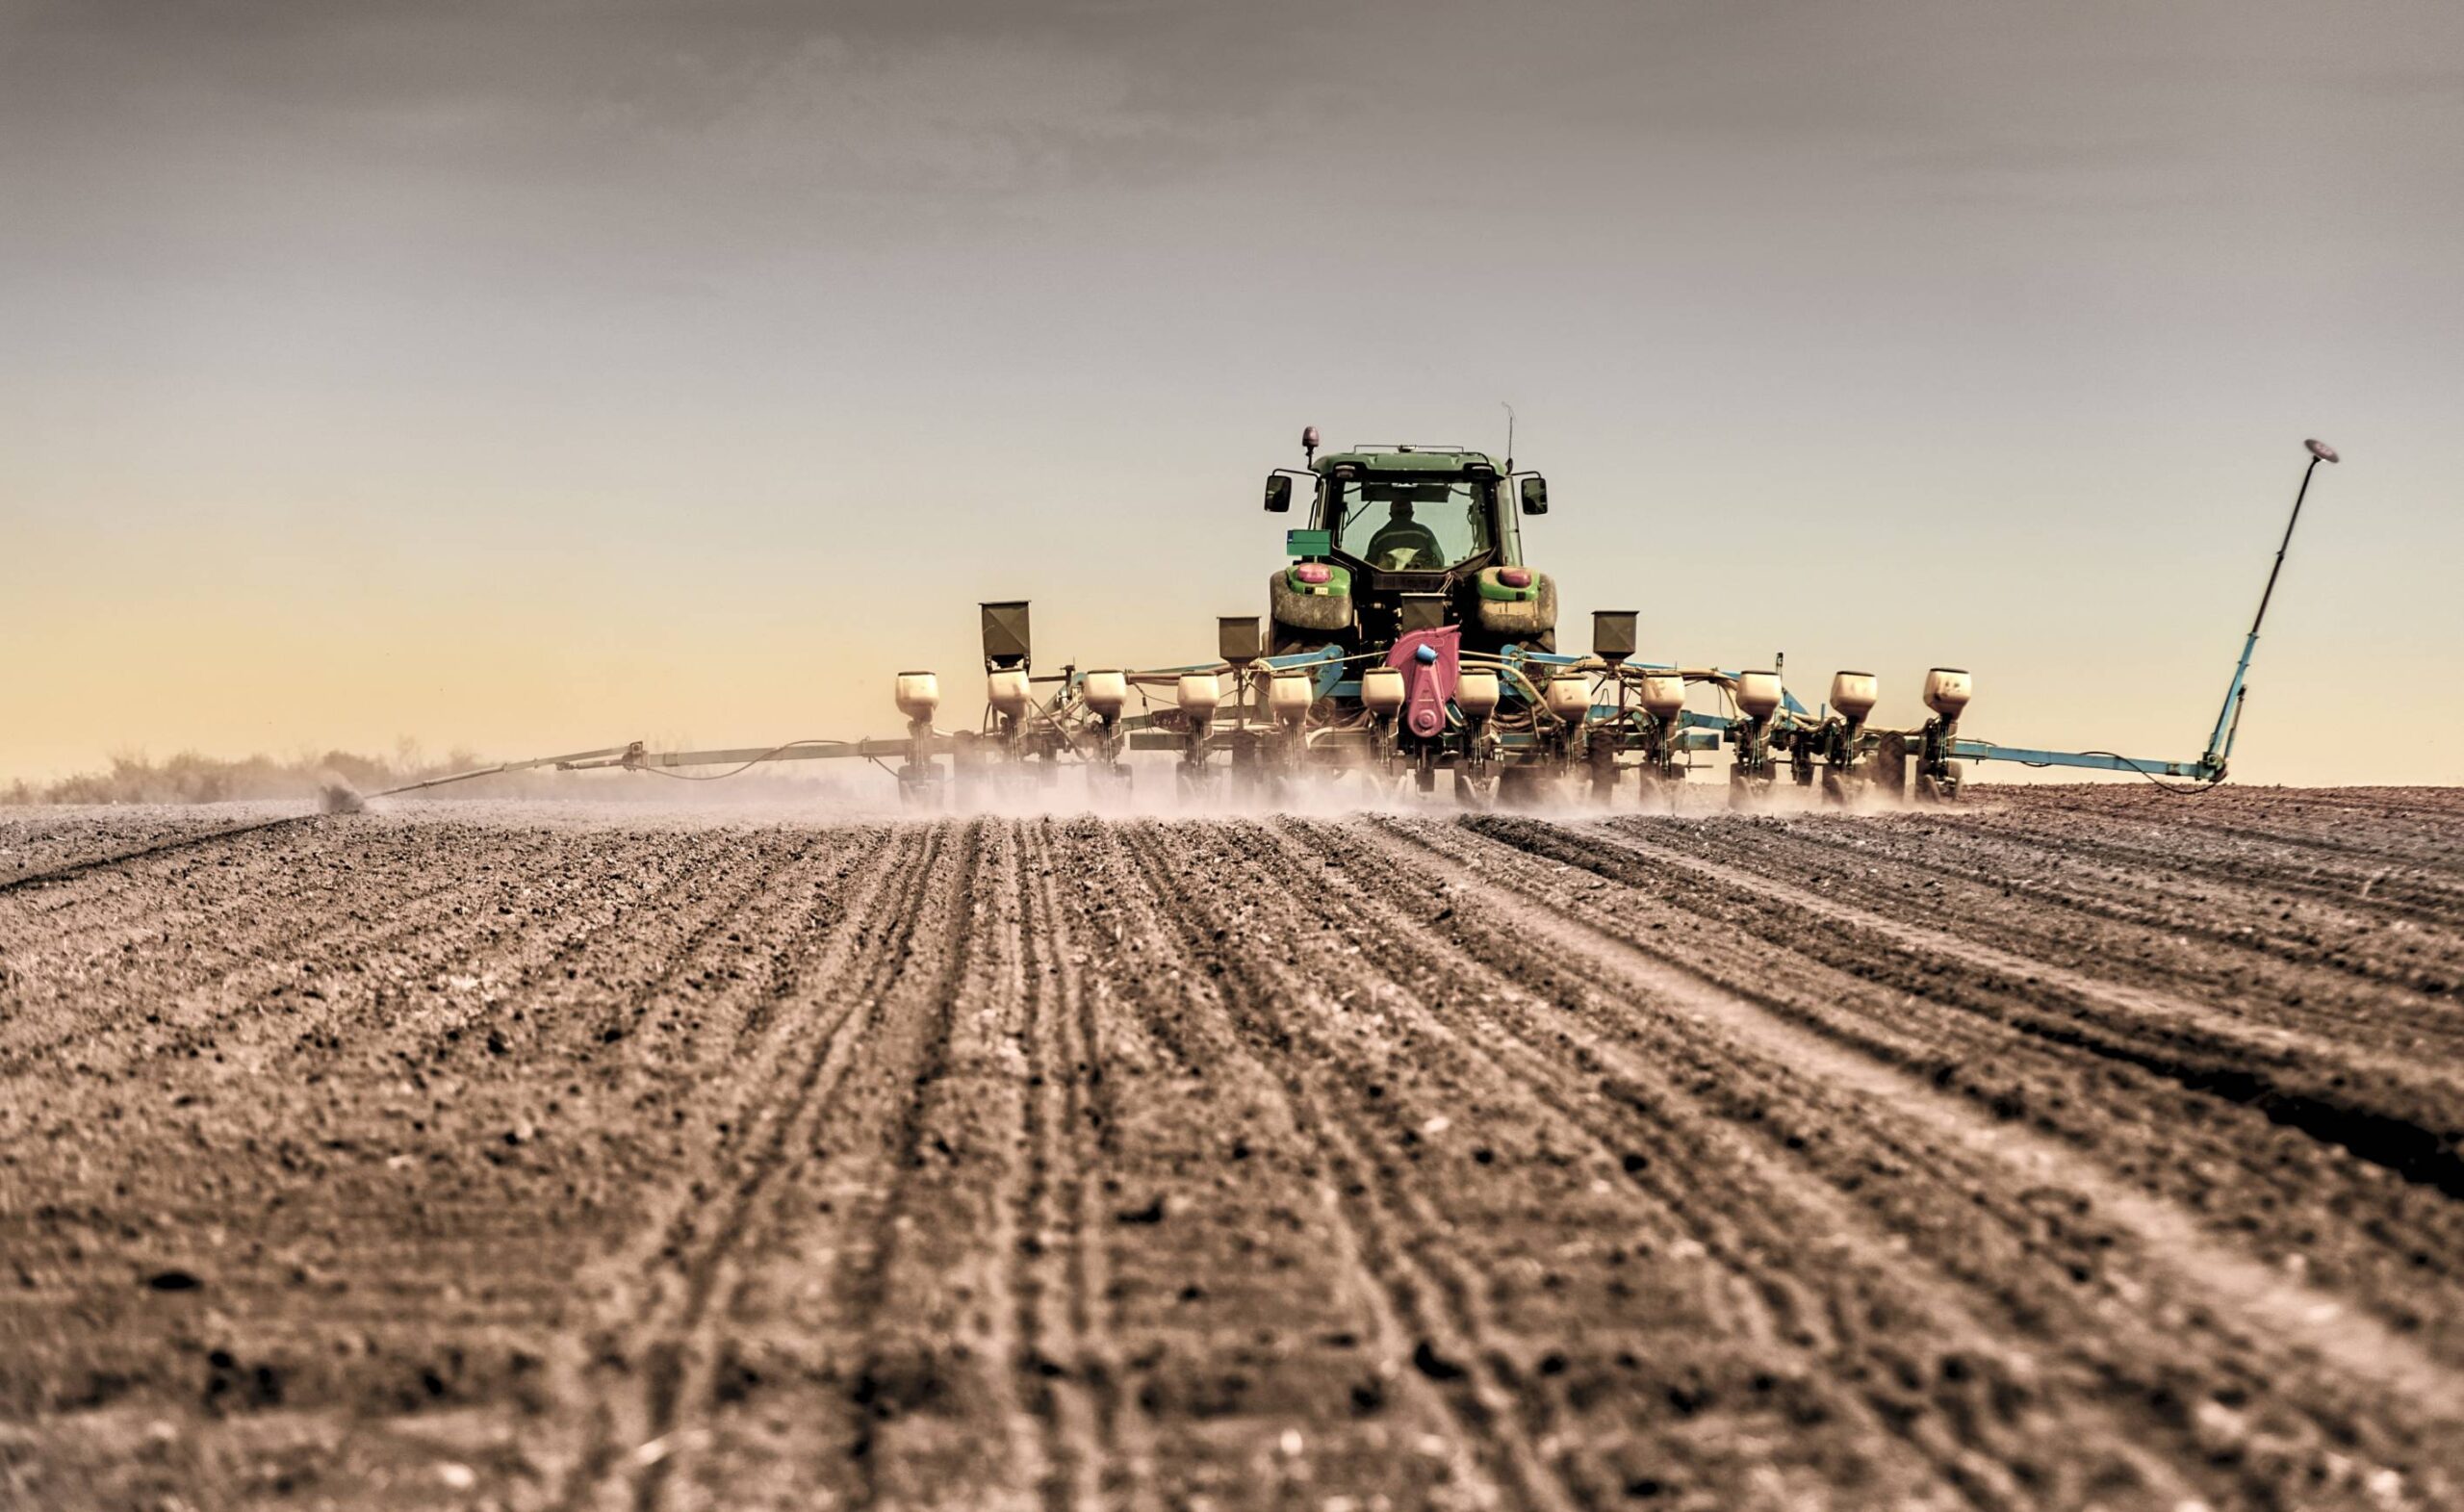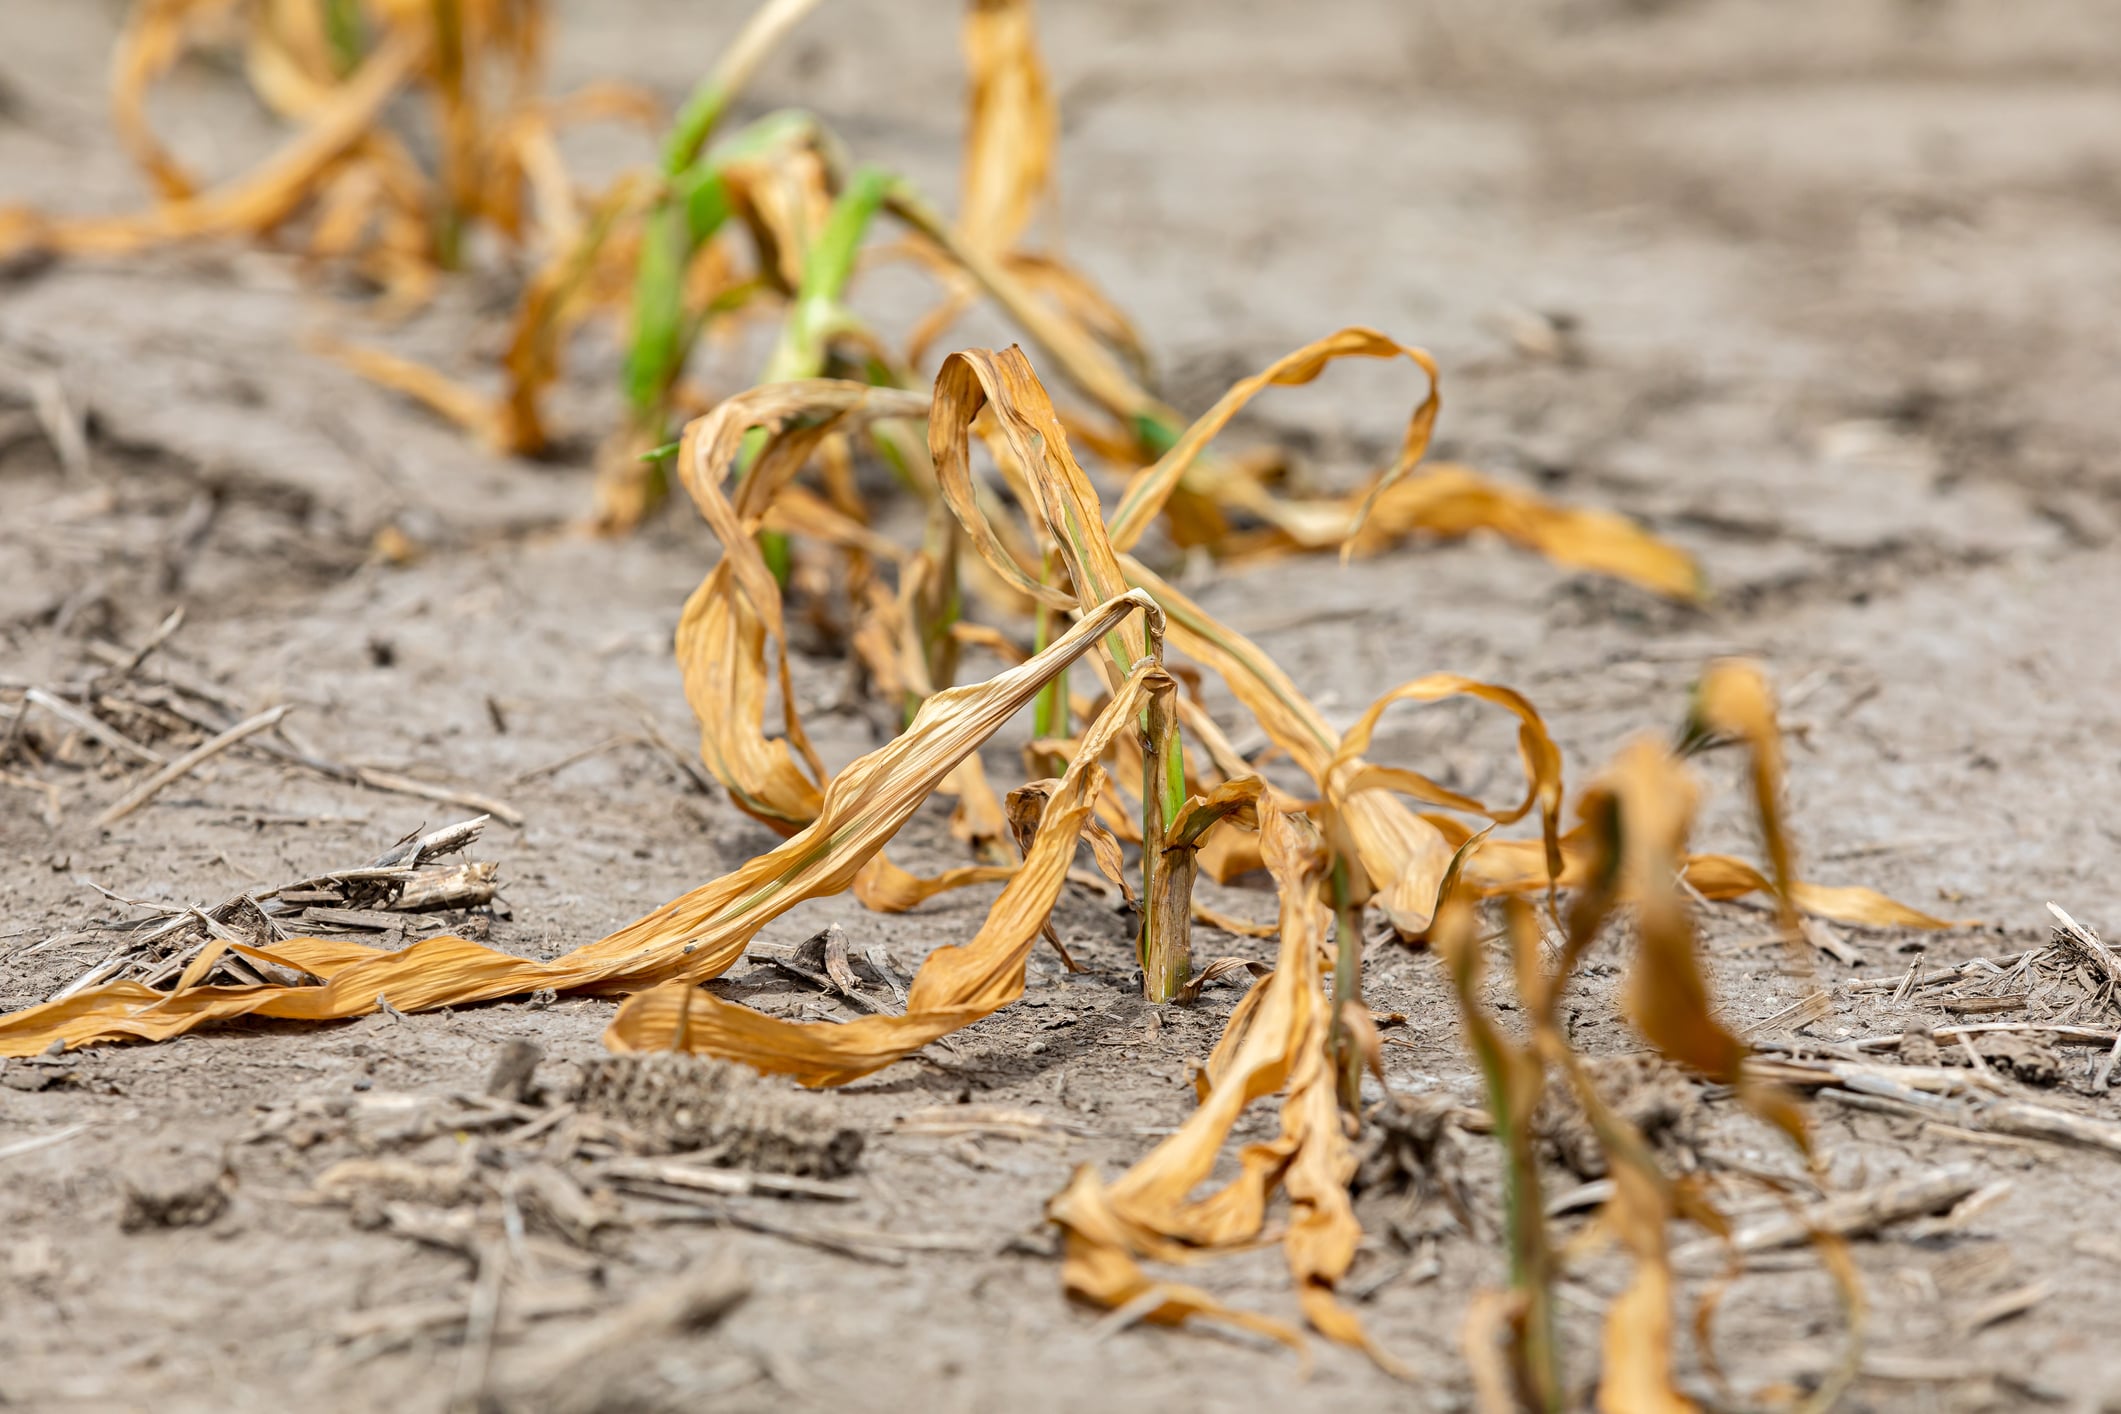
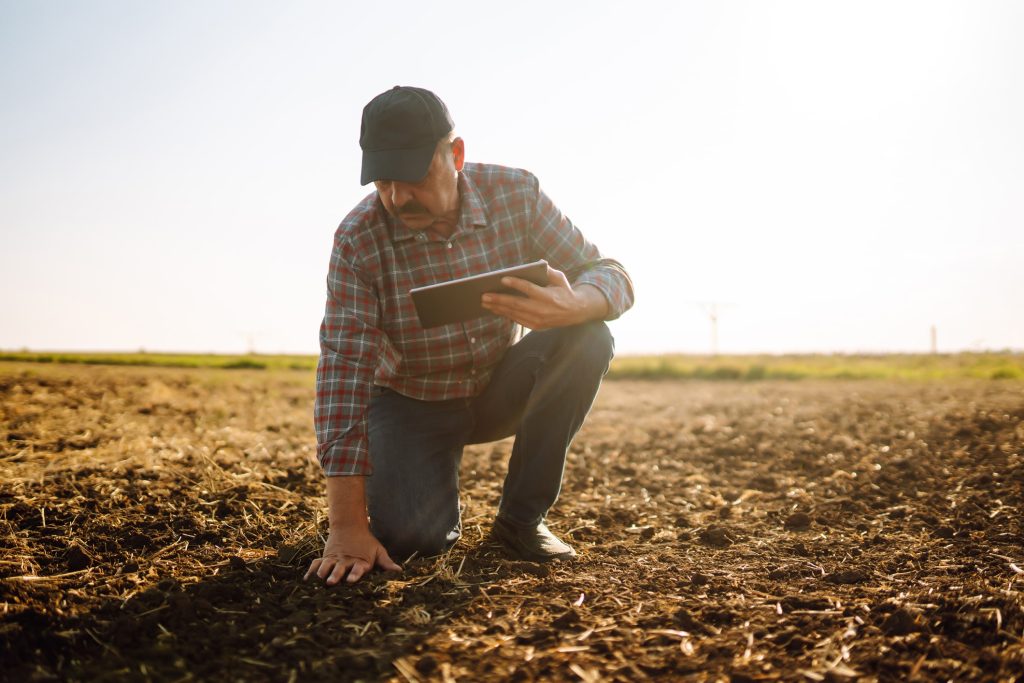
Much of America’s Midwest is currently experiencing a prolonged dry spell, with below normal precipitation and above normal temperatures resulting in worsening drought conditions.
According to the USDA’s drought monitor as of mid-June, parts of Nebraska, Kansas, Missouri and Texas were experiencing severe drought conditions with over 50% of the country’s corn and soybean crop currently growing in drought areas.
Even some storms with heavy rainfall have failed to make much difference in the driest places, which begs the question – is drought going to be a regular feature of US farming in the future? How bad could it get? And what can farmers do to mitigate against dry conditions?
Let’s take a look at farming in drought conditions – how to maximize soil moisture, what the options are for irrigation, and what the future of farming might look like as a result of ongoing climate conditions.

What can farmers do about drought?
There’s nothing a farmer can do to make it rain – but there are many steps farmers can take to address the problem of low precipitation. These include measures like artificial irrigation, soil enhancement, erosion prevention and careful crop selection. It’s worth noting that in extreme drought conditions, finding enough water to irrigate crops can be a challenge. Let’s take a look at some of the measures in more detail.
What are the main methods of soil irrigation?
There are lots of different methods of providing water to dry soil during a drought using irrigation systems. Some systems – such as overhead sprinkler systems – are high cost and high-tech, and most often used for specialized crops with low drought tolerance. Other methods are more cost effective and easier to apply across large acreages, like some of these tried and trusted methods:
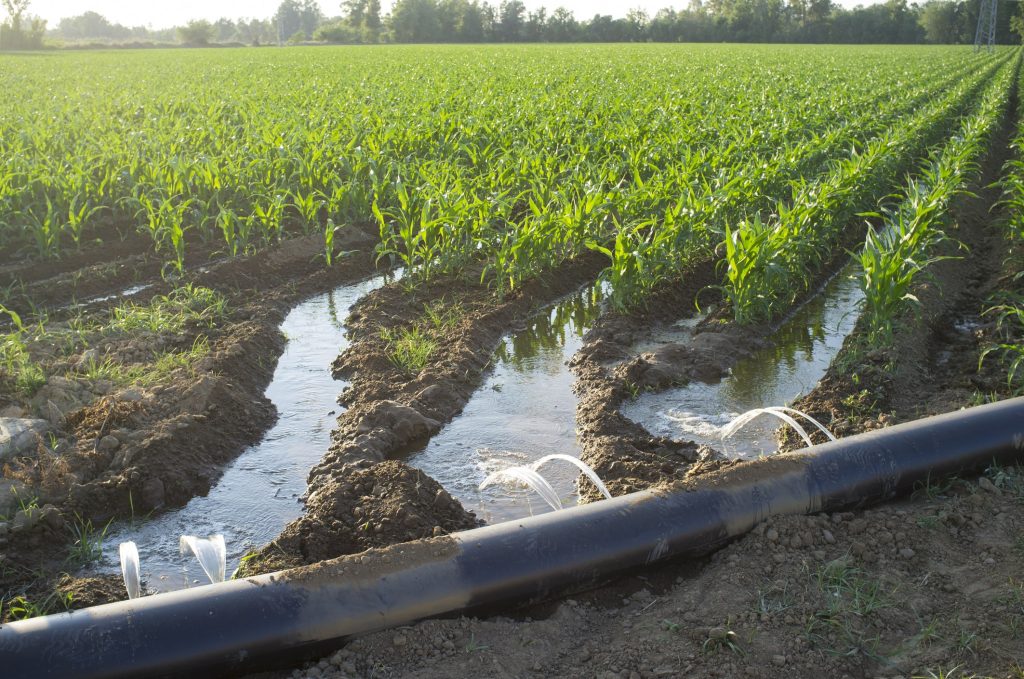
Surface irrigation
Surface irrigation methods are some of the most traditional and involve simply flooding water onto the surface of the soil and allowing it to absorb. Methods include furrow irrigation and border irrigation, where water is diverted into soil ‘troughs’ so it can’t run off before being absorbed. Surface irrigation is low tech so it can be used on very large acreages, but it requires a lot of water, and doesn’t deliver targeted irrigation to the plant.

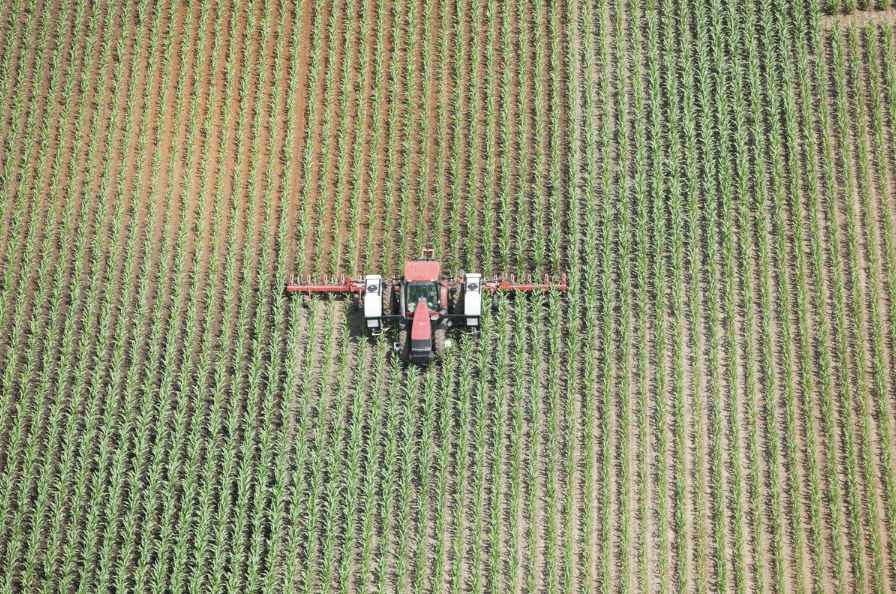
Center pivot irrigation
Center pivot irrigation is used for large farms because it can cover big areas efficiently. A sprinkler system is mounted on wheeled towers which roll in a circular pattern around a central ‘pivot’, which is the water source. Plants are then irrigated by the overhead sprinklers. These systems have led to the emergence of circular crop fields all over America, although they can be adapted for rectangular fields.
Drip irrigation
Drip irrigation is when a farmer runs a network of pipes or tubes through a field. The pipes have holes that drip feed water close to where the emerging plants are. This system is relatively low tech and low cost, and delivers targeted moisture directly to the plant so it uses less water. However, it may not be practical to use across very large areas.
Micro sprinkler
Like drip irrigation, micro sprinkler irrigation involves the use of a pipe network but instead of dripping out of holes in the pipe, the water is delivered through a series of small sprinkler attachments. These provide a very fine spray of water that is precisely targeted to the plant, making them very water efficient – but not very cost-effective across large acreages.
Sub-surface irrigation
Sub-surface irrigation is similar to drip irrigation except that the pipes for delivering the water are buried underground. This has some big advantages in that the moisture is delivered directly to the roots of the plant, and also because evaporation is kept to a minimum because the water is applied below the surface. It’s not very high-tech, but can be disruptive to install and requires careful monitoring to ensure soil does not become waterlogged. Care must also be taken not to disturb or damage the pipes during future planting cycles.
What are the alternatives to soil irrigation?
Artificial soil irrigation methods aren’t always very practical in modern day crop farming. The vast acreages involved make watering plants via a network of sprinklers or pipes very expensive.
Instead, farmers must look for ways to preserve the moisture that’s already in the soil so that plants have the best possible chance of survival, even when it doesn’t rain for long periods.
How can farmers conserve soil moisture?
In order to retain moisture in the soil, it’s important to preserve both the structure and the content of that soil. The more organic matter soil contains, the better it is at absorbing and retaining moisture. Undisturbed soil has its own structure – a complex network of channels that allow moisture and nutrients to be moved around and stored. Preserving the soil in the best possible condition is the key to preventing moisture loss. Here’s a look at some ways farmers can optimise soil condition:
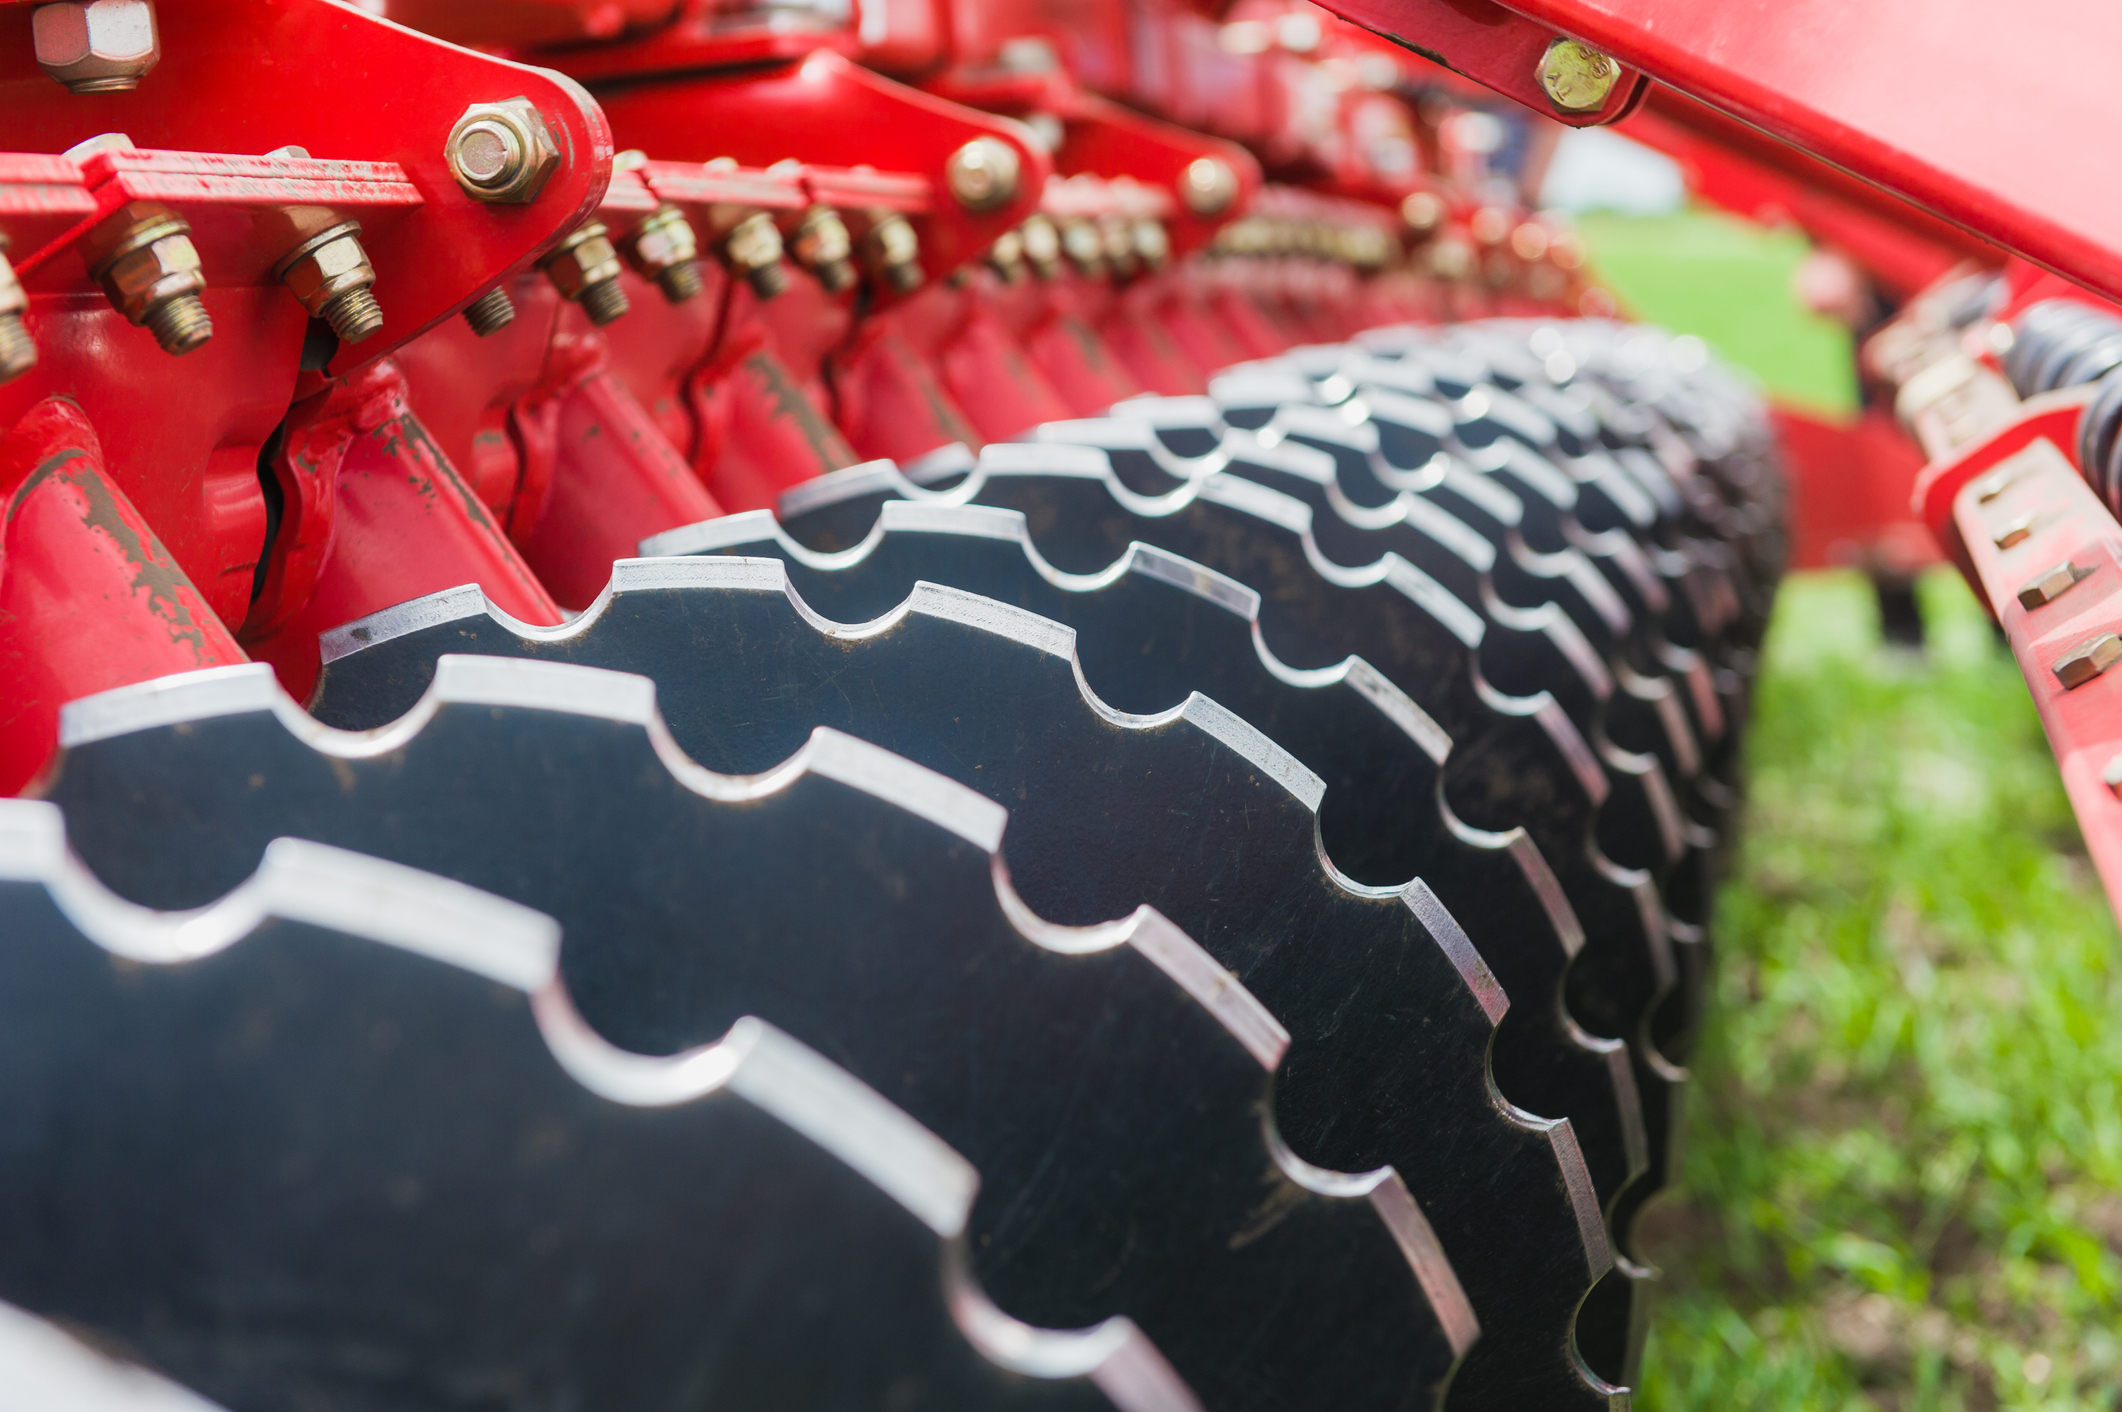
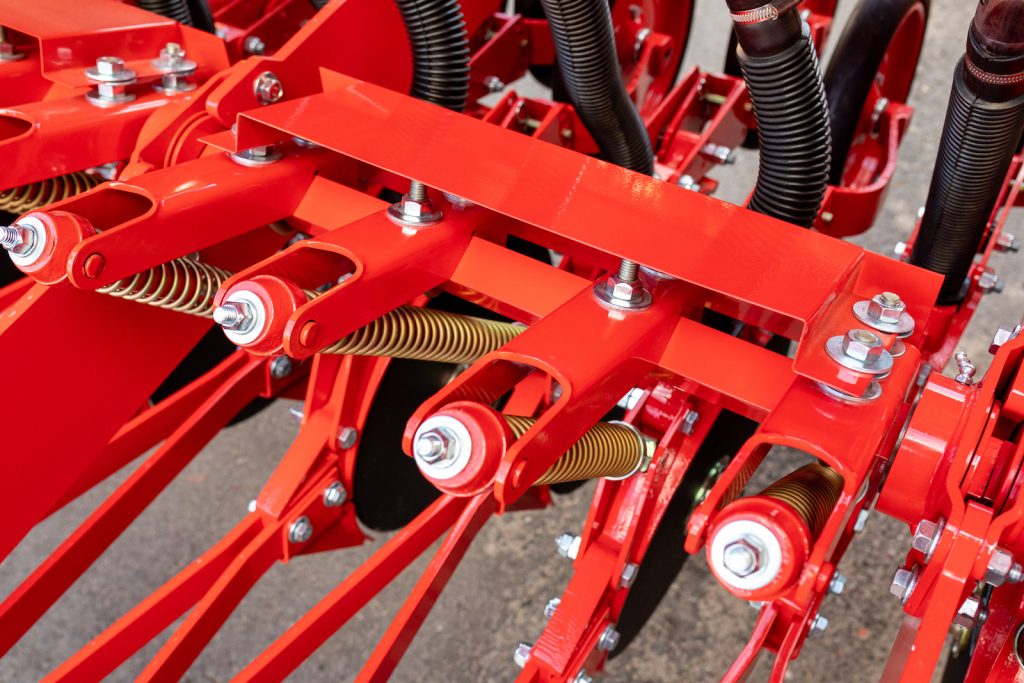
No-till systems
In no-till systems, the soil is not plowed or turned over, so its natural structure is preserved. This means that all the tiny pores and channels in the soil that are used to store water remain intact, and can be accessed by the roots of young plants.
Cover cropping
The pressures of modern farming have led to the ‘supersizing’ of the industry – it’s more economical to farm vast swathes of land using huge 100ft machines that can do more work in a single pass. But these practices have meant the loss of natural hedgerows, woodlands and other windbreaks that are not only important for biodiversity, but also for moisture conservation. A field surrounded by tall trees has its own microclimate – natural shade slows the evaporation of moisture, while tree canopies stop the wind from carrying away moist air.

Selecting crops for dry climates
One of the best things farmers can do to mitigate for drought conditions is grow crops that are naturally adapted to dry conditions. These types of crops will require less irrigation and be less vulnerable to pests and disease.
Crops that cope well with dry conditions typically have deep roots that allow them to access moisture locked away in lower soil levels. Science has led to the development of new varieties of staple crops like corn and soya that are better adapted to drought conditions. But there are many crops that are naturally able to cope with dry soils, and many believe we should be looking into these as a more sustainable food source for the future.
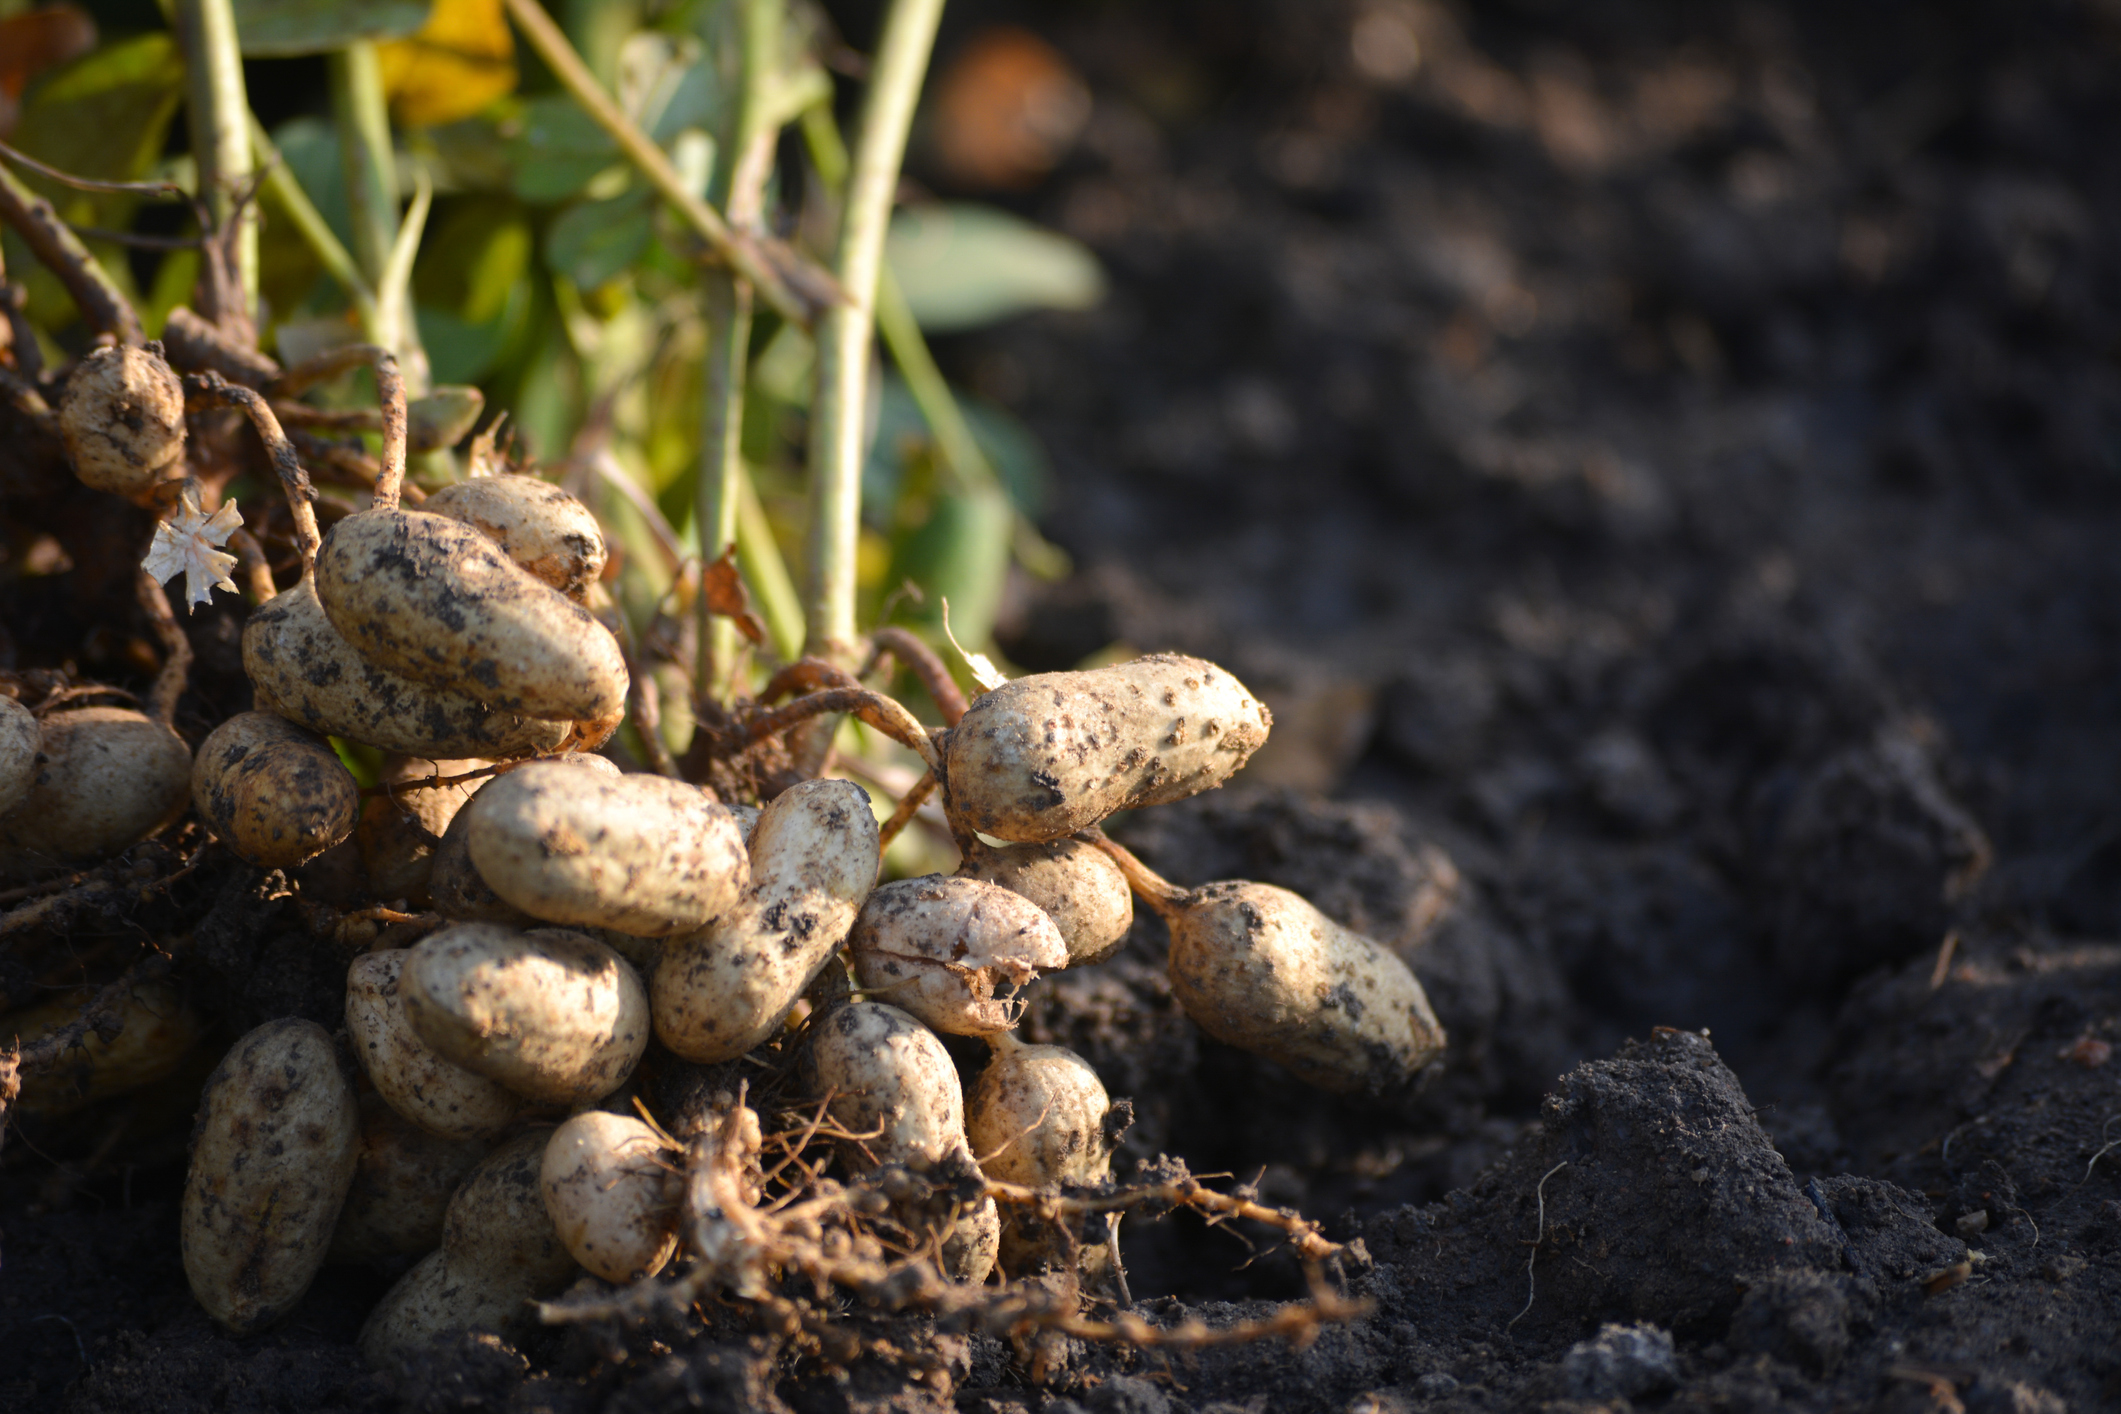
These crops include cowpeas (black eyed peas), sorghum, alfalfa and groundnuts.
What to do if you are concerned about drought
There isn’t anything farmers can do that will prevent a drought or make it rain. But there are things you can do to be better prepared, and to sustain their farms through prolonged dry periods.
- Farmers don’t need reminding to keep their eye on the weather forecast – but it’s also worth keeping your finger on the pulse of the USDA drought monitoring system. You can register to submit data from your own farm that helps meteorologists understand precipitation and drought patterns better. It’s hoped this information will allow farmers to predict when future droughts will occur and act accordingly.
- Make sure you are aware of any available government support and compensation programs relevant to drought. You may be able to access financial support for irrigation systems, or claim against losses of livestock and/or crops due to excessively dry weather.
- Work with your fellow farmers. In many drought-prone states, farmers have formed water-sharing collectives or made arrangements with neighboring farms to share water resources. Remember, a little water can make a big difference – collaborating with others can optimize water allocation and reduce individual risks.
Looking to the future
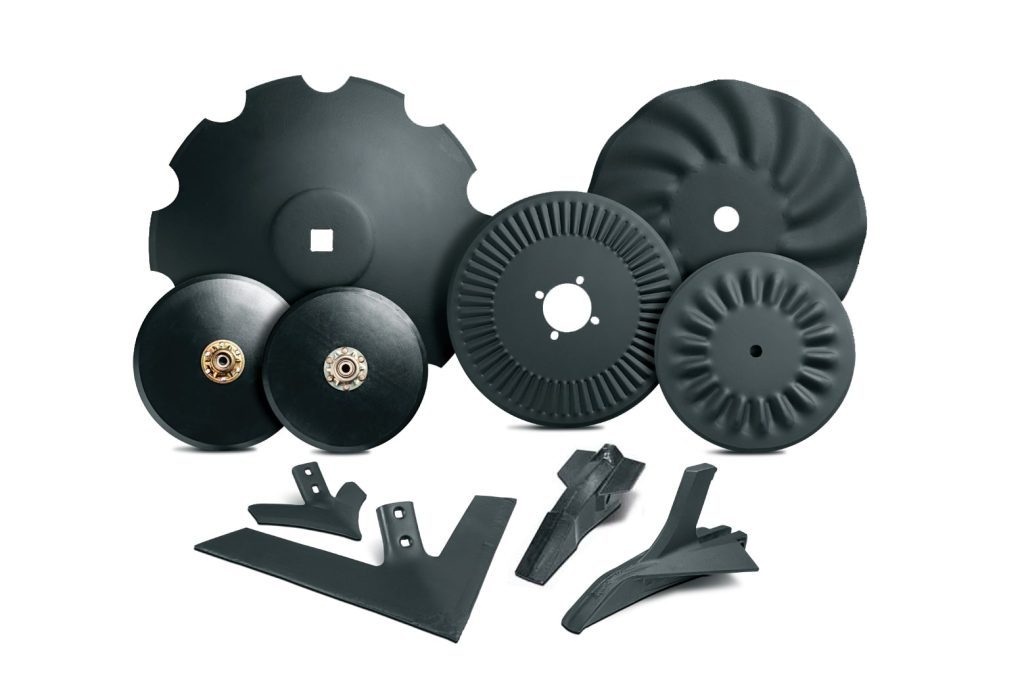
If you’re considering switching your farming system to a conservation or no-till method to conserve water, Wearparts can help. We offer a wide range of replacement tillage and planting parts developed specifically for no-till systems, that can help you work the soil efficiently without damaging its natural structures. Get in touch to find out more.