weareparts logo

1-888-4-BLADES (425-2337)

FREE SHIPPING ON Qualifying Orders

Post-Harvest Soil Optimization: Fall Tillage and Tools

Depending on where you’re located in the US, your harvest season is perhaps just beginning, well underway, or just about wrapped for 2023.  That means it’s time to focus on post-harvest and what you can do now to ensure a more successful crop yield in 2024.  

Of course, you may be preparing to plant cover crops as part of this strategy, but even if you’re not, there are some important steps to take now that can help make sure your soil is in peak condition come spring planting.  Let’s take a look at how to optimise your fall tillage for better results next year.

Why fall tillage?

In no-till systems, the soil won’t be touched after crops are harvested.  But the vast majority of US farmers will carry out some form of tillage in the fall, even if it’s very light or shallow.  Extremes of heat, drought and rainfall in different locations across the states means that after a prolonged growing season, the upper layers of soil can benefit from some light tillage to break up the crust, reduce compaction and manage residue or weeds.
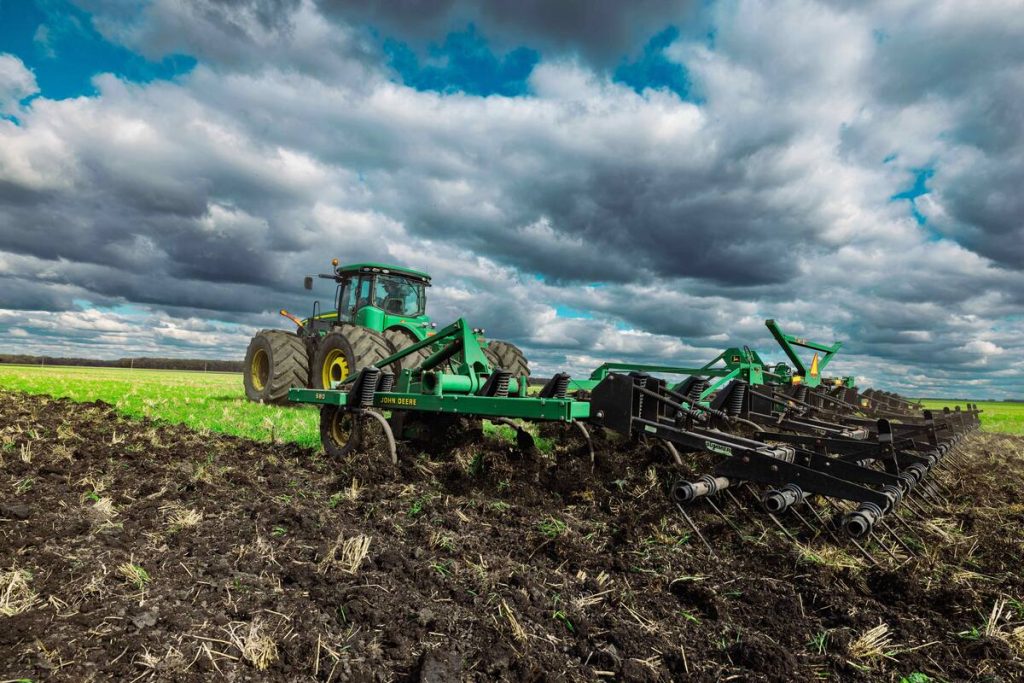
Tractor engaging in autumn-chisel plowing beneath a cloudy sky

What kind of fall tillage is right for my farm?

Unless you’re new to farming, you’ll already have a good idea of what type of tillage you need to counteract any soil problems that have arisen over summer, or that are likely to occur in the winter months.  For instance, if you know a particular part of the farm is prone to aggressive weeds, you’ll want to address those before they get established.  If you have a field where the soil has become very baked, you might want to break that up so that fall rains can sink in rather than run off.

But if you want to get really technical about which fall tillage method is right for your soil – and even which tillage tools to use – a great way to find out is to use a soil compaction probe or penetrometer.
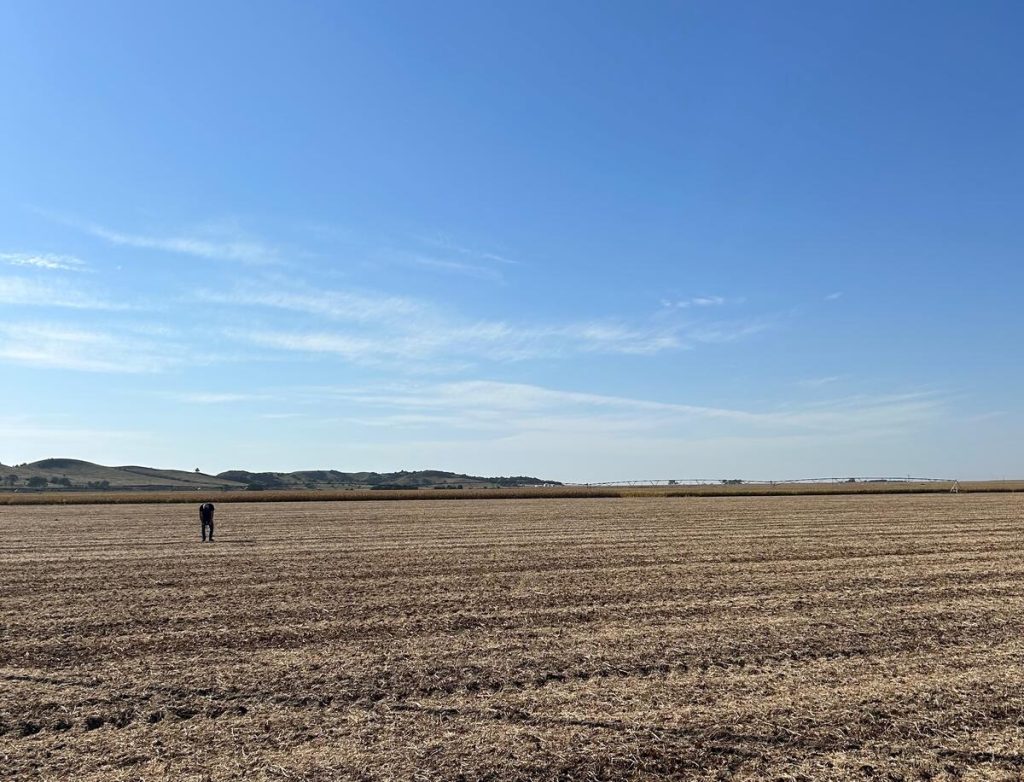
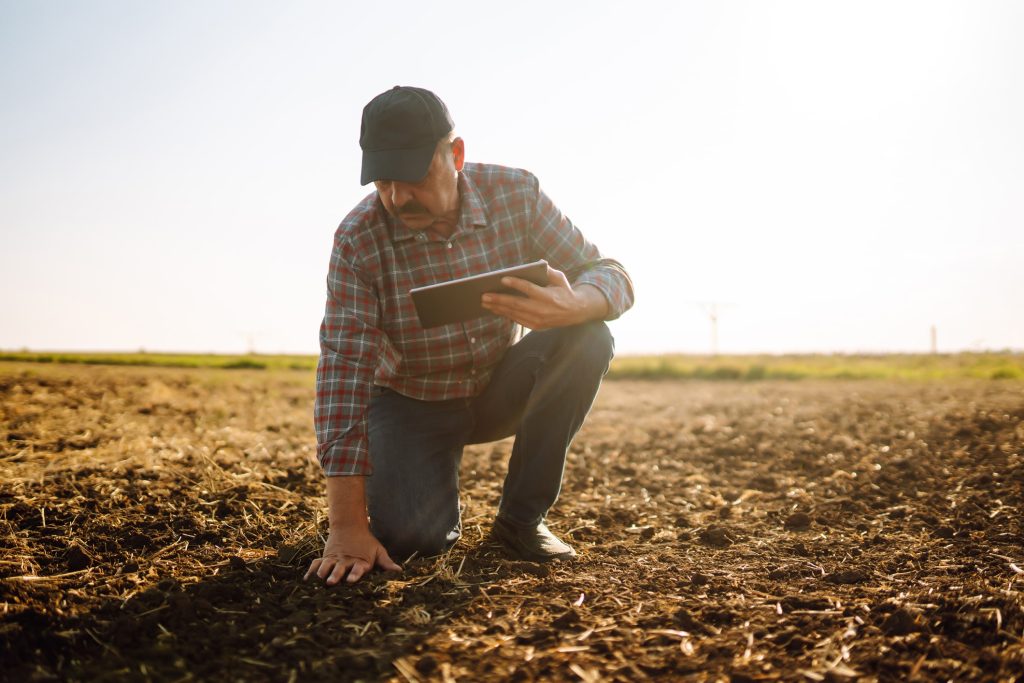
Man standing in a freshly plowed field after harvest, demonstrating fall tillage techniques for soil optimization

What is a soil penetrometer used for?

A soil penetrometer is a probe with a handle and a gauge for measuring pressure (PSI).  It is used to determine whether the soil in a particular field or area has a compaction layer, and if so, how deep that layer runs.  

The instructions for using a penetrometer may vary from model to model but the basic premise is that any soil structure requiring 300PSI or more of pressure to push the probe in is said to be compacted.

The probe has a sharp tip that is inserted into the soil and manually pushed down.  When the pressure reaches 300PSI, the depth is noted.  The user then continues to push the probe into the soil until the pressure required drops to less than 300PSI, and this depth is also noted.  The difference between the two measurements is the depth of the compaction layer.

Once you’ve determined where your soil compaction is, how deep it is, and which crops you want to grow there next, you can make an informed decision about how deeply and aggressively you need to till the soil.

How much tillage do I need?

The penetrometer simulates root penetration, which declines exponentially above 150PSI of compaction, limiting a crop’s ability to take up moisture and nutrients from the soil and therefore inhibiting growth.

The goal of your tillage operations is to reduce soil compaction to less than 150PSI within the root zone of the crop you are planning to grow.  For shallow-rooted crops like lettuce, you may only need 12 inches of non-compacted soil, so a deeper compaction layer may not need to be disturbed.

For deep-rooted crops like corn, which can penetrate as far as 4 feet, some surface compaction can be easily resolved without the need for aggressive, deep tillage blades – the developing roots will do the rest on their own.

Information about the severity and depth of soil compaction should be weighed against other factors, particularly soil moisture – ideally 24 hours after a saturating rain or irrigation cycle.  If the soil is very dry, the PSI reading will be much higher and you could end up performing unnecessary tillage to resolve a problem that could be fixed with water.
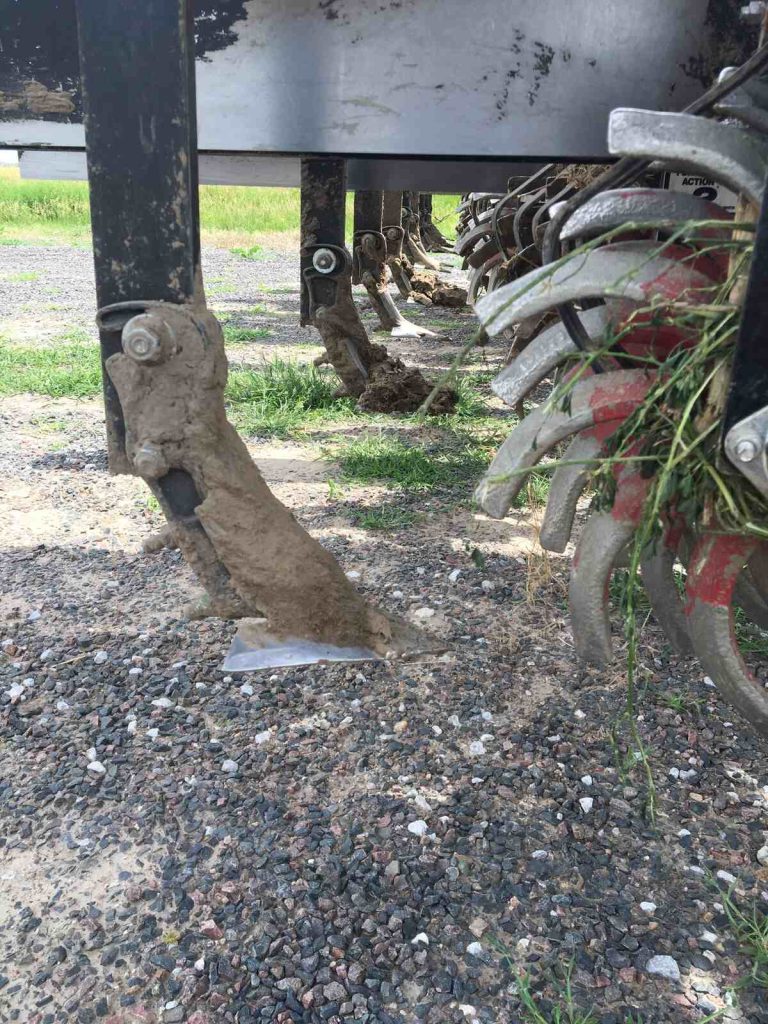
Close-up view of post-harvest soil optimization and blades on a gravel ground

What type of tillage tools should I use to reduce compaction?

Depending on the severity and depth of your soil’s compaction layer, you can select tillage tools to address it with the least amount of soil disturbance.

Leaving the soil undisturbed has benefits for reducing future compaction because it preserves the natural structure – the plant material, earthworm burrows, pores and biodiversity that enable soil to move moisture and nutrients around. 

There are options for shallow, medium and deep tillage as well as options for how much you want to displace the soil, which we’ll explore below:

Shallow tillage tools

High-speed compact discs

High-speed compact discs are usually mid-shallow concavity blades that penetrate the soil by up to 12 inches, but more typically around 8-10 inches.  The machinery is designed to break up surface compaction and colds of earth in a single, high-speed pass.

Cultivators

Cultivators are also used for shallow or secondary tillage, either to remove weeds or to create a fine surface tilth for seed sowing.  Cultivators can be fitted with a variety of tools including ripper points, disc blades and sweep blades (also known as shovels).

Sweeps

A sweep or shovel is a wide, footed blade with a sharp nose and one or two ‘wings’ extending out either side.  The point of the blade penetrates the soil at a shallow depth of around 10-15cm and the wings are dragged through parallel to the soil surface, slicing weeds just below the surface and breaking up the hardpan if present.

Vertical tillage blades

Vertical tillage blades are typically between 20 and 24 inches in diameter so they penetrate between 10 and 12 inches deep.  When the blades are flat and smooth, they don’t move the top layer of soil sideways or cause it to turn over. 

Coulter blades

Coulter blades are typically run in front of deeper tillage blades to chop residue or soften the soil, but they can be used for shallow tillage.  They start from around 15 inches in diameter which gives around 7 inches of soil penetration.  Wavy or fluted coulter blades have a more aggressive action which helps to break up clumps of residue or clods of soil on the surface.
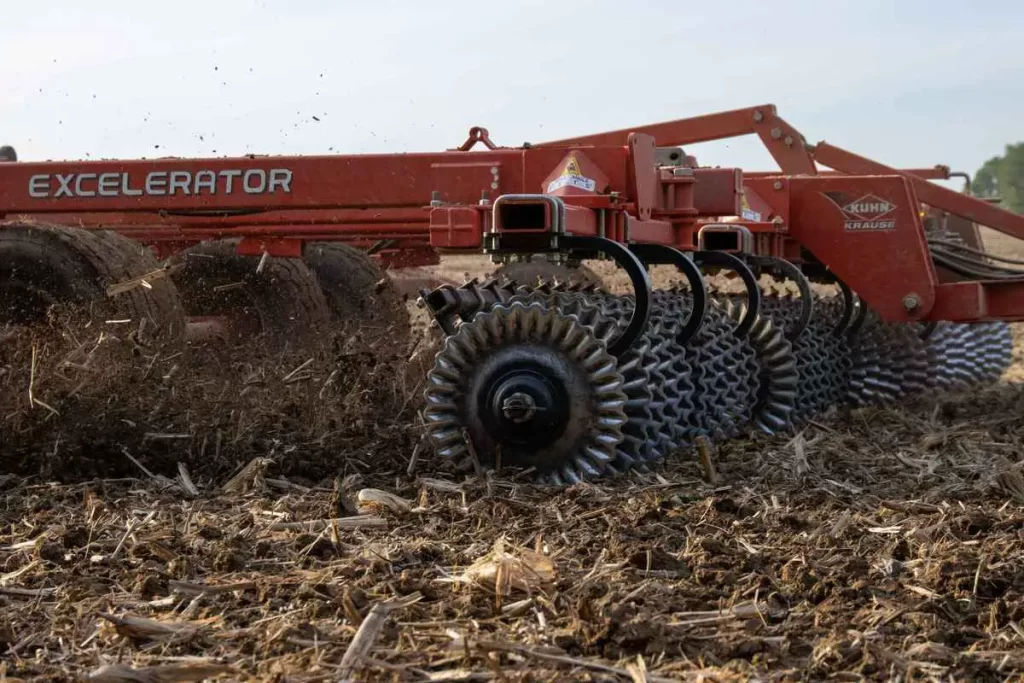
Close-up of a red 'Excelerator' tillage equipment by KUHN Krause working in the field, turning over soil after harvest

Medium tillage tools

Medium-depth tillage can be carried out by using tillage tools that are adjustable – so for example, chisel plow spikes are normally a deep tillage tool, but their depth can be raised so they don’t go as deep. 

Likewise some shallow tillage tools, like vertical tillage blades, can have a more aggressive action if you choose wavy or fluted blades that cause more lateral soil displacement.

Deep tillage tools

Chisel Plow / Subsoiler

A chisel plough is a heavy duty machine that drags sharp points called chisel plow spikes down into the soil and then pulls them along underneath the surface at a maximum depth of around 18 inches.

Chisel ploughs are specifically designed to address compaction of the subsoil without disturbing residue on the surface.  They are most often used in dry regions, where they can help to aerate the soil and facilitate moisture infiltration.

Disc blades

Disc blades are available in a wide range of depths, typically up to 42 inches but sometimes even larger, and can penetrate up to 24 inches below the soil surface

The edge of a disc blade may be smooth or notched to aid the cutting action of the blade and prevent clogging with mud or residue.  Disc blades often have a concave profile, like a shallow bowl – the more concave the disc, the more aggressive the tillage.

The dished shape has a similar effect to a traditional moldboard plow, turning over the top layer of soil as it passes through the field.

Get ready for fall tillage

At Wearparts we manufacture some of the highest quality, most durable tillage tools on the planet, with options to fit all popular OEM machinery brands.

For advice on the best tillage tools for your soil conditions this fall, or to locate your nearest Wearparts dealer, get in touch.

Earth-Friendly Farming: How No-Till Boosts Crops and Captures Carbon

Farmers have long known that healthy soil makes for healthier and more abundant crops.  This is important because of our need to produce enough food globally for a growing population, within a limited land mass.

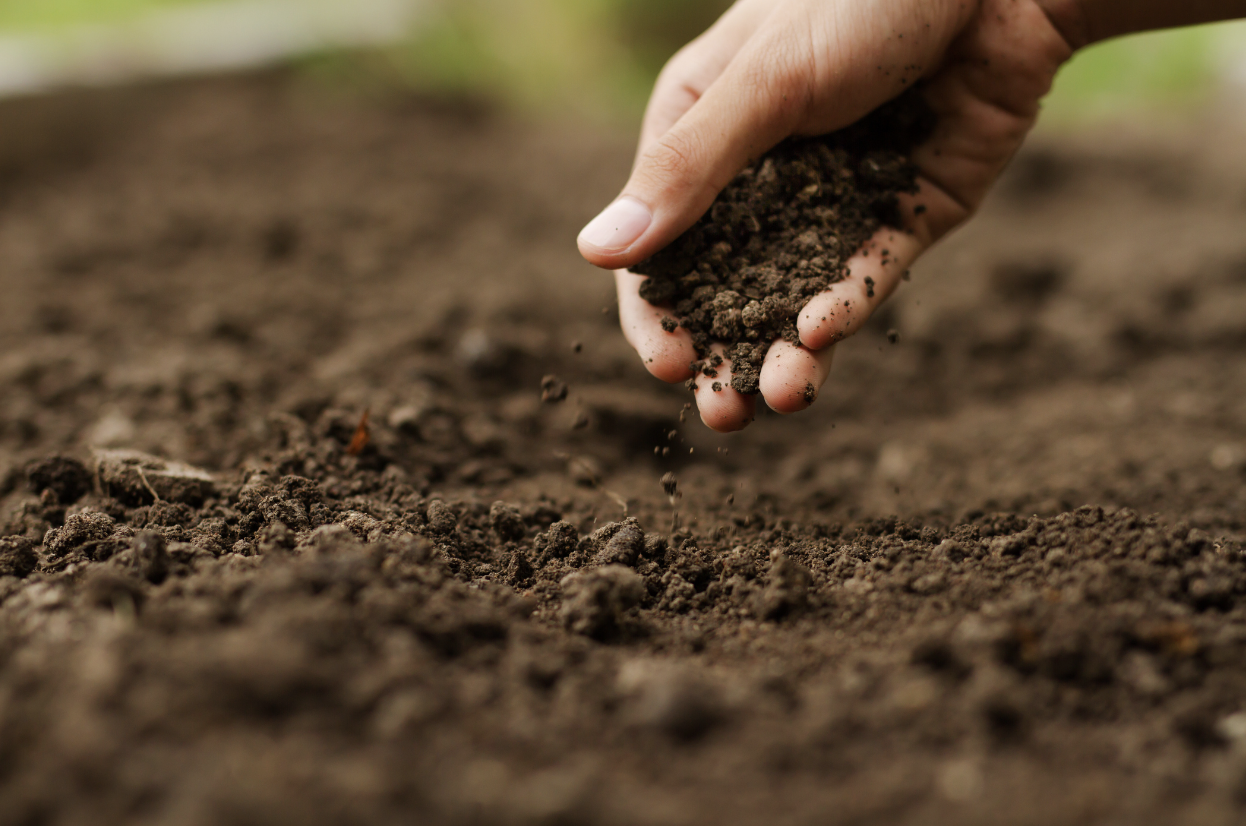
But food production isn’t the only thing motivating an increased focus on soil health.  Increasingly, we’re learning about the soil’s ability to capture and sequester carbon, making it one of the most significant prospective tools in the fight to slow global warming.

So how does it work – how does soil capture and hold onto carbon?  And how can farmers meet growing demand for crops while still protecting this delicate natural process?  Let’s take a look.

What is carbon?

Carbon is the fourth most abundant chemical element in the universe.  It’s the building block for life as we know it, because it has the ability to form complex molecules like proteins and DNA.  Earth is a ‘closed system’ when it comes to carbon – we have a fixed amount, that never changes.  

How is carbon stored and released?

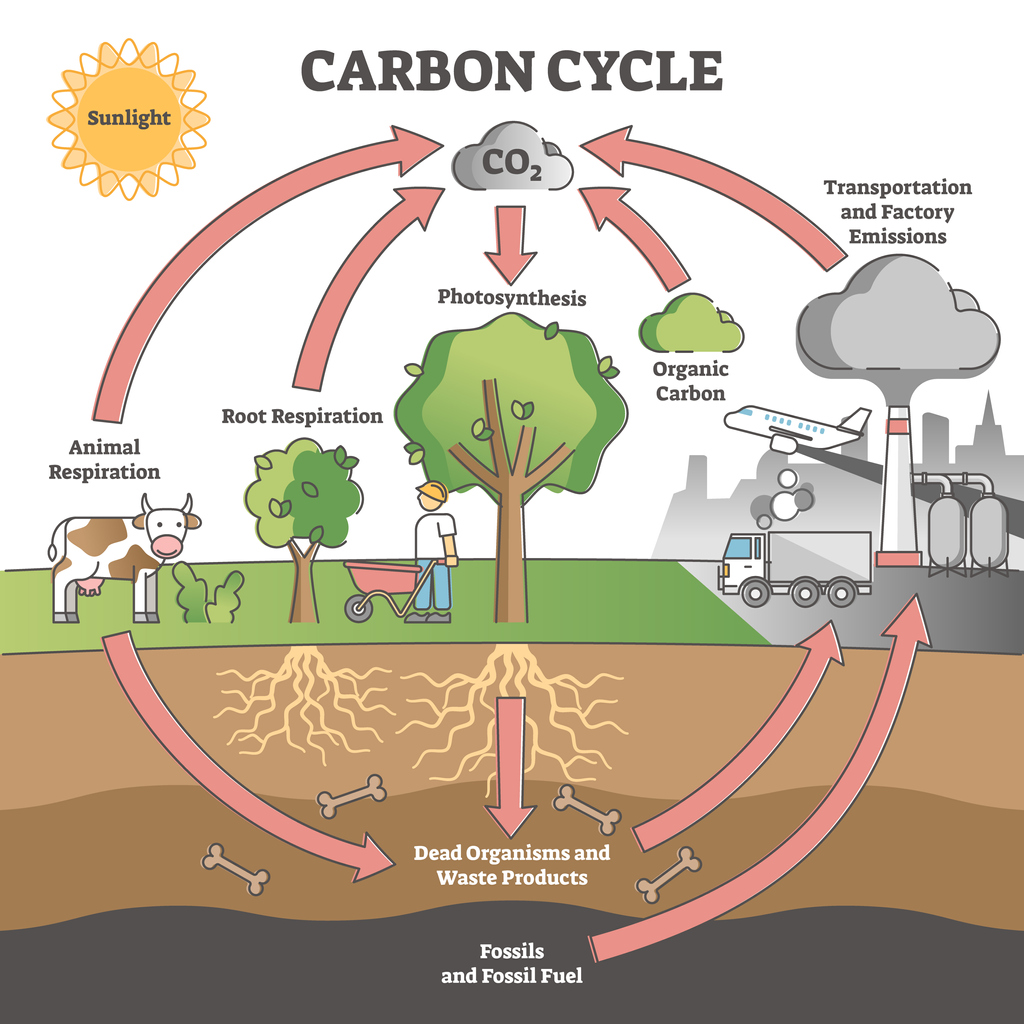
Most carbon on Earth is stored in the atmosphere and in rock, but a lot is also stored in living matter including live organisms and vegetation.  Plants and other organisms are always exchanging carbon with the atmosphere – this is called the carbon cycle.

Carbon dioxide (CO2) in the atmosphere is absorbed by plants as they photosynthesise.  This carbon is then stored in the leaves, trunks and roots of the plants or trees.  Living things eat the plants, and convert them into energy in a process called respiration, which generates CO2 as a waste product – this can be exhaled during breathing, or expelled in the form of other C02-based gases like methane, and goes back into the atmosphere.

When plants and other organisms die, the carbon they were made of is released as they decompose, and becomes part of the soil.  Decomposed vegetable matter from plants can eventually, after very long periods of time, be transformed by immense pressure into rocks and even fossil fuels, like coal. 

When we dig up or burn these fuels, large amounts of carbon get released into the atmosphere.  Carbon is also released when we remove vegetation, when we burn trees for fuel, and when we till the soil.

Why is carbon bad?

In short, it isn’t.  Without carbon, life on earth couldn’t exist.  Carbon dioxide in our atmosphere acts like insulation, retaining heat from the sun so that Earth doesn’t get too cold.  But too much carbon dioxide in the atmosphere intensifies this warming effect.  

Scientists estimate that since humans started burning fossil fuels during the industrial revolution, the average surface temperature on earth has risen by 1.8°F.  They are concerned that too much warming could have serious consequences for Earth such as a rise in sea levels, habitat loss and extreme weather patterns that could affect farming and food supplies.  

Under the terms of the Paris Climate Agreement, the global goal is to reduce carbon emissions and keep the average surface temperatures at no more than 3.7°F above pre-industrial levels.

How does the soil trap (sequester) carbon?

Many natural environments like forests, wetlands, peatlands and grasslands are referred to by scientists as ‘carbon sinks’ because they trap and store huge amounts of carbon deep underground.

During photosynthesis, plants absorb carbon dioxide from the air. They use sunlight and special cells called chloroplasts to convert it into glucose, which they use to help them grow, and oxygen, which they release into the atmosphere.  The carbon molecules remain stored inside the plant’s structures and when the plant decays, they are typically transferred to the soil.  

As plant lifecycles continue, old plants die and new ones germinate, feeding off the decaying plant matter in the soil.  In the upper levels, some carbon will always be exchanged between the soil and the plants or the atmosphere, but if the soil itself is left undisturbed, the stored carbon eventually percolates down to lower and lower levels where it can be locked away or sequestered for much longer.

Does carbon make soil more fertile?

Yes.  Carbon is the main component of soil organic matter and helps give soil its structure, water retention capacity, and fertility.  Soils rich in organic matter can support complex ecosystems including fungi and micro-organisms that are vital for strong, healthy crops.  These soils will have a defined structure that allows them to absorb and retain moisture, and move nutrients around effectively.  As well as supporting strong plant growth, this means that carbon-rich soils are less prone to flooding, wind erosion and other forms of degradation.

Carbon & no-till farming

Increased understanding of how the soil traps carbon and why this can be beneficial for farmers has led to a rise in the popularity of conservation tillage, particularly no-till.

For generations, farmers believed that the best way to keep soil healthy and get good yields was to churn it up before each planting to make it very friable, and apply lots of fertilizers – but in recent times, that thinking has begun to change.  It’s becoming accepted that while fertilizers may always be needed to support intensive farming regimes, less tillage helps the soil to retain these nutrients as well as moisture.

What is no-till farming?

No-till farming is the gold standard of conservation tillage because, as the name suggests, it’s built on the principle of not tilling the soil.  In no-till, the previous crop residue is left in place to decompose and a system of crop and potentially livestock rotation is used to manage soil nutrition in addition to the application of fertilizers.  

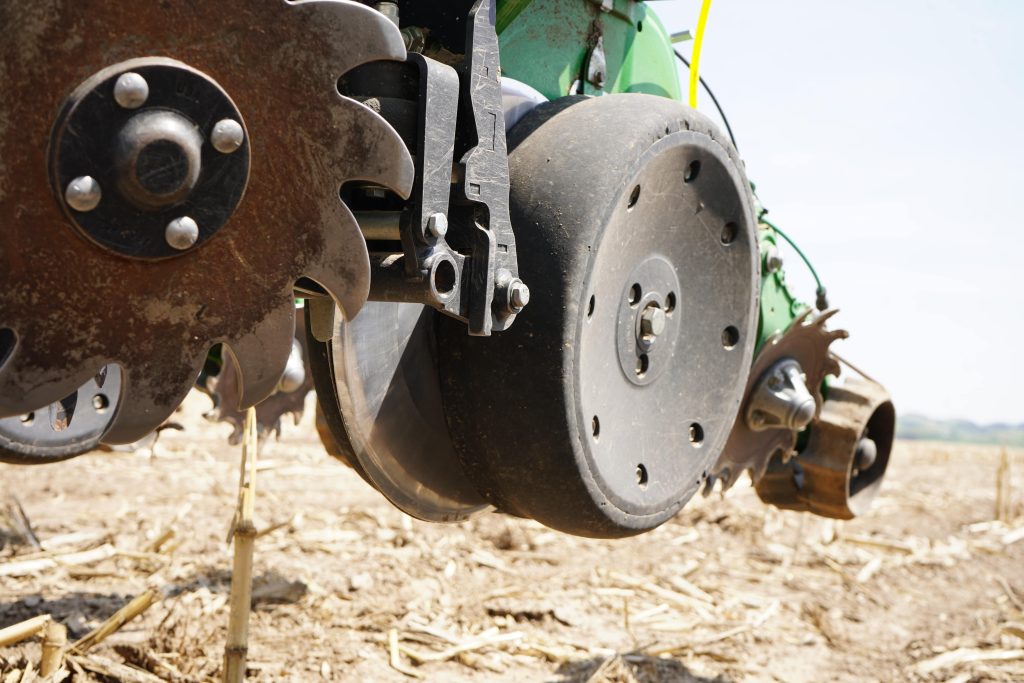
During planting, seed openers are used to cut a trench right through the previous year’s trash, into which the seed is planted and covered over with as little soil disturbance as possible.  This means that as much of the carbon as possible contained in the soil and in the plant matter is left in place, offering the greatest opportunity for long-term carbon sequestration.  Here are some benefits of no-till for farmers and the environment:

Soil structure is preserved

Plant roots, pores and capillaries in the soil structure are preserved so that the soil can more easily move moisture and nutrients around.  Fertilizers and rainwater are absorbed more readily, reducing the risk of soil degradation or erosion even in intensive farming cycles.

Micro-organisms flourish

Soil is full of micro-organisms from insects and worms down to microscopic fungi and bacteria that can be beneficial for crops.  When we don’t turn the soil over as in conventional tillage systems, these organisms can thrive – ensuring crops grow strongly, and capturing even more carbon in the soil.

Water is conserved

One of the biggest benefits of no-till is that it prevents loss of moisture from the soil.  Even when surface layers appear dry and cracked, in no-till systems you typically find that the subsoil stays moist for much longer than in conventional systems.  This can make crops much more resilient to drought.

Agronomic efficiency

Farmers running no-till systems can save significantly on fuel because they don’t till or cultivate the soil before planting or during the growing season.  They also save money on tillage parts and machinery.  No-till farming is a very time-efficient way of working, although it does require some careful thought and planning to make the system work effectively.

Other conservation tillage methods like strip-till, ridge-till and mulch-till are less effective at retaining soil structure and preventing carbon release, but they do help to slow the process down which has benefits for farm yields and the environment alike.

Looking for tools for your conservation tillage system?

Wearparts offers a wide range of tillage and planting parts compatible with all popular machinery brands and designed to give your no-till or conservation tillage system the edge.  Discover 30% longer wearlife and guarantees against breakage for efficient planting and less downtime – find a dealer today!

Farm Machinery Maintenance: Your 5-Step Summer Checklist

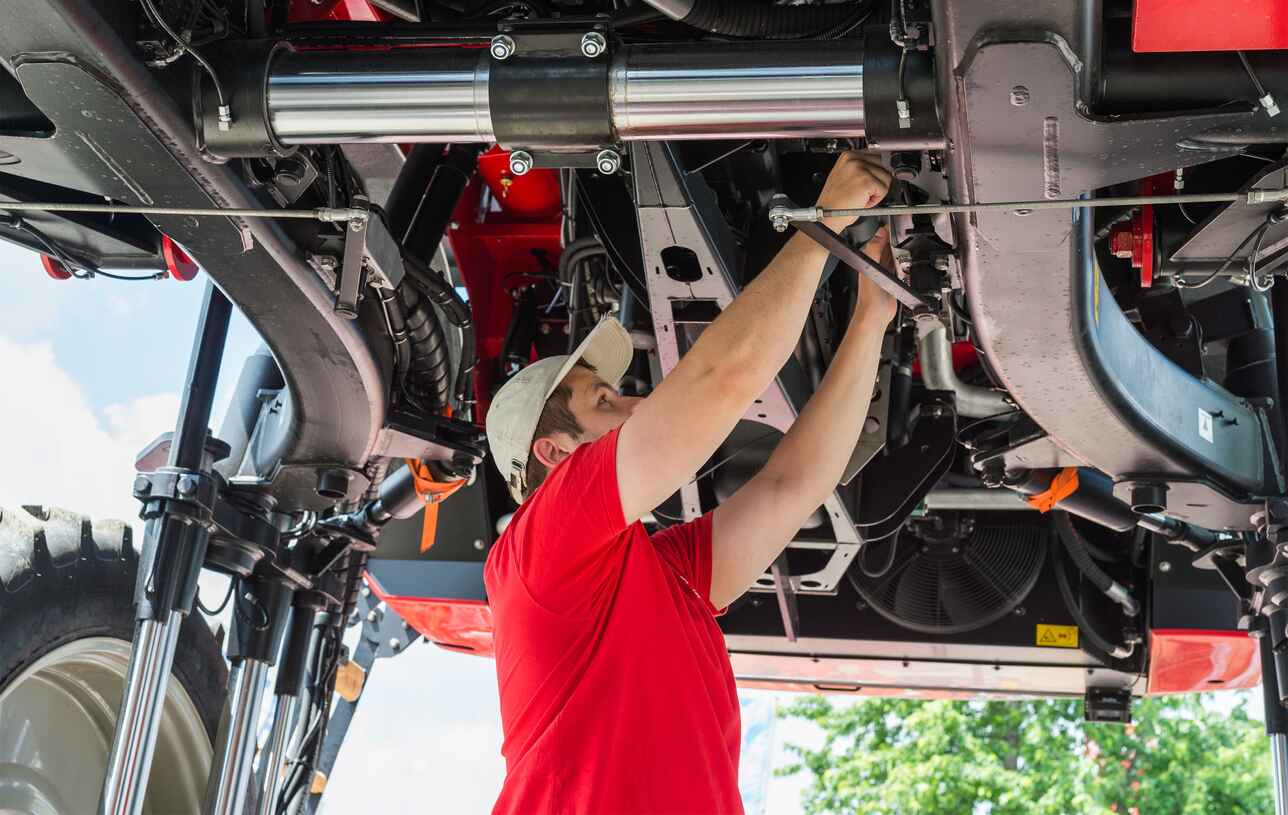
The middle to end of summer on the farm is a time for watching and waiting.  Crops are nearing maturity and almost ready for harvest, there’s little to be done by way of weed management or soil conditioning – so this is a perfect time for farmers to get on with some essential farm machinery maintenance.

Getting ahead on machinery maintenance now means harvest time and subsequent fall planting will be smooth sailing – and by the time winter bites, your equipment will be tucked up warm in the barn, ready to swing back into action in the spring.  Ensuring your farm machinery is kept in good working order can also extend its lifespan.

With that goal in mind, here are 5 essential farm machinery maintenance jobs to carry out during these quieter days of summer:

1. Analyze fluid quality

A bit like a blood test for humans, analyzing the fluids – like engine oil or hydraulic fluid – in your machines is a way to assess their health and ultimately, their lifespan.  Since you probably topped up your fluids right before the planting season, having them analysed midcycle is a great way to know if the products you’re using to lubricate moving parts are holding up under your specific farm conditions, and whether they’ll be good throughout harvest and fall planting before needing to be topped up again.

And it’s not just the fluid itself – if a component is contaminated or starting to fail, the evidence will be there in the fluid long before you notice any visible or audible signs of a problem.  Having your fluids tested is a valuable tool for identifying potential issues before they cause problems in the field. 

Fluid analysis laboratories are widely available and even in remote locations, you can have your fluid samples analysed by mail.  Most labs will provide free, easy-to-use kits for submitting a sample and the overall process is both simple to do, and inexpensive.

Summer Farm Machinery Maintenance Checklist - analyse fluid quality image

2. Check and adjust tires

You’ve heard the saying ‘no foot, no horse’? Well the same holds true for farm machinery and tires – and paying attention to the condition and pressure of your tires now can pay dividends for soil health later on.

Checking for punctures and signs of wear is a given – but overlooking tire pressure can undo years of careful soil structure management, so it’s vital to ensure that the pressure is right not just for your tractor, but also for the loads it will be pulling.

Manufacturers do provide information about the weight of their machines and components so it’s possible to do an ‘on paper’ weight calculation, but by far the best way to know the loaded and unloaded weight of your equipment is to borrow a platform scale and weigh it.  Accurately knowing the weight of your tractor and attached implements not only means you can ballast accurately for best traction, it also means you can select the right tire and pressure for your load/speed requirements. 

Using the lowest tire pressure possible for your required load and speed ensures minimal soil compaction without causing undue wear and tear on tires or using too much fuel.  These calculations may seem time consuming, but you only need to do them once – then you can simply refer to the manufacturer’s guidelines and adjust tire pressure for soil conditions in the future.

3. Inspect chains and belts

Belts and chains are vital components for power transfer in farm machinery, but over time they can stretch or even slip, causing reduced efficiency and potential breakdowns.  It’s important to perform regular checks on these components so you can spot any problems early, and make the call on whether to replace a belt mid-season, or wait until harvest/fall planting are complete.

Summer Farm Machinery Maintenance Checklist - inspect chains and belts image

4. Check cooling systems

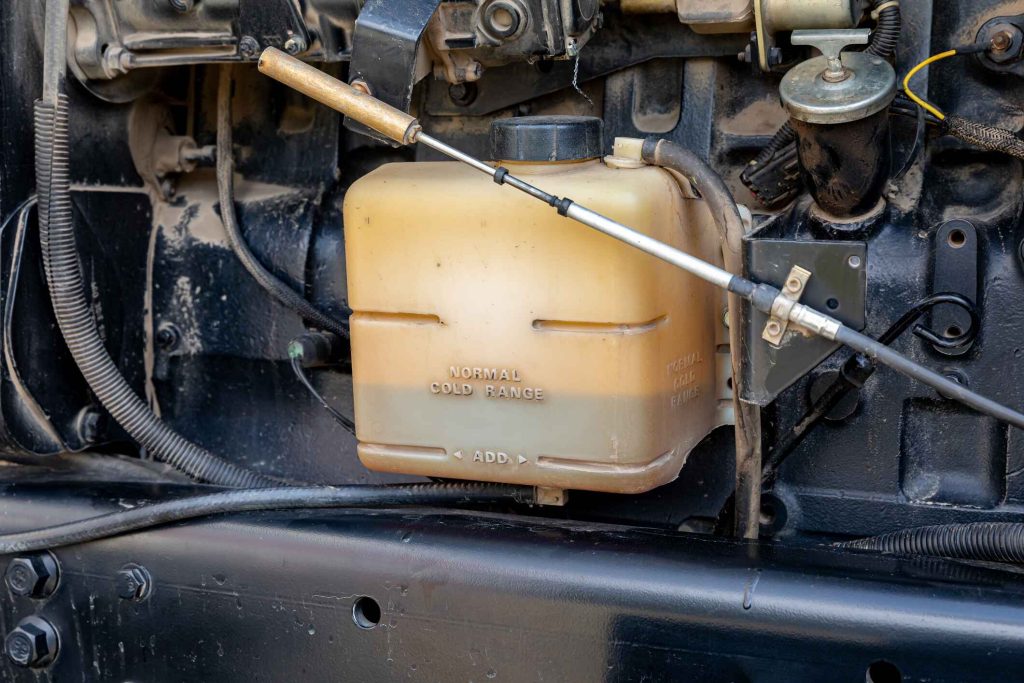
Engine coolant is often referred to as antifreeze, but it’s actually just as important in hot weather as in cold.  Most newer tractors are liquid cooled which means they use a coolant fluid, circulated throughout the engine by a water pump to a radiator, where heat generated during engine combustion is transferred from the fluid to the air with the help of powerful fans.  The cooled fluid is then re-circulated to prevent overheating when the engine is under load. This process happens over and over again and every time it does, a proportion of the protective additives in the coolant are consumed, reducing its quality over time.  If the coolant is not refreshed or replaced, this loss of protective additives can lead to corrosion and electrolysis in the engine.

It’s important to ensure all components of the cooling system including the radiator, radiator cap, fan system and pump drive belts are kept clean and in good order.  You should also select the right type of coolant for your machine based on the manufacturer’s guidelines, and make sure levels are kept topped up – taking care to follow the correct concentrate to water ratios.  

NEVER mix coolants containing propylene glycol with ethylene glycol-based formulas, as this can cause a buildup of harmful deposits inside the engine.

5. Service air conditioning systems

Whether it’s harvesting in late summer heat or planting in strong spring sunshine, nothing gets a farmer hot and bothered like an overheating tractor cab.  Servicing your air conditioning system regularly means you’ll stay cool when it counts.

All air conditioning systems will leak refrigerant very slowly, so they’ll need re-gassing periodically by a specialist.  The system should be drained, cleaned and re-gassed annually for optimal performance.  Don’t be tempted to put this off, especially if you notice a drop in cooling power, because as with all fluids, a reduction in the quality of your refrigerant as it ages can cause expensive damage to the AC system as a whole.

In between professional services, you can ensure your system stays on point by keeping the cabin filters and condenser coils clean.  Make sure all hoses are flowing freely and not perished, cracked or damaged by rodents.  Over winter, it’s a good idea to turn on your AC for 15 minutes once a month, to prevent perishable parts such as hoses and o-rings from drying out in cold weather.

Replacement tillage and planting parts

It goes without saying that a part of farm machinery maintenance is regular inspection and replacement of ground engaging components and other wear parts.  If you’re satisfied that all routine maintenance tasks are under control and you’re looking to have some new tillage or planting parts on hand ahead of the new season, locate your nearest Wearparts dealer!

Crop residue management: – Essential tillage tools for the job

As farming practices go, crop residue management is a relatively new concept.  While many aspects of tillage farming have barely changed in centuries (save for advances in technology), it wasn’t until the 1960s that farmers began to make the connection between their operations and the erosion or degradation of the soil.

This eventually led to the adoption of no-till farming practices and other conservative tillage methods, including the idea of using crop residues to protect and nourish the soil.

A large percentage of farmers now practise some form of residue management on their land, and as a result, these methods – and the tools to support them – have become much more refined.  Let’s take a look at the different types of residue management, and what’s available to help farmers manage these processes more efficiently.

What is residue management?

When we talk about residue management, we are usually referring to the deliberate management or use of leftover stalks, stems, leaves and other vegetation left behind when a crop such as corn, barley or wheat is harvested.

However, residue management can also refer to cover crops – crops that are planted for the sole purpose of protecting the soil.  

In both cases, the vegetation plays an important role in protecting the soil from wind erosion, promoting moisture absorption and preventing surface water runoff, and enhancing the soil structure together with its roots. 

At  a certain point in the life cycle of these plants, they will then be plowed into the soil where they decompose, enriching the soil with organic matter and nutrients.

Sometimes, chopped residue such as straw is left lying on the soil surface.  This process is called mulching.  Mulch is often used as cover for emerging seedlings, protecting them from extreme weather until they become established.  The mulch decays over time, providing organic matter for the soil.

What are the main types of residue management?

Residue management is carried out as part of a wider tillage system.  In a no-till system, more than 30% of the soil is covered by residue.  In conservation tillage – such as strip-till or ridge-till, between 15% and 30% is covered.  Conventional tillage systems leave less than 15% of the soil covered by residue at any given time.

No-till systems

No-till farming involves planting crops directly into undisturbed soil, with residues from the previous crop left behind to protect emerging seedlings and maintain the structure of the soil.  

No-till systems depend on the use of very precise, sharp planting blades that can effectively open a clean furrow by slicing down through surface trash.  If the blades are dull or not angled correctly, hairpinning can occur.  This is when trash gets pushed down into the bottom of the furrow, allowing air to get trapped and preventing good seed-to-soil contact, which can lead to poor germination and disease.

Conservation tillage

Also known as reduced tillage, conservation tillage is the collective term for a number of different practices that aim to retain more surface residue for the benefit of the soil.  Farmers may use one of the following processes:

Strip-till

Strip till is where the land is tilled in alternating strips.  Where crops are to be planted, the residue is plowed in.  But between rows, the soil is left undisturbed with the residues intact. The following year, the strips are switched over so that each planting cycle, half the field is left undisturbed. Strip tillage is popular on challenging soils where no-till might not be practical.  The process itself is usually carried out using a strip-till rig with a combination of ripper points, coulter wheels, fertilizer knives and other soil conditioning blades.

Ridge-till

Ridge tillage is often used for sloping sites, but can be implemented in almost any conditions.  The land is initially tilled to create evenly-spaced ridges that sit 4-6 inches above the level of the soil, with furrows in between.  The tops of the ridges are more aerated and warm more quickly than the furrows.  Crops are planted into the ridge, which gives them an advantage over any weed seeds that germinate in the furrow.  

Following harvest and over winter, residue from the crop is left on the surface.  In spring, only the tops of the ridges are tilled and reshaped before planting.  Ridge tillage has the disadvantage of needing specialist ridge-tillage machinery for cultivation and planting.  Residue on the ridge top may be removed altogether using a ridge cleaner, or chopped using blades set to a very shallow depth – sharpness is vital so as not to damage the shape of the ridge.

Mulch-till

Mulch tillage is another technique for residue management.  Instead of plowing residue into the soil, in mulch tillage the subsoil is tilled using deep implements like chisel plows to break up compaction, while the surface of the soil – and any vegetation or stubble on it – is left relatively undisturbed.  Mulch till is regarded as a conservation technique because it leaves at least 30% of the soil surface covered by trash; however it involves tilling 100% of the subsoil, which can still leave the soil vulnerable to wind and water erosion.

Cover cropping

Cover cropping is also sometimes referred to as ‘green manure’.  Cover crops are planted with the sole purpose of covering the soil, rather than as a cash crop for harvesting.  The most common cover crops are legumes, which are part of the pea family – these include alfalfa, peas, beans and lentils.  Legumes are known for their high nitrogen levels, which they fix into the soil, reducing the need for chemical fertilizers.  Legume crops also help to eliminate soil bacteria and enhance biodiversity, forming valuable ecosystems that help to further enhance soil quality in the long run.

Cover crops are usually plowed into the soil before the plants reach maturity, although sometimes they are used as fodder for grazing animals who eat the vegetation and then condition the soil with their waste.

What are the benefits of residue management?

The benefits of effective residue management have both environmental and financial benefits for the farmer.

Erosion prevention

As previously discussed, the primary benefit of crop residue management is its ability to protect the soil from wind and water erosion.  The presence of stubble on the soil surface prevents dry soil from blowing or being washed away during extreme weather conditions, especially in winter.

Moisture retention

However, crop residue management also has important benefits for overall soil quality, too.  Leaving residue behind after a crop is harvested means that the roots of the plant are still intact, which preserves the soil structure and prevents it from becoming compacted.  This means that moisture can penetrate more easily, and can be stored in the pores of the soil which reduces surface waterlogging and runoff.

Nutrient cycling

As the residue decays, the nutrients stored within it are released back into the soil.  Fibrous material decomposes into humus, which is a rich source of nourishment for subsequent crop plantings.  Humus-rich soils retain heat more effectively, so they warm up faster in spring and stay warmer for longer during the growing season.

Weed suppression

While decaying crop residues can promote growth, stalky crop residues on the surface can help to inhibit the growth of weeds by preventing seeds from germinating.

Sustainability and efficiency

Crop residue management systems like no-till and strip-till also have environmental and financial benefits.  The less the soil is disturbed, the more carbon it can sequester, which is one way farmers can help slow down climate change.  Reduced tillage systems can often open a furrow, fertilize and plant in a single pass, which vastly reduces the cost per acre and maximizes farm productivity.

What planting and tillage tools are used for residue management?

Crop residue management requires the use of a range of different tillage tools and implements depending on the system being used.

  1. Seed opener blades are used in all systems for opening a seed furrow and planting the seed.  In no-till systems, it’s vital that seed opener blades run true and stay sharp so they can effectively slice through trash and open a clean furrow with no hairpinning.  Wearparts seed opener blades are triple heat treated with a longer bevel that stays sharp for up to 30% longer than the OEM equivalent, with a lifetime guarantee against breakage.  We test all our blades in-house to some of the tightest tolerances in the industry, ensuring precision planting even in dry soil conditions.
  1. Coulter blades and high-speed compact disc blades may be used in strip-till operations to prepare a seedbed before planting.  Again, sharpness and durability are of paramount importance, enabling the farmer to cover more ground before the blades need to be replaced.  Our boron steel blades are designed to wear more evenly and last longer than any other blades on the market – plus we’re the exclusive United States distributor of Serbian-made, globally renowned FKL bearing hubs to help you get the best possible performance from your blades.
  1. Ripper points and chisel plow spikes are used in mulch-till operations for subsoiling.  This is deep, heavy-duty work that demands superior components with the longest possible wear life.  We offer custom hardfacing on many of our ground-engaging components, and we also source our ripper points using high-chromium white iron for additional strength and aggressiveness.
  1. For ridge tillage systems, our cultivator sweep blades can be used for mechanical weed control.

Want to find out more?

If you’re thinking ahead to fall planting or even next spring’s crop residue management, and you’d like to know more about how Wearparts can make your operations more efficient, get in touch – or locate your nearest Wearparts dealer.

Coping with drought: How farmers can adapt to a drier climate

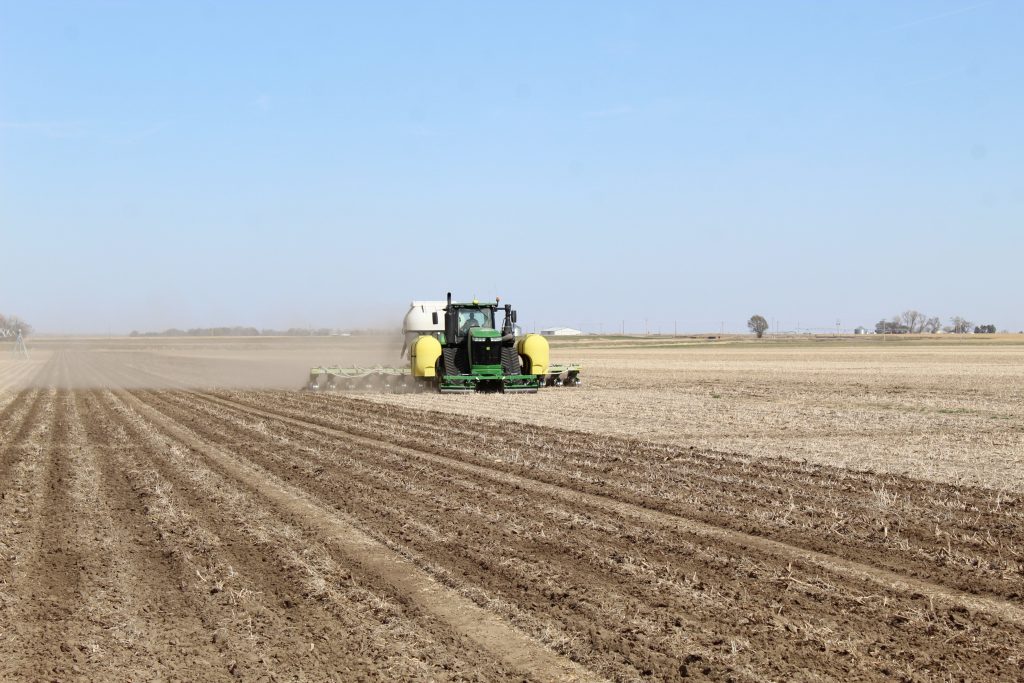
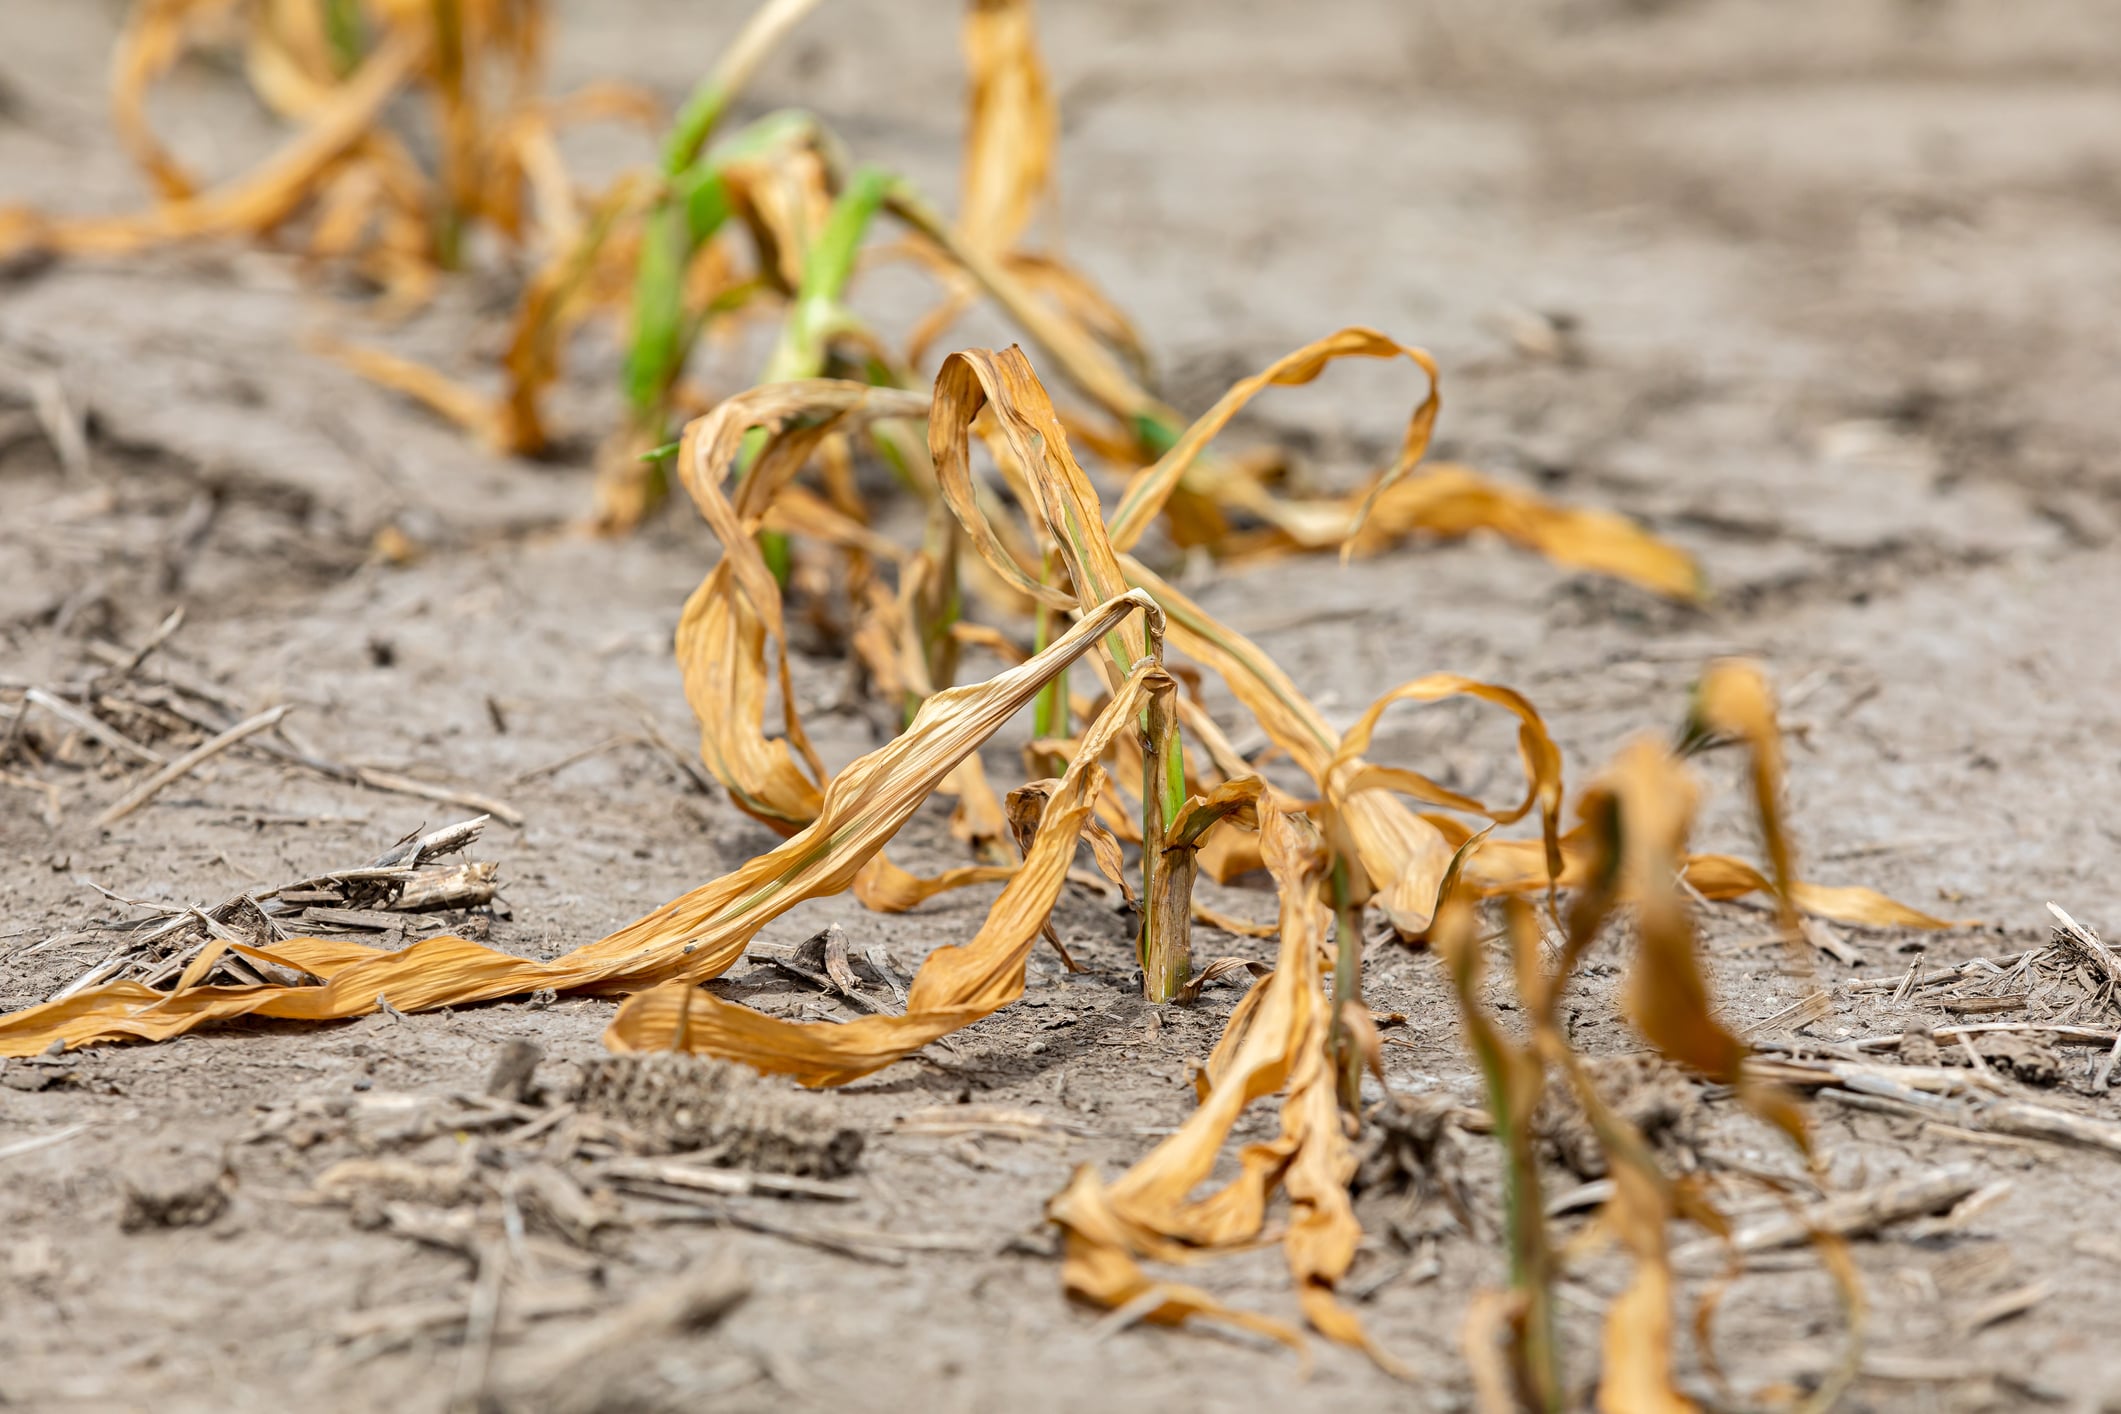
Much of America’s Midwest is currently experiencing a prolonged dry spell, with below normal precipitation and above normal temperatures resulting in worsening drought conditions.  

According to the USDA’s drought monitor as of mid-June, parts of Nebraska, Kansas, Missouri and Texas were experiencing severe drought conditions with over 50% of the country’s corn and soybean crop currently growing in drought areas.  

Even some storms with heavy rainfall have failed to make much difference in the driest places, which begs the question – is drought going to be a regular feature of US farming in the future?  How bad could it get?  And what can farmers do to mitigate against dry conditions?

Let’s take a look at farming in drought conditions – how to maximize soil moisture, what the options are for irrigation, and what the future of farming might look like as a result of ongoing climate conditions.

What can farmers do about drought?

There’s nothing a farmer can do to make it rain – but there are many steps farmers can take to address the problem of low precipitation.  These include measures like artificial irrigation, soil enhancement, erosion prevention and careful crop selection.  It’s worth noting that in extreme drought conditions, finding enough water to irrigate crops can be a challenge. Let’s take a look at some of the measures in more detail.

What are the main methods of soil irrigation?

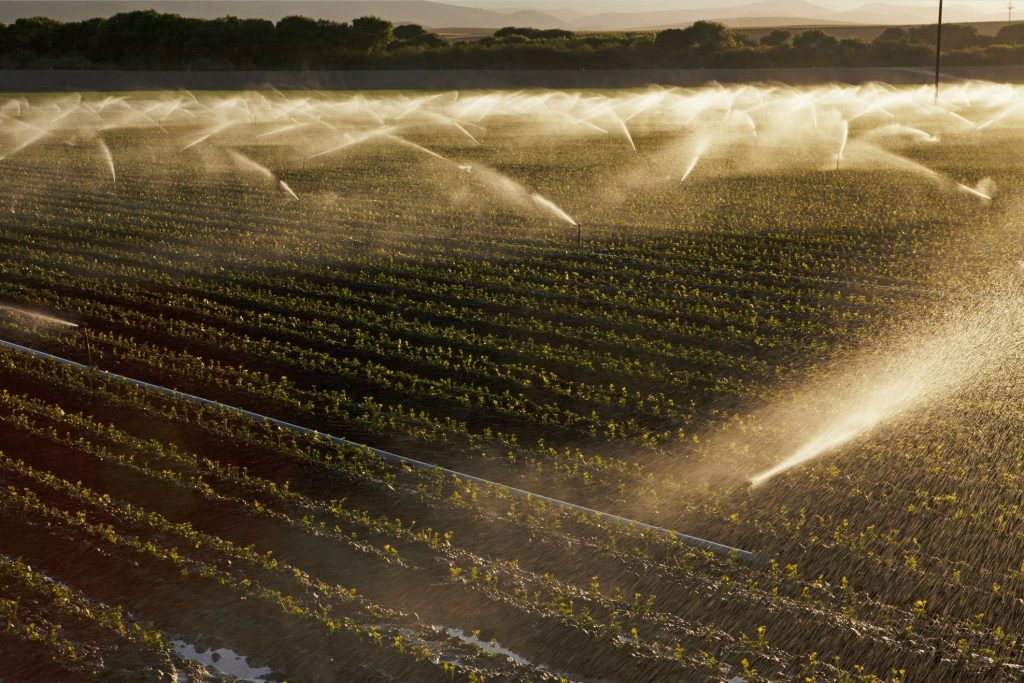
There are lots of different methods of providing water to dry soil during a drought using irrigation systems.  Some systems – such as overhead sprinkler systems – are high cost and high-tech, and most often used for specialized crops with low drought tolerance.  Other methods are more cost effective and easier to apply across large acreages, like some of these tried and trusted methods:

Surface irrigation

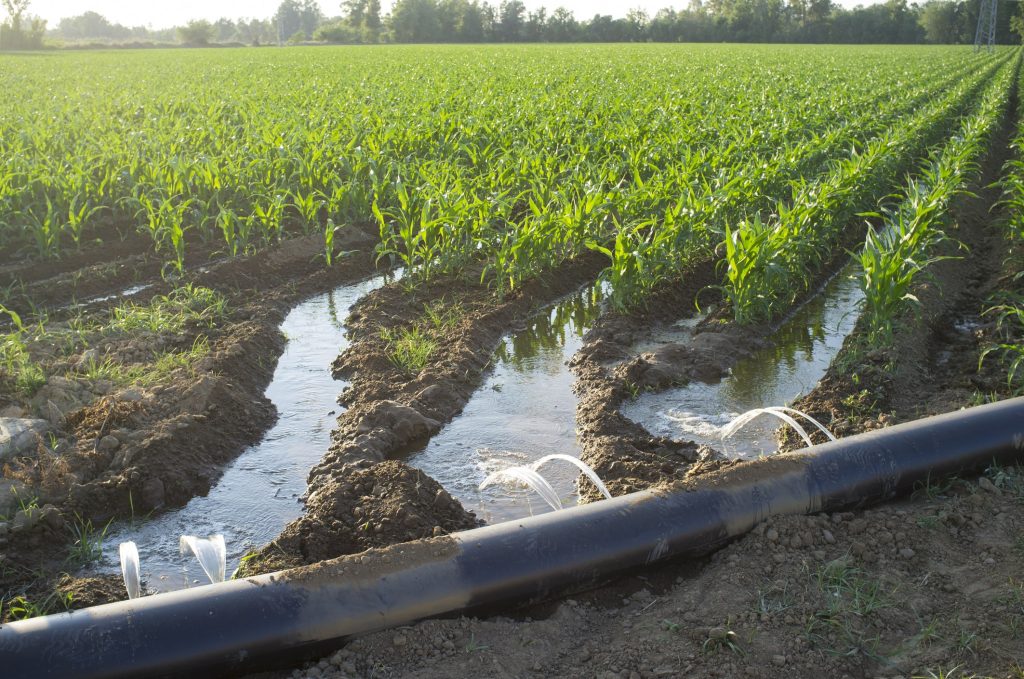
Surface irrigation methods are some of the most traditional and involve simply flooding water onto the surface of the soil and allowing it to absorb.  Methods include furrow irrigation and border irrigation, where water is diverted into soil ‘troughs’ so it can’t run off before being absorbed.  Surface irrigation is low tech so it can be used on very large acreages, but it requires a lot of water, and doesn’t deliver targeted irrigation to the plant.

Center pivot irrigation

Center pivot irrigation is used for large farms because it can cover big areas efficiently.  A sprinkler system is mounted on wheeled towers which roll in a circular pattern around a central ‘pivot’, which is the water source.  Plants are then irrigated by the overhead sprinklers.  These systems have led to the emergence of circular crop fields all over America, although they can be adapted for rectangular fields.

Drip irrigation

Drip irrigation is when a farmer runs a network of pipes or tubes through a field.  The pipes have holes that drip feed water close to where the emerging plants are.  This system is relatively low tech and low cost, and delivers targeted moisture directly to the plant so it uses less water.  However, it may not be practical to use across very large areas.

Micro sprinkler

Like drip irrigation, micro sprinkler irrigation involves the use of a pipe network but instead of dripping out of holes in the pipe, the water is delivered through a series of small sprinkler attachments.  These provide a very fine spray of water that is precisely targeted to the plant, making them very water efficient – but not very cost-effective across large acreages.

Sub-surface irrigation

Sub-surface irrigation is similar to drip irrigation except that the pipes for delivering the water are buried underground.  This has some big advantages in that the moisture is delivered directly to the roots of the plant, and also because evaporation is kept to a minimum because the water is applied below the surface.  It’s not very high-tech, but can be disruptive to install and requires careful monitoring to ensure soil does not become waterlogged.  Care must also be taken not to disturb or damage the pipes during future planting cycles.

What are the alternatives to soil irrigation?

Artificial soil irrigation methods aren’t always very practical in modern day crop farming.  The vast acreages involved make watering plants via a network of sprinklers or pipes very expensive.

Instead, farmers must look for ways to preserve the moisture that’s already in the soil so that plants have the best possible chance of survival, even when it doesn’t rain for long periods.

How can farmers conserve soil moisture?

In order to retain moisture in the soil, it’s important to preserve both the structure and the content of that soil.  The more organic matter soil contains, the better it is at absorbing and retaining moisture.  Undisturbed soil has its own structure – a complex network of channels that allow moisture and nutrients to be moved around and stored.  Preserving the soil in the best possible condition is the key to preventing moisture loss.  Here’s a look at some ways farmers can optimise soil condition:

No-till systems

In no-till systems, the soil is not plowed or turned over, so its natural structure is preserved. This means that all the tiny pores and channels in the soil that are used to store water remain intact, and can be accessed by the roots of young plants.

Cover cropping

The pressures of modern farming have led to the ‘supersizing’ of the industry – it’s more economical to farm vast swathes of land using huge 100ft machines that can do more work in a single pass.  But these practices have meant the loss of natural hedgerows, woodlands and other windbreaks that are not only important for biodiversity, but also for moisture conservation.  A field surrounded by tall trees has its own microclimate – natural shade slows the evaporation of moisture, while tree canopies stop the wind from carrying away moist air.

Selecting crops for dry climates

One of the best things farmers can do to mitigate for drought conditions is grow crops that are naturally adapted to dry conditions.  These types of crops will require less irrigation and be less vulnerable to pests and disease.

Crops that cope well with dry conditions typically have deep roots that allow them to access moisture locked away in lower soil levels.  Science has led to the development of new varieties of staple crops like corn and soya that are better adapted to drought conditions.  But there are many crops that are naturally able to cope with dry soils, and many believe we should be looking into these as a more sustainable food source for the future.

These crops include cowpeas (black eyed peas), sorghum, alfalfa and groundnuts.

What to do if you are concerned about drought

There isn’t anything farmers can do that will prevent a drought or make it rain.  But there are things you can do to be better prepared, and to sustain their farms through prolonged dry periods.

  • Farmers don’t need reminding to keep their eye on the weather forecast – but it’s also worth keeping your finger on the pulse of the USDA drought monitoring system.  You can register to submit data from your own farm that helps meteorologists understand precipitation and drought patterns better.  It’s hoped this information will allow farmers to predict when future droughts will occur and act accordingly.
  • Make sure you are aware of any available government support and compensation programs relevant to drought.  You may be able to access financial support for irrigation systems, or claim against losses of livestock and/or crops due to excessively dry weather.
  • Work with your fellow farmers.  In many drought-prone states, farmers have formed water-sharing collectives or made arrangements with neighboring farms to share water resources.  Remember, a little water can make a big difference – collaborating with others can optimize water allocation and reduce individual risks.

Looking to the future

If you’re considering switching your farming system to a conservation or no-till method to conserve water, Wearparts can help.  We offer a wide range of replacement tillage and planting parts developed specifically for no-till systems, that can help you work the soil efficiently without damaging its natural structures.  Get in touch to find out more.

How Air Seeders Maximize Crop Yields

Sowing Success: How Air Seeders Maximize Crop Yields

From the horse-drawn plow to the modern day agricultural planter, farmers throughout history have sought to make the process of planting and growing crops more efficient in order to maximize yields – and air seeders are the most recent innovation to advance that goal.

When compared to box drill systems, air seeders have the power to bring even more speed, precision and efficiency to the planting process – especially over large acreages.  This means they offer an attractive proposition for farmers who are facing higher costs and reduced premiums for their product.

But if you’ve never considered using an air seeder, or even seen one up close, you might have questions.  How do air seeders actually work?  What’s the difference between an air seeder and a box drill?  And can air seeders really make farms more productive?  We’ve done some research to help you find the answers to these questions, and more.

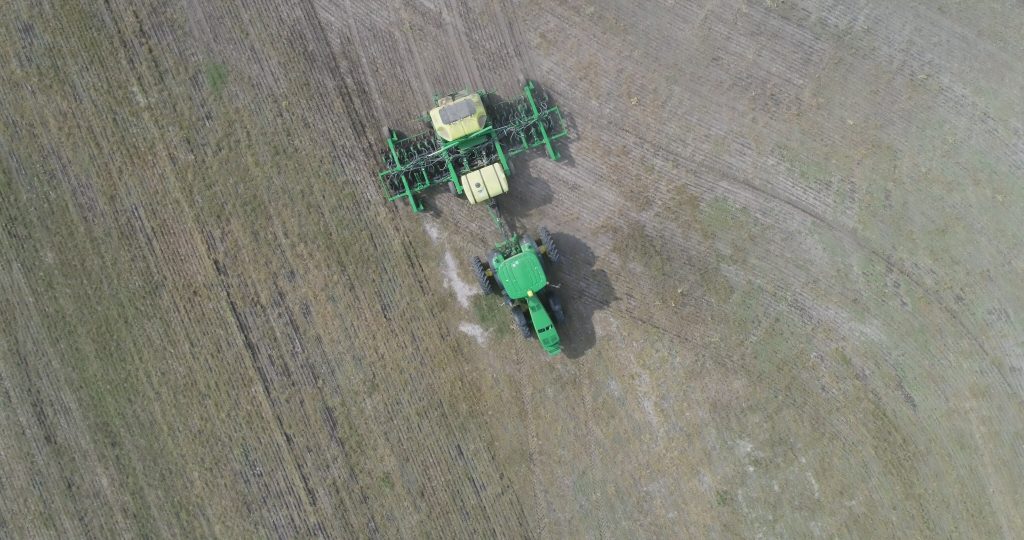
Photo Courtesy of 2B Drilling

What is an air seeder?

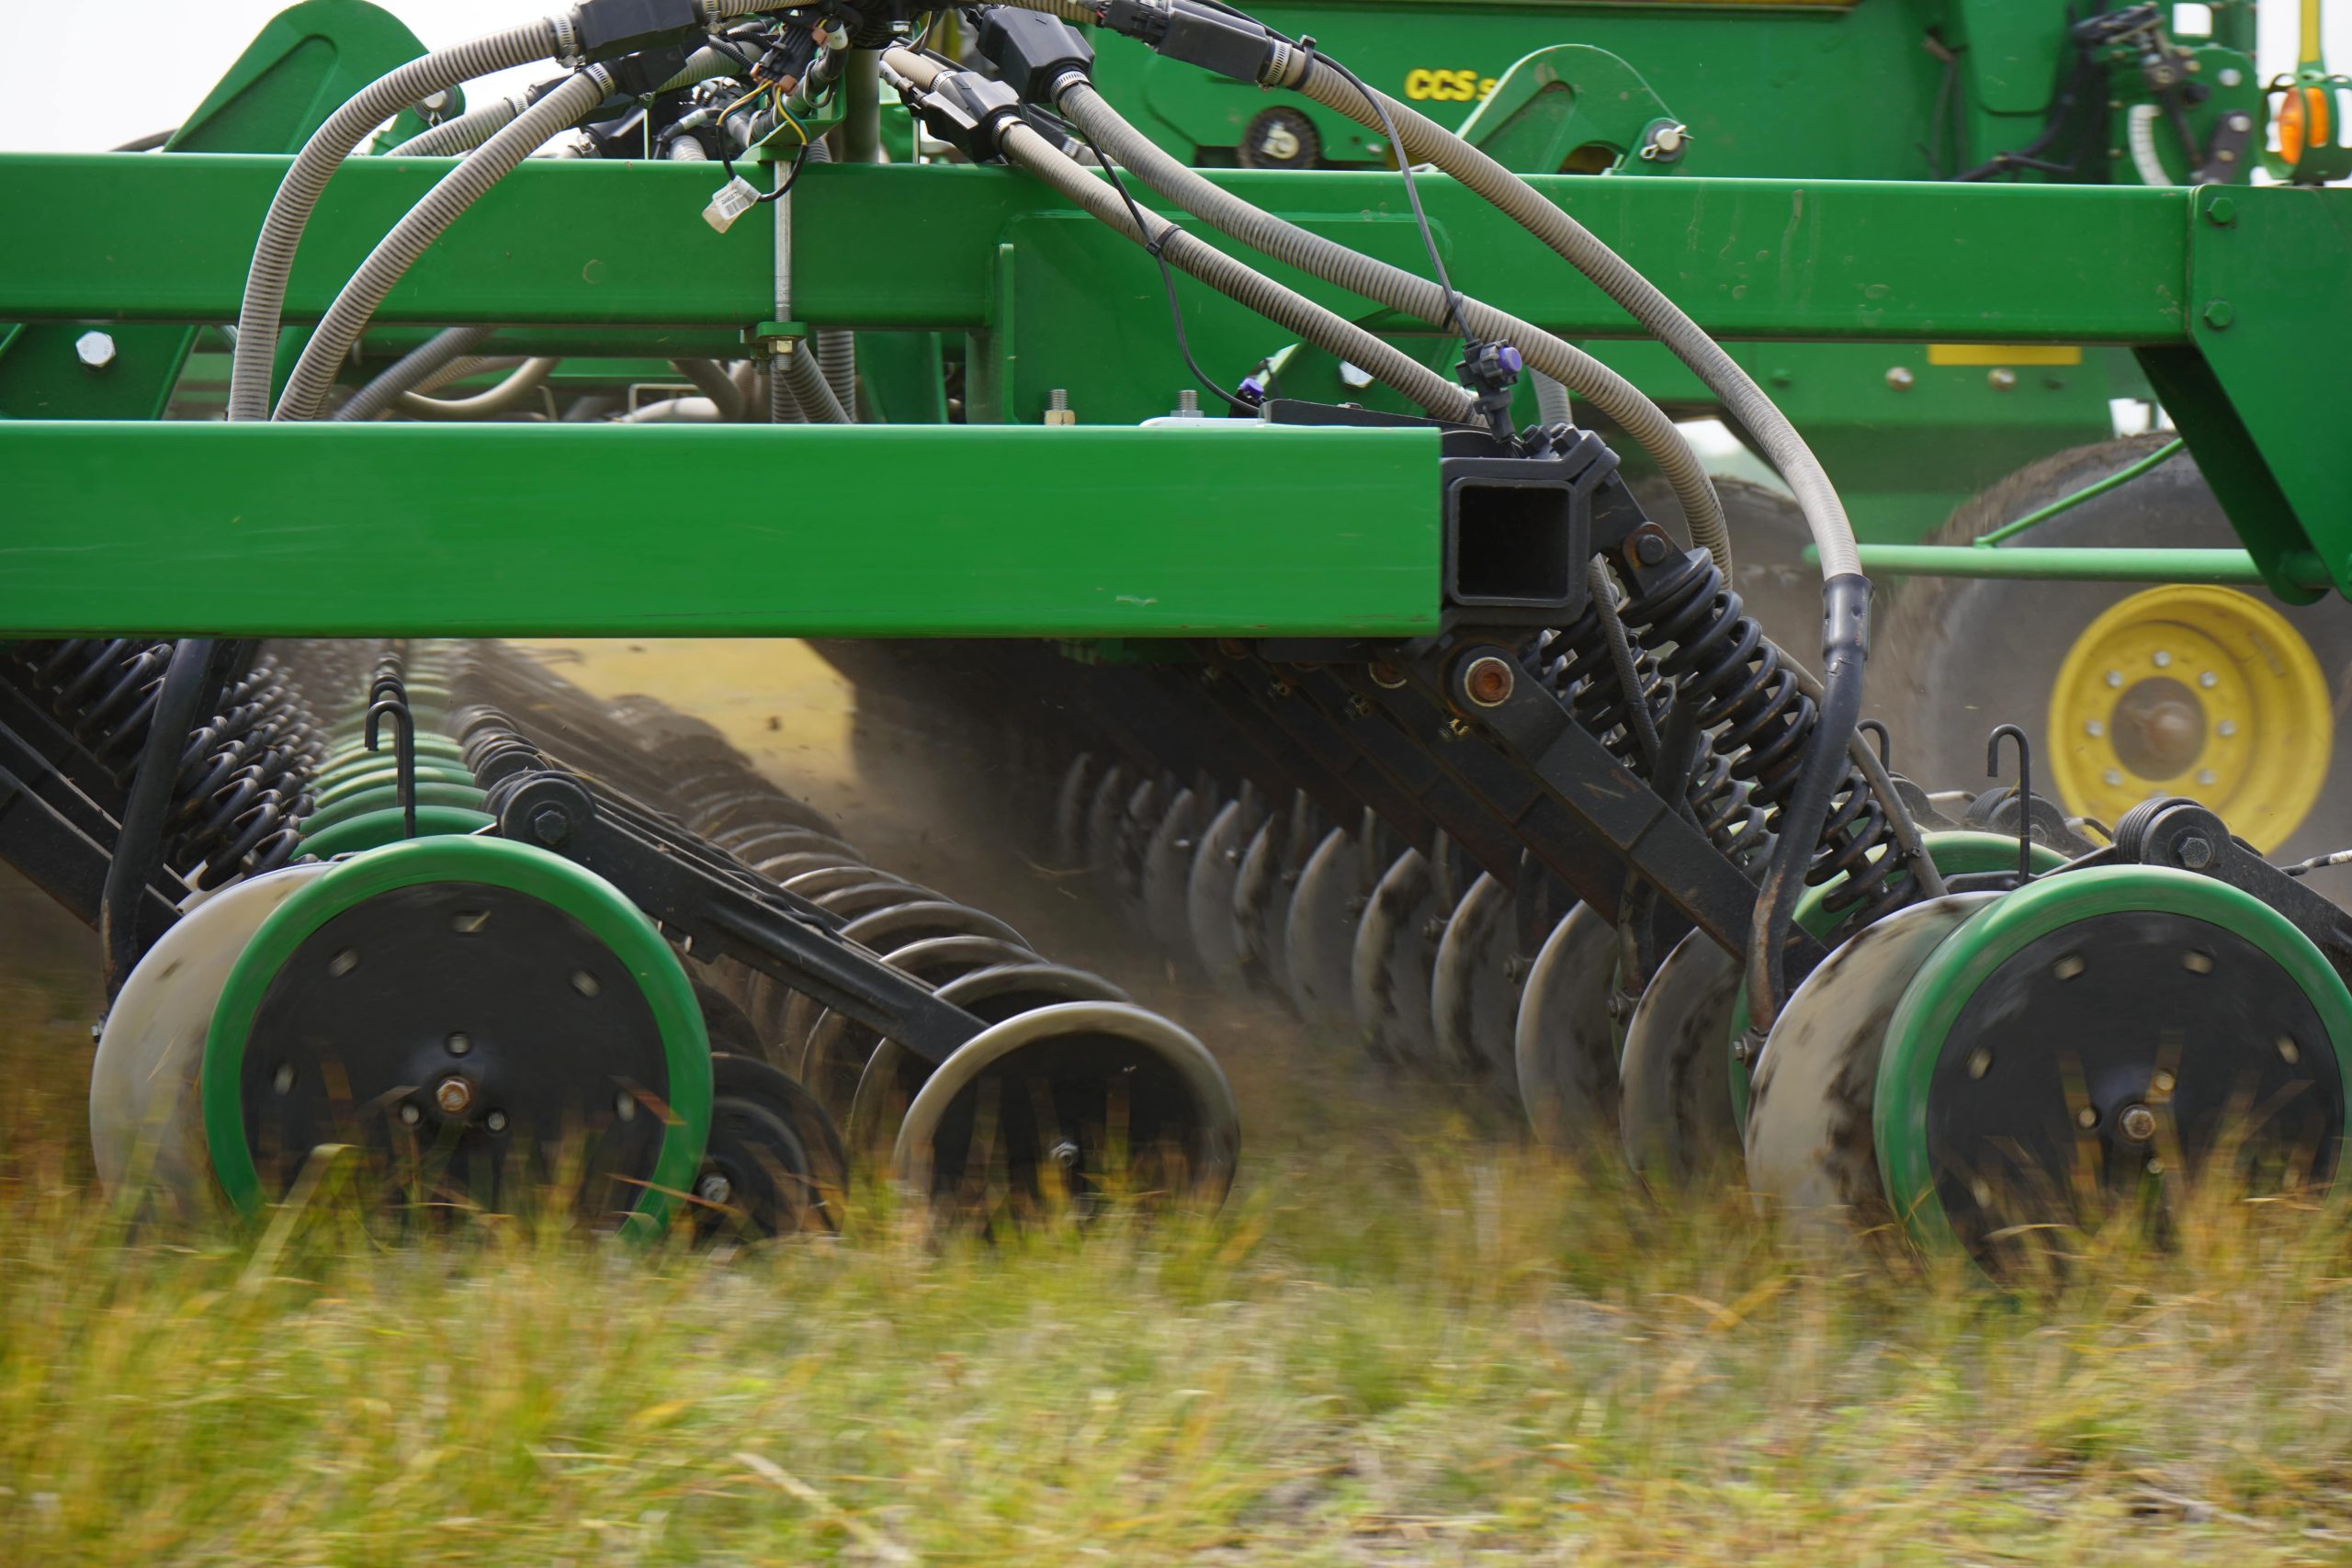
An air seeder is a type of planter that uses pneumatic technology to deliver seed into the ground.  The seed is volumetrically metered below the seed box or tank, which allows the farmer to precisely set the amount of seed by weight or by volume that he or she wishes to distribute per area. Where box drills rely on gravity to bring the seed from the seed box, down the tube, and into the furrow, air seeders are fitted with fans that blow the seed into the seed boot for additional precision, especially when sowing small, light seeds.

Air seeder vs. box drill: Which is right for my farm?

Air seeders are very large, heavy-duty machines, capable of covering large acreages in a short amount of time.  Therefore, they are typically used on larger farms where the benefits of their added precision will accumulate quickly.  Because of their extremely rugged performance, air seeders are popular with farmers running no-till systems where their extra weight and durability means they can position seeds more efficiently even in tough soil conditions.  Air seeders offer particular advantages when planting small seeds like wheat, canola and rapeseed where the fine, light nature of the seeds makes them difficult to plant precisely using a conventional planter.  If these crops make up a large proportion of your operations – or if you are simply looking to make the overall planting process faster and more efficient, especially in no-till, then an air seeder could be for you.

What are the benefits of using an air seeder?

There are many benefits that lead farmers to switch from box drills to air seeders, particularly on larger farms or in no-till systems.  Here’s a summary of the key benefits.

Speed

Air seeders have evolved to become very large units that are often more than 50ft wide.  The largest air seeder in the world is the Zells Airseeder which comes in at a gigantic 214ft!  Because they are so wide, air seeders are capable of covering a lot of ground in the least amount of time.  They can also be combined with existing tillage implements including disc openers and fertilizer knives to complete a series of tasks in a single pass.

Precision planting

As previously mentioned, air seeders allow for volumetric metering of the seed based on a predetermined number or weight of seeds per acre.  This method allows for rapid and uniform seed distribution right across the field, which means the farmer can sow large areas quickly, even in no-till systems or when using fine seed types that might otherwise be tricky to disperse evenly.  Because air seeders use fans to blow the seed into the trench, they are also able to achieve more precise depth placement on small seed types, which improves germination and ultimately, yield.

Flexibility for different seed types

Air seeders are often selected by farmers for sowing small seeds, but they can actually be used for any type of seed regardless of size or shape.  Volumetric metering means it’s easy to switch from planting one type of crop to another without the need for extensive adjustments to the machine, or the need to use seed-specific blades.

Suitable for no-till

Air seeders are typically large, heavy pieces of machinery, which makes them suitable for no-till operations in two ways.  Firstly, the weight of the machine means that it can easily penetrate soil that has not been tilled, and still plant the seed precisely.  Secondly, because air seeders are so large and so versatile, they eliminate the need for multiple passes of the same piece of land, which reduced soil compaction overall while facilitating all the soil health benefits of no-till.

Durability and ease of use

Air seeders are renowned for their ease of use and their long-term durability.  Heavy duty construction on all non-ground-engaging components means that the main body of your air seeder will have a long life, with no need for advanced maintenance.  The interchangeable parts – such as seed discs and hoses – are similar in design to many other planting and tillage implements and spare parts are readily available.  With some simple, annual maintenance, your air seeder will give you years if not decades of reliable performance, with no need for time-consuming fine-tuning and no expensive repairs. 

How do air seeders improve crop yields?

Using an air seeder for agricultural planting can increase overall crop yields in a number of ways.  Firstly, air seeders reduce the amount of manpower needed to get a large crop into the ground in the first place.  By covering more ground in less time, they enable farmers to plant more when conditions are favourable, and to cover larger areas without the need for additional machinery and manual labor.

Air seeders can also improve yields thanks to their precision. By enabling the farmer to adjust how much seed it planted per acre in a specific location, he can adjust for topographical and environmental variations across the farm, as well as setting the appropriate seed density for his chosen crop.  This means that optimal growing conditions are created, whereby plants do no have to compete for light, water or nutrients.

What replacements parts do I need for an air seeder?

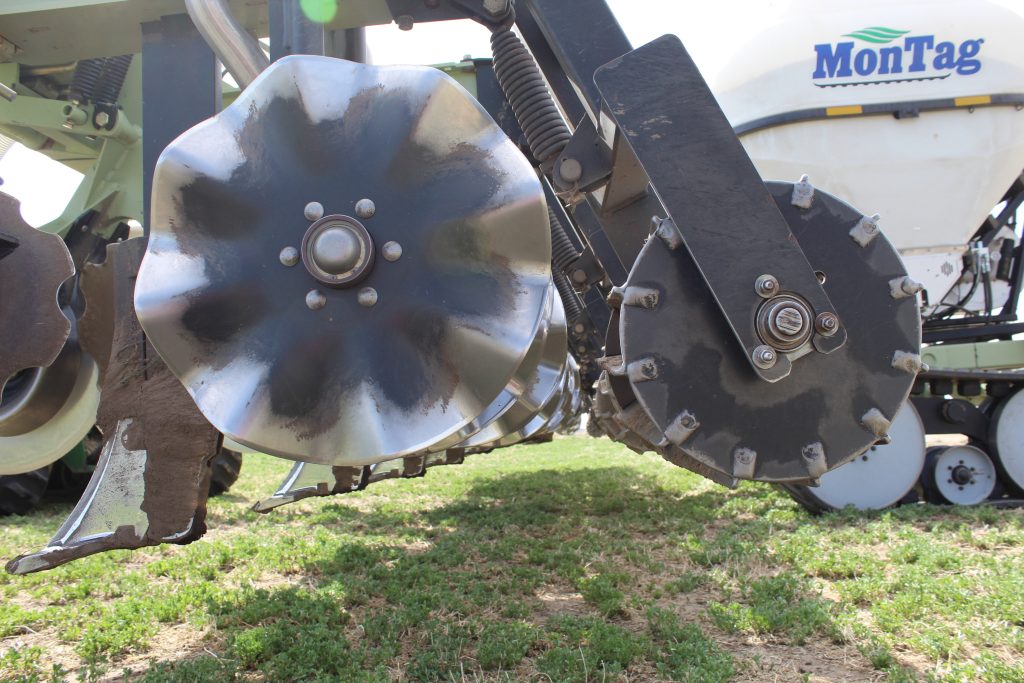
Like any piece of planting or tillage equipment, the parts of an air seeder that come into contact with the ground will wear out over time and require replacing.  This includes components like seed openers, gauge wheels, seed boots and closing wheels.  At Wearparts, we supply a range of replacement parts for popular air seeder models, including John Deere.

Want to find out more?

If you’re running an air seeder on your farm – or if you’re an ag dealer getting requests for specific air seeder parts – the Wearparts sales team will be happy to answer any questions you may have about our air seeder components, and help you identify the correct part number/s for your needs.  Get in touch today to find out more.

Coulter blades: Enhancing efficiency and productivity in tillage systems

First introduced in their most rudimentary form by the Romans, agricultural coulter blades have become an essential part of modern farming, and can be used in a variety of tillage and planting applications.

Choosing the correct coulter blade for your application, machinery and soil type is important for achieving consistent results and agronomic performance.  But with many different types of coulter blade to choose from, it can be difficult to know which will work best.  From no-till coulter blades to more aggressive styles, we’ve compiled a quick guide to coulter blades – what they are, what they do and how to navigate the different options available.

What is a coulter blade?

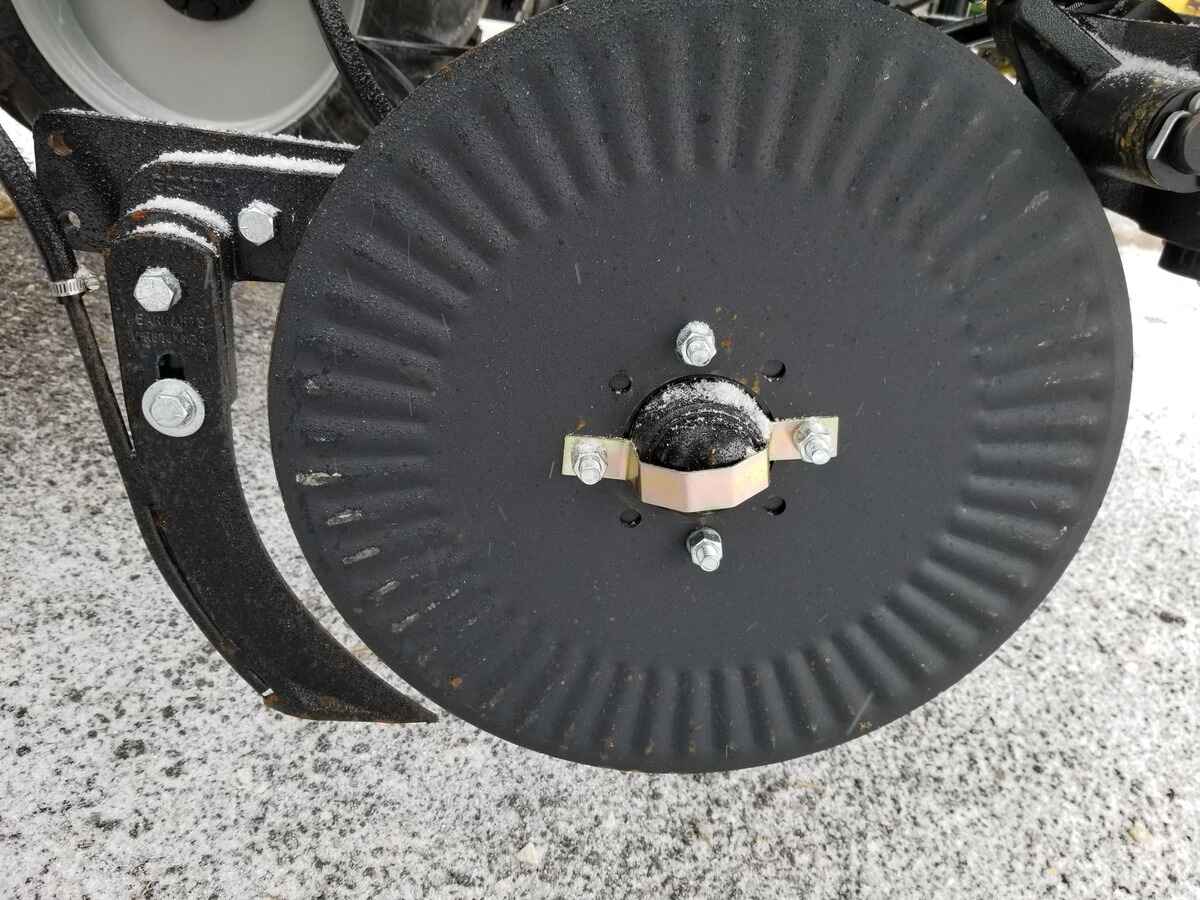
A coulter blade is a rolling blade that is fitted to mainly tillage implements, planters and seeders.  It is a primary cutting implement, designed to fracture the soil in advance of secondary tools like plowshares, disc blades, fertilizer knives, and seed openers.

What does a coulter blade do?

Coulter blades are designed to break up and soften the soil ahead of a secondary blade.  They can also chop up and bury trash left over from a previous crop, which serves to further enrich and aerate the soil.  Different coulter blades have different applications.  For instance, a strip-till coulter blade may be used to cut residue, where a no-till coulter blade is designed to extend the life of a seed opener blade by softening the soil and cutting residue. Coulter blades that are ran on fertilizer applicators will slice the soil ahead of the fertilizer knife.

image of Coulter blades

Why do farmers use coulter blades?

Coulter blades break up heavy, compacted or very dry, crusty soil in advance of the main blades.  This process delivers a number of benefits for the farmer:

  1. Reduces drag and prevents plugging of vertical blades
  2. Makes the plowing or cultivating process faster
  3. Enables other blades like disc blades or seed openers to penetrate to a consistent depth
  4. Creates a neater furrow  
  5. Reduces overall fuel consumption and cost per acre

What are the main types of coulter blade?

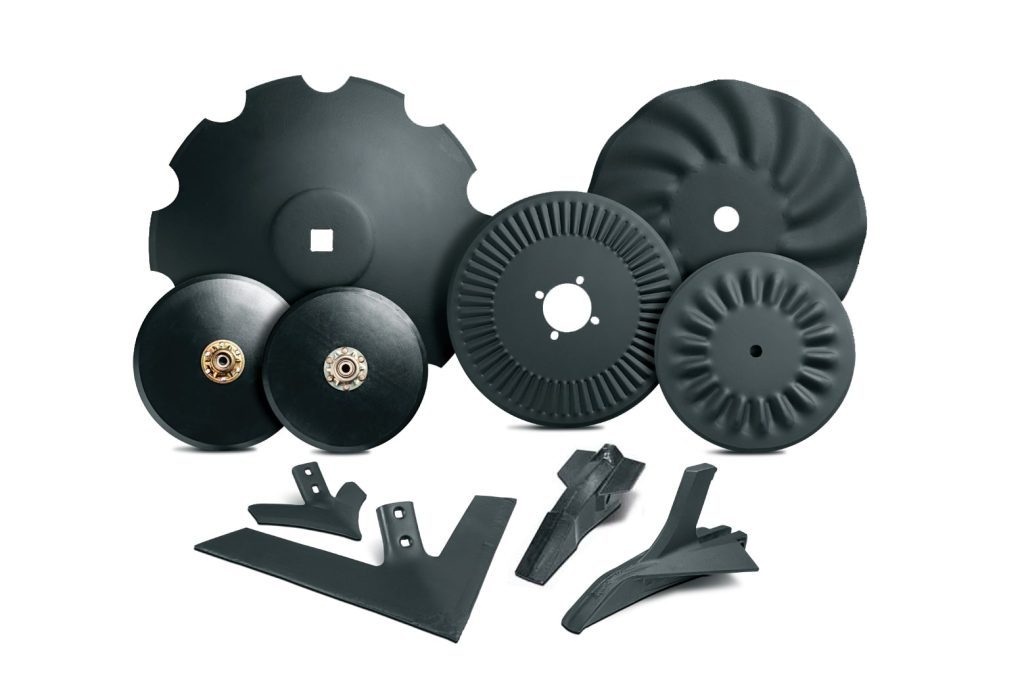
The very earliest coulter blades were fixed, vertical blades but today they are typically rolling discs.  Some coulter blades are flat, but most have a degree of concavity (they are shaped like a shallow dish) and are available in a range of profiles including:

image of Coulter blades

Smooth coulter blades

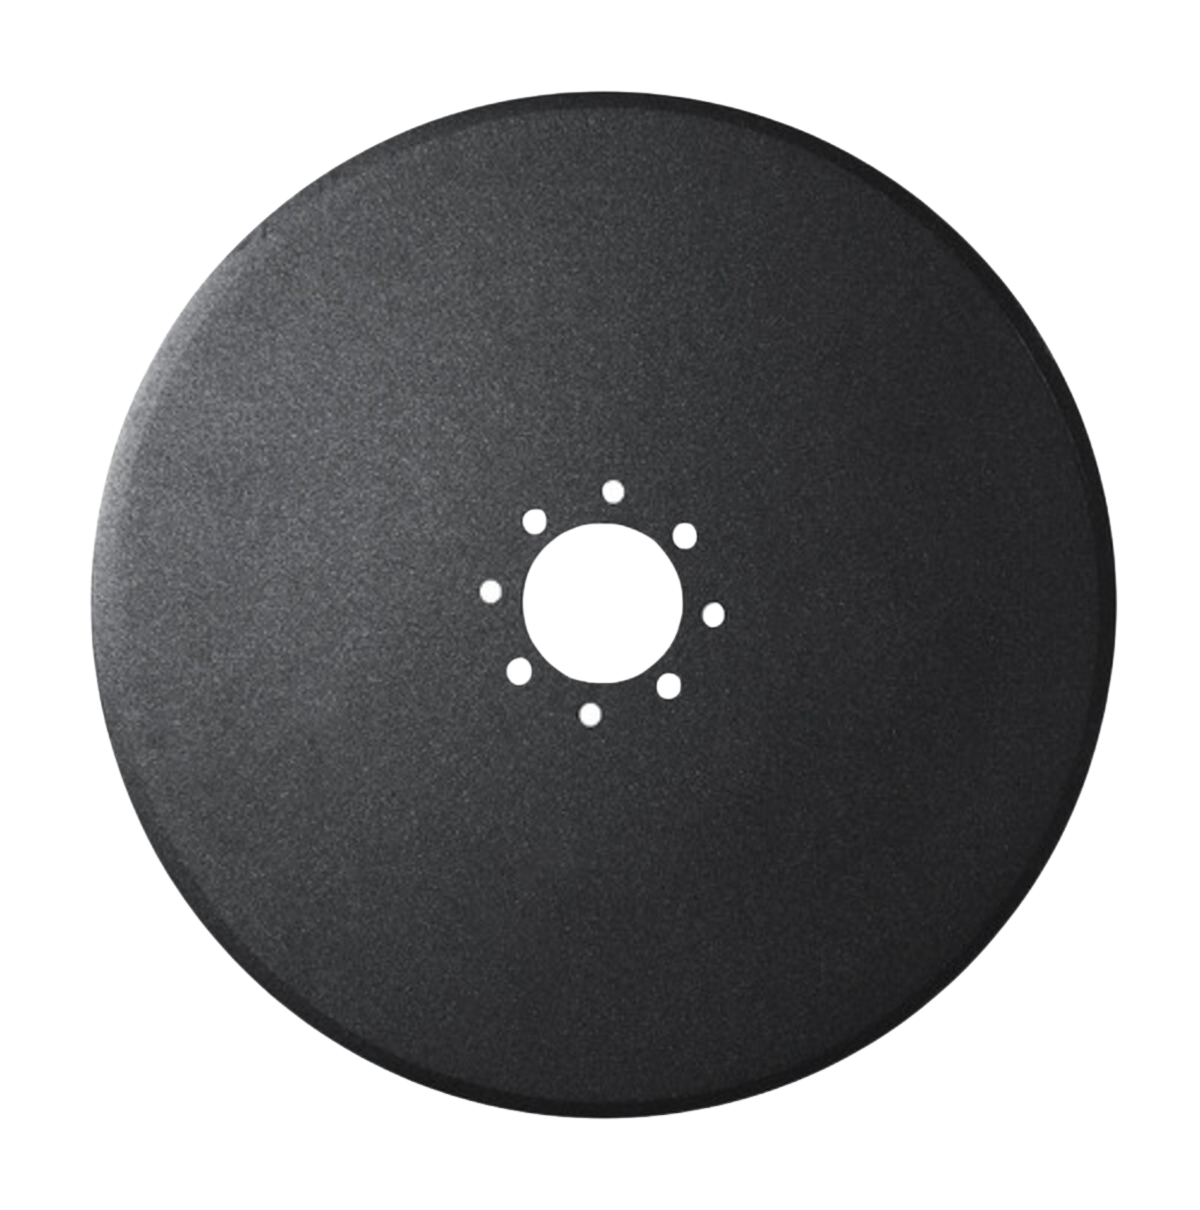
As their name suggests, smooth coulter blades have a smooth profile with no additional blades features like notches or waves.  Smooth coulter blades are thin and sharp, with the ability to effectively chop up debris – but they only offer minimal soil disturbance so are normally used for residue management in fields with good soil conditions, or for refining soil that has already been tilled using another method.

image of Coulter blades

Notched coulter blades

Notched coulter blades have notches cut out of the cutting edge at regular intervals around the blade circumference.  The benefit of notched blades is the amount of grip they have on the soil – this enables the blade to keep turning even in heavy soil conditions or where there is a thick layer of debris present, even at high speeds.  Like smooth coulter blades, notched blades provide a narrow cutting path with minimal soil disturbance.

image of wavy Coulter blades

Wavy coulter blades

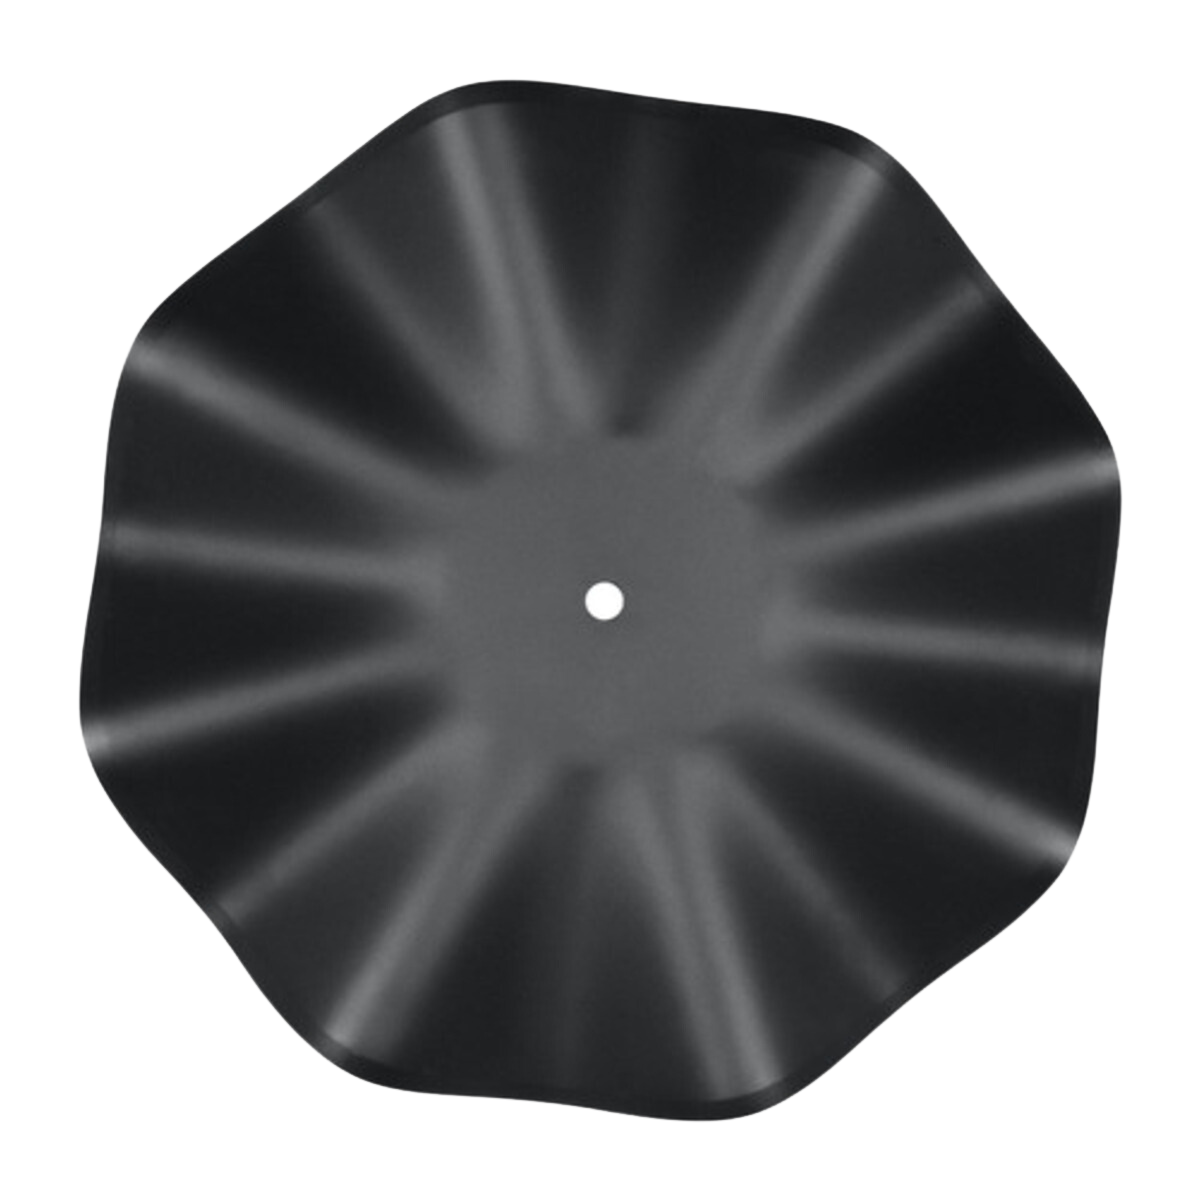
Wavy coulter blades have an undulating edge that resembles a pie crust.  This shape means that the blade gives an aggressive action with a lot of lateral soil movement.  They are designed for residue management and offer excellent tilling action in almost any soil conditions, especially at slow speeds.  Wavy coulter blades come in different wave patterns or numbers – for example 8-wave or 13-wave blades.  The more waves a blade has, the shallower its overall profile will be, and the narrower its cutting width – so an 8-wave blade has a wider profile, and moves more soil than a 13-wave.

Fluted coulter blades

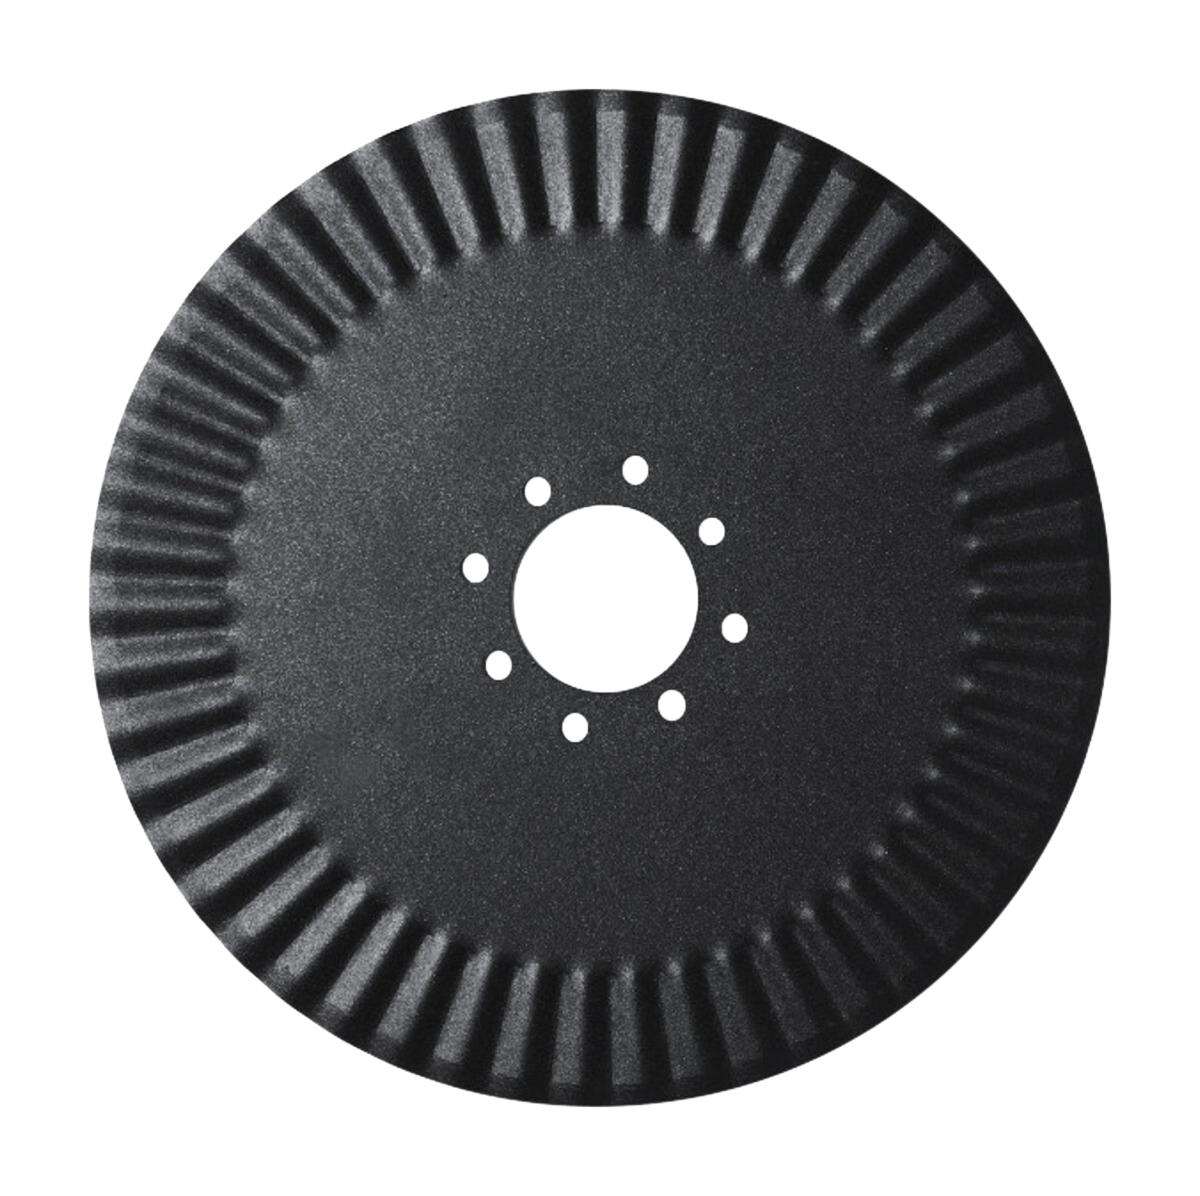
Fluted coulter blades are typically used when you want to achieve depth without a lot of lateral soil movement.  They have a grooved pattern around the edge of the blade that increases its cutting power without adding width to the furrow, that is ideal for slicing through thick stubble or breaking up a hard soil crust. The flutes also help drive the blade and prevent it from slipping in the soil.

Directional coulter blades

Directional coulter blades are similar to wavy or fluted coulter blades, except that the waves or flutes are set at an angle to the center point of the blade.  The benefit of directional coulter blades is that they offer an aggressive cutting action for residue management or hard ground, with little lateral movement of the soil.  The blades run forwards, without throwing the soil sideways out of the trench. The flutes on these blades enter the soil exactly vertical, and leave when at horizontal. This helps lift the soil.

What is a no-till coulter blade?

A no-till coulter blade can be any type of coulter blade – what’s different is the way it’s used.  A no-till coulter blade is there to lightly till the soil ahead of the seed opener on a planter unit, reducing the amount of wear on the seed opener and therefore prolonging its life.  Most no-till farmers will opt for a less aggressive coulter – a smooth or fluted blade perhaps – for no-till applications.

What benefits do coulter blades bring to the soil?

Using coulter blades has a number of benefits for the soil, and therefore the success of a crop yield.

Weeds & residue

Firstly, they facilitate good weed control and residue management – chopping up organic matter, which stops it from growing and competing with crops, and then incorporating it back into the soil where its sequestered nitrogen will be used to feed those same crops.

Moisture absorption

Breaking up the soil – particularly in very dry climates or on heavy clay – enhances its ability to absorb moisture, and mitigates against surface runoff which can result in soil erosion and also flooding.

Soil aeration

Using coulter blades also improves soil aeration, creating tiny air pockets that allow microorganisms to flourish, and also enhancing the soil’s ability to absorb nutrients whether they are naturally occurring in the form of organic matter, or synthetic fertilizers applied by the farmer.

Optimal seed placement

Lastly, coulter blades prime the soil for optimal depth control when using other implements, particularly seed openers.  By breaking up the crust and deeper soil structures, farmers can ensure their seed openers run smoothly at a uniform depth, and that good seed-to-soil contact is achieved after the furrow is closed.

What should I look for in a coulter blade?

There are a number of key things to look out for in a quality coulter blade.

Material

The first question to ask is ‘what material is the coulter blade made from?’.  Coulter blades are typically made from steel, but some are heat treated or hardened, and some are made from different types of steel.  At Wearparts, we use boron steel to manufacture our coulter blades because it gives the finished blades an exceptionally hard edge and long wear life, even in tough soil conditions.

Our premium Forges de Niaux blades have undergone a specialised triple heat treatment process that changes the properties of the steel along the radius of the coulter blade, making it harder at the edge and more flexible in the center.  This extends the life of the blade further, and guards against breakage.

Profile

Next, look at the blade profile – is it concave, or flat?  Concave or dished blades act like a scoop, moving soil sideways as they travel.  The more concave the blade is, the more soil it will move.  Combined with notched, flutes or waves, a dished blades can create a large amount of friable soil in a short amount of time.  By contrast a flat blade will move less soil, but will have a more powerful vertical tillage action which is useful for managing residue.

Bolt pattern

When choosing an aftermarket alternative to OEM coulter blades, it’s important to check that the bolt pattern cut into the blade matches your machine.  Wearparts offers in-house plasma cutting which means we can produce blades for any specification.

How to maintain coulter blades

To get the best performance from your coulter blades, it’s important that they are fitted properly and maintained throughout their lifespan.

You should always ensure that your coulter blades are fitted securely to the shanks of your plow or cultivator, and that they are set to the correct depth and angle for your application and/or soil type.  Setting the angle too steep or the depth too deep can cause your blades to wear unevenly, or shorten their overall life.

Coulter blades are typically mounted on a bearing housing that contains a ball or roller bearing.  The bearing is responsible for evenly distributing the loads that are exerted on the coulter blade by the soil.  Therefore it’s important to make sure that bearings are in good condition, and well-greased where appropriate.  If you notice a lot of noise coming from your coulter blades when they are turning, or if individual blades are wearing down unevenly, the culprit is usually a worn bearing.

Last but not least, keep an eye on your blades for signs of wear and tear.  Coulter blades will naturally wear down and become dull over time – but blades that are dull will struggle to penetrate the soil, and instead of cutting trash can push residue into the furrow in a process called hairpinning.  When this happens, seed to soil contact is often poor which results in lower yields. 

As a rule of thumb, blades should be replaced when they have lost 1 inch of their original diameter.  Some coulter blades are self-sharpening; others can be sharpened manually, provided that they have enough remaining diameter.

Want to know more?

At Wearparts, we offer a complete range of aftermarket coulter blades to fit all popular plow and cultivator brands, including Kinze, Case and Great Plains.  To find out more about our product range, get in touch – or click here to locate your nearest Wearparts dealer.

12 songs to make your crops grow taller

April Fools’!  

The truth is that some scientists DO believe there’s a connection between music – specifically the vibrations created by certain soundwaves – and plant health.  Studies are ongoing all over the world to discover how plants use sound waves to ‘learn’ about their environment and adapt to certain conditions.

For right now, the only way to stimulate optimal growth of agricultural crops and ensure a bumper yield is to take good care of the soil, and make sure your seeds are planted well – and at Wearparts, we can help with that!  Check out our range of quality tillage and planting parts here.

Of course, we know that humans thrive on good music, so here’s a playlist of the best farming-themed songs to enjoy next time you’re in the truck or tractor cab!

  1. Thank God I’m a Country Boy – John Denver
  2. Alabama Clay – Garth Brooks
  3. Heartland – George Strait
  4. Hard Way to Make an Easy Living – Toby Keith
  5. Where Corn Don’t Grow – Travis Tritt
  6. Where the Green Grass Grows – Tim McGraw
  7. Daddy Won’t Sell The Farm – Montgomery Gentry
  8. Rain is a Good Thing – Luke Bryan
  9. Here’s To The Farmer – Luke Bryan
  10. International Harvester – Craig Morgan
  11. John Doe on a John Deere – Lonestar
  12. Amarillo Sky – Jason Aldean

Want to know more about how Wearparts helps farmers work smarter, for better yields and bigger profit margins?  Contact us today, or find your nearest Wearparts dealer.