weareparts logo

1-888-4-BLADES (425-2337)

FREE SHIPPING ON Qualifying Orders

Defeat Downtime: How to Winterize Farm Machinery

If mild fall weather is lulling you into a false sense of security, be warned: winter in the US corn belt often arrives fast. As temperatures prepare to plunge, it’s a good time to get ahead on winterizing machinery and equipment.

A little effort now can pay dividends come the spring – not just by making sure your machinery is primed and ready for action when planting season starts, but by helping you avoid unnecessary downtime and costs.  Let’s take a look at some priority tasks you should be completing before the winter freeze arrives.

Clean and store farm machinery

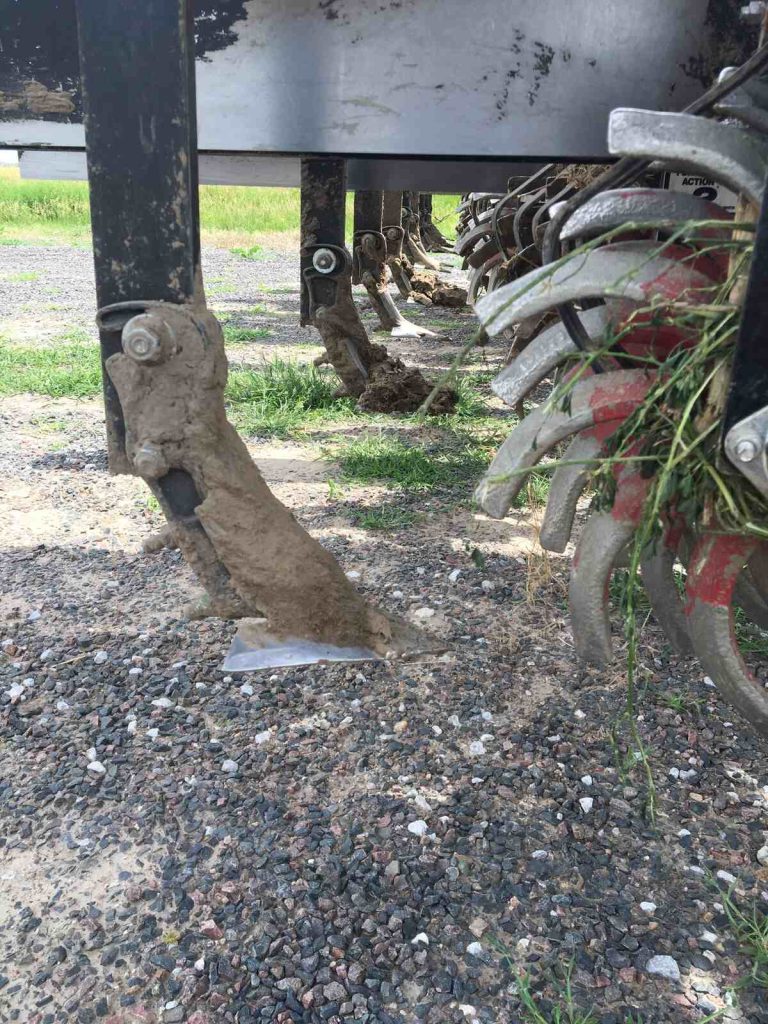
Dried on mud, crop residues and other debris accumulated during harvest, fall tillage and other farming operations should now be cleaned off of machines that won’t be used until the spring.  You might wonder what’s the harm in leaving dry residue alone – but mud and chaff can trap moisture on surfaces that speeds up corrosion, and also prevents you from properly inspecting your equipment to ensure it’s in good condition.  

A good wash down in the late fall might seem like a vanity project but it’s actually just good farm sense, helping you nip rust issues in the bud and extending the lifespan of your equipment.  

Inspect engine compartments, belts and pulleys to make sure they’re clear of any plant residue that could catch fire when the machine is started up again in spring.

Once cleaned, ideally planters, harrows, chisel plows and other equipment that isn’t needed over winter should be stored in a weatherproof and rodent-proof barn to minimize the risk of damage occurring during idle periods.  If space is an issue, consider using custom tarp to offer some protection from the elements.

Tractor ready for winterizing on a barren corn field

Look out for lubrication

Cold temperatures increase the viscosity of lubricants as well as causing metals to shrink or constrict.  As a result, moving parts that are not adequately lubricated before winter sets in can seize up completely in cold weather, leading to unnecessary downtime and sometimes even expensive parts replacements to get them moving again.

Prevent this from happening by carrying out a lubrication check on all your farm equipment in the late fall – change to a lower viscosity engine oil if you live in a particularly cold region, apply grease where required, and replace sealed components like bearing hubs if you suspect they’ve reached the end of their useful life.  This will ensure your machinery is ready to roll when the temperature starts to rise again.

Precision-engineered flange component with threaded center and bolt holes for machinery assembly

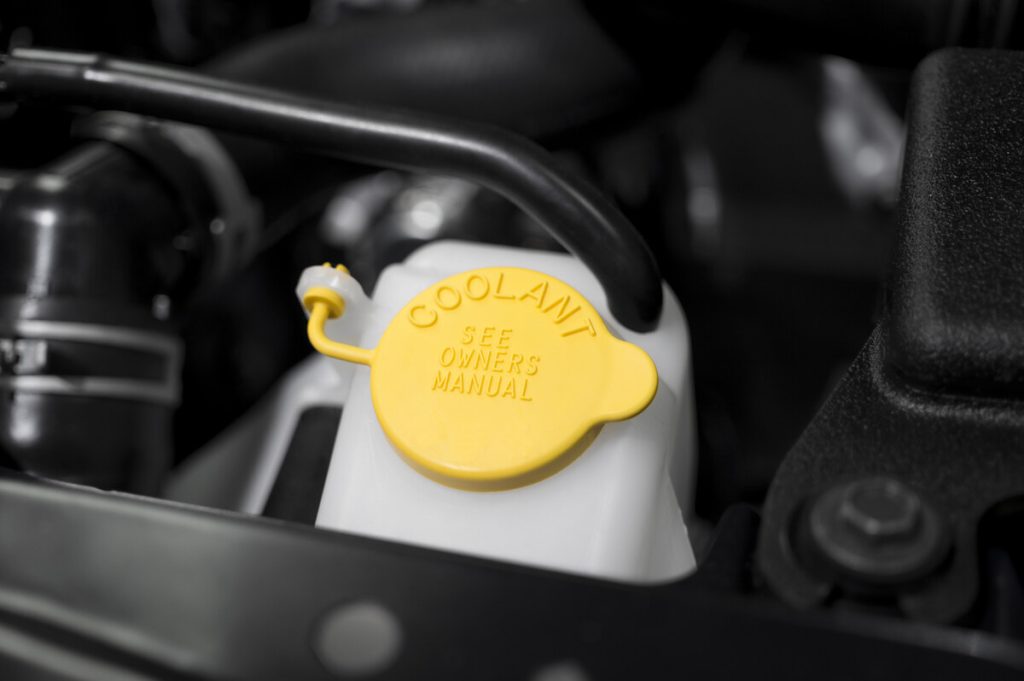
Coolant, fuel and other fluid checks

Winterizing fluids is important for machinery that will be stored in the colder months but also for machines you’ll continue to use in winter.  

Check the antifreeze levels in the cooling system and also test the freeze point of the fluids to ensure the correct water to antifreeze ratio – vital to stop engines from freezing up in cold weather but also for making sure that water doesn’t corrode the engine interior when the machine is sitting idle.

Bright yellow coolant reservoir cap prominently marked on a farm machinery engine

Engine powered equipment that won’t be used in winter should be stored with a full fuel tank – this stops condensation from forming during cold spells, which can contaminate the fuel with water when there’s a thaw.

Hydraulic fluids, transmission and engine oil should all be changed to a product with appropriate cold weather viscosity – run the machine for a short period after any fluid change to ensure the new fluid is circulated into the system.

Winter battery care

Idle batteries will discharge at a rate of 1% per day – and even faster in freezing weather – due to parasitic drain.  This natural process can also lead to sulfation of the battery which means that it can’t be recharged due to a buildup of sulfur on its lead plates. 

Maintain battery health by disconnecting and/or removing batteries and storing them in a warmer location – ideally keeping them charged using a smart charger that can detect when a top-up is required.  If this isn’t possible, aim to start and run your machinery on a regular basis to prevent the battery from discharging too much.

Close-up of a mechanic's hands assessing the condition of a used piece of machinery

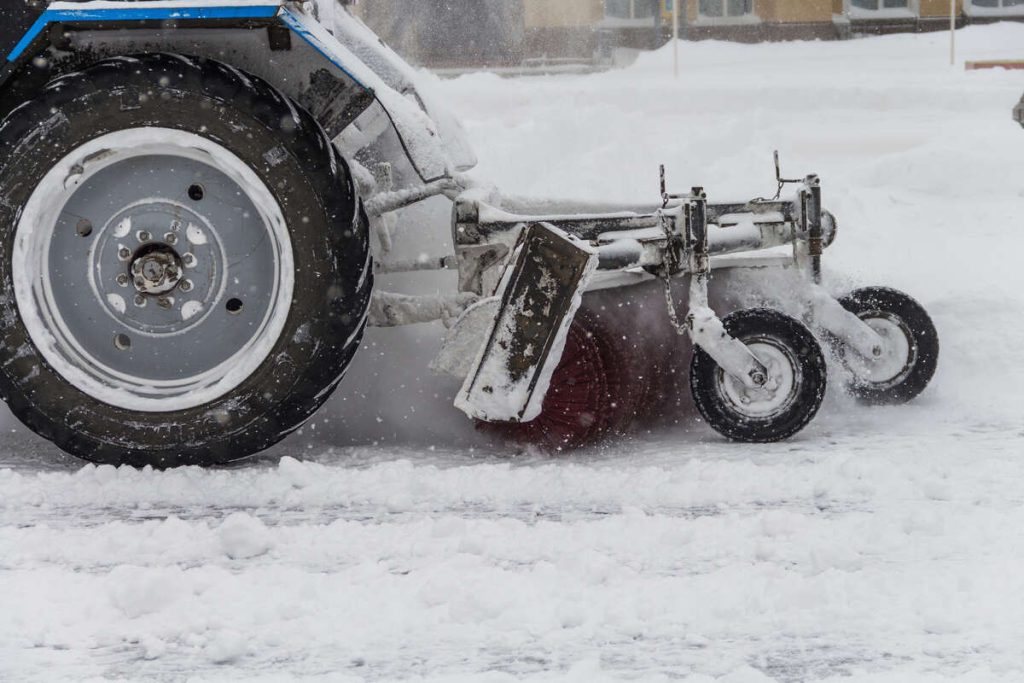
Winter tire maintenance

After a long season in the field, there’s a good chance your vehicle tires are showing signs of wear or a loss of pressure – so now is a great time to inspect, replace or re-pressurize tires.  Underinflated tired will result in rapid wear and sidewall damage while overinflation can increase the risk of perishing, blowouts and soil compaction.

Of course, if you’ll be using a snow plow or blower, you need to make sure your tires have adequate tread to grip in tricky conditions – don’t forget to make sure snow chains and other equipment is ready to go.

Snow-covered tractor with plow attachment clearing winter roads during a heavy snowfall

Essential electrical checks for farm vehicles

Checking vehicle electrics before winter sets in is another essential maintenance task – not least because darker, shorter days depend on headlights and illuminated instruments being in full working order.  

For other equipment that will be stored over winter, it’s a good idea to make sure all bulbs and electrical connections are functional and safe to reduce the risk of electrical fires and ensure you can hit the ground running when spring planting rolls around.

Agricultural equipment in operation

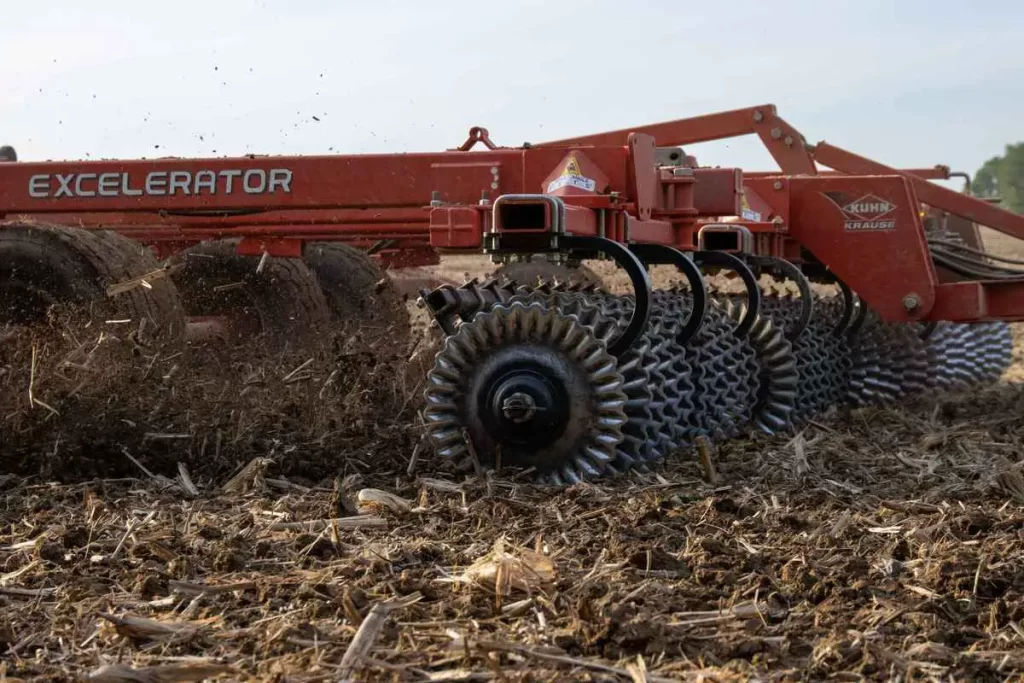
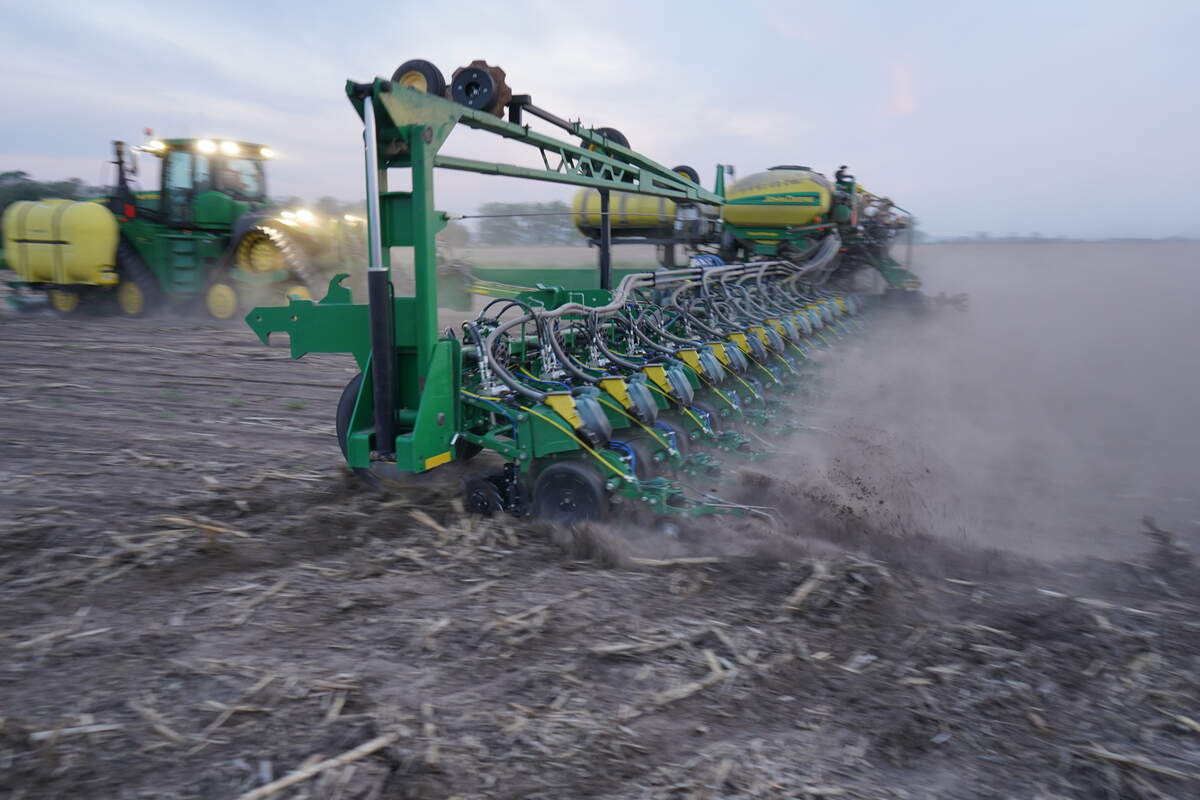
Maintaining tillage & planting parts

Before you store equipment away for winter, check that all wear parts – discs, blades, tines etc – are in good condition with enough life remaining to get you through the upcoming season.  Check the alignment on coulters and chisels so that when you do bring this equipment back into use, you don’t have to waste valuable time on these checks and adjustments – once the sun comes out in spring, you’ll be good to go!  

Don’t forget that our Maximum Duty seed opener blades carry our ‘Guaranteed True®’ promise – we test every assembly before it leaves our warehouse so you don’t have to.

Spare Parts Inventory

Even with the best maintenance and preparation in the world, breakdowns will happen. Winter is the ideal time to make sure you have supplies of replacement parts for your equipment so that if you do hit a bump in spring, you can quickly and easily carry out any necessary repairs and get back to work quickly.  

Our Spring Preseason Promo runs from fall through New Year each year and offers farmers the chance to stock up on essentials for spring planting at discounted prices.

Enhance efficiency next spring

Regular maintenance combined with selecting the best quality tillage and planting parts you can afford is a tried-and-true way to enhance agronomic efficiency at any time of year. 

Wearparts offers farmers a genuine alternative to OEM parts with the benefit of up to 30% extra wear life – check out what our customers say about us, or find your nearest dealer

Plant 24 is coming | Preseason Offers Live Now!

With exclusive discounts and credit terms on advance orders placed between October 15th and December 31st 2023, now is the perfect time to stock up on spring tillage & planting tools.

Order in bulk to save big – plus FREE shipping on all orders over $2,000!

All orders will ship between January 1st and April 15th, 2024.  Please allow 2-6 weeks for shipping.  Warehouse constraints may mean you are asked to take product early.

Order Now or Contact Us for more info.

Post-Harvest Soil Optimization: Fall Tillage and Tools

Depending on where you’re located in the US, your harvest season is perhaps just beginning, well underway, or just about wrapped for 2023.  That means it’s time to focus on post-harvest and what you can do now to ensure a more successful crop yield in 2024.  

Of course, you may be preparing to plant cover crops as part of this strategy, but even if you’re not, there are some important steps to take now that can help make sure your soil is in peak condition come spring planting.  Let’s take a look at how to optimise your fall tillage for better results next year.

Why fall tillage?

In no-till systems, the soil won’t be touched after crops are harvested.  But the vast majority of US farmers will carry out some form of tillage in the fall, even if it’s very light or shallow.  Extremes of heat, drought and rainfall in different locations across the states means that after a prolonged growing season, the upper layers of soil can benefit from some light tillage to break up the crust, reduce compaction and manage residue or weeds.

Tractor engaging in autumn-chisel plowing beneath a cloudy sky

What kind of fall tillage is right for my farm?

Unless you’re new to farming, you’ll already have a good idea of what type of tillage you need to counteract any soil problems that have arisen over summer, or that are likely to occur in the winter months.  For instance, if you know a particular part of the farm is prone to aggressive weeds, you’ll want to address those before they get established.  If you have a field where the soil has become very baked, you might want to break that up so that fall rains can sink in rather than run off.

But if you want to get really technical about which fall tillage method is right for your soil – and even which tillage tools to use – a great way to find out is to use a soil compaction probe or penetrometer.

Man standing in a freshly plowed field after harvest, demonstrating fall tillage techniques for soil optimization

What is a soil penetrometer used for?

A soil penetrometer is a probe with a handle and a gauge for measuring pressure (PSI).  It is used to determine whether the soil in a particular field or area has a compaction layer, and if so, how deep that layer runs.  

The instructions for using a penetrometer may vary from model to model but the basic premise is that any soil structure requiring 300PSI or more of pressure to push the probe in is said to be compacted.

The probe has a sharp tip that is inserted into the soil and manually pushed down.  When the pressure reaches 300PSI, the depth is noted.  The user then continues to push the probe into the soil until the pressure required drops to less than 300PSI, and this depth is also noted.  The difference between the two measurements is the depth of the compaction layer.

Once you’ve determined where your soil compaction is, how deep it is, and which crops you want to grow there next, you can make an informed decision about how deeply and aggressively you need to till the soil.

How much tillage do I need?

The penetrometer simulates root penetration, which declines exponentially above 150PSI of compaction, limiting a crop’s ability to take up moisture and nutrients from the soil and therefore inhibiting growth.

The goal of your tillage operations is to reduce soil compaction to less than 150PSI within the root zone of the crop you are planning to grow.  For shallow-rooted crops like lettuce, you may only need 12 inches of non-compacted soil, so a deeper compaction layer may not need to be disturbed.

For deep-rooted crops like corn, which can penetrate as far as 4 feet, some surface compaction can be easily resolved without the need for aggressive, deep tillage blades – the developing roots will do the rest on their own.

Information about the severity and depth of soil compaction should be weighed against other factors, particularly soil moisture – ideally 24 hours after a saturating rain or irrigation cycle.  If the soil is very dry, the PSI reading will be much higher and you could end up performing unnecessary tillage to resolve a problem that could be fixed with water.

Close-up view of post-harvest soil optimization and blades on a gravel ground

What type of tillage tools should I use to reduce compaction?

Depending on the severity and depth of your soil’s compaction layer, you can select tillage tools to address it with the least amount of soil disturbance.

Leaving the soil undisturbed has benefits for reducing future compaction because it preserves the natural structure – the plant material, earthworm burrows, pores and biodiversity that enable soil to move moisture and nutrients around. 

There are options for shallow, medium and deep tillage as well as options for how much you want to displace the soil, which we’ll explore below:

Shallow tillage tools

High-speed compact discs

High-speed compact discs are usually mid-shallow concavity blades that penetrate the soil by up to 12 inches, but more typically around 8-10 inches.  The machinery is designed to break up surface compaction and colds of earth in a single, high-speed pass.

Cultivators

Cultivators are also used for shallow or secondary tillage, either to remove weeds or to create a fine surface tilth for seed sowing.  Cultivators can be fitted with a variety of tools including ripper points, disc blades and sweep blades (also known as shovels).

Sweeps

A sweep or shovel is a wide, footed blade with a sharp nose and one or two ‘wings’ extending out either side.  The point of the blade penetrates the soil at a shallow depth of around 10-15cm and the wings are dragged through parallel to the soil surface, slicing weeds just below the surface and breaking up the hardpan if present.

Vertical tillage blades

Vertical tillage blades are typically between 20 and 24 inches in diameter so they penetrate between 10 and 12 inches deep.  When the blades are flat and smooth, they don’t move the top layer of soil sideways or cause it to turn over. 

Coulter blades

Coulter blades are typically run in front of deeper tillage blades to chop residue or soften the soil, but they can be used for shallow tillage.  They start from around 15 inches in diameter which gives around 7 inches of soil penetration.  Wavy or fluted coulter blades have a more aggressive action which helps to break up clumps of residue or clods of soil on the surface.

Close-up of a red 'Excelerator' tillage equipment by KUHN Krause working in the field, turning over soil after harvest

Medium tillage tools

Medium-depth tillage can be carried out by using tillage tools that are adjustable – so for example, chisel plow spikes are normally a deep tillage tool, but their depth can be raised so they don’t go as deep. 

Likewise some shallow tillage tools, like vertical tillage blades, can have a more aggressive action if you choose wavy or fluted blades that cause more lateral soil displacement.

Deep tillage tools

Chisel Plow / Subsoiler

A chisel plough is a heavy duty machine that drags sharp points called chisel plow spikes down into the soil and then pulls them along underneath the surface at a maximum depth of around 18 inches.

Chisel ploughs are specifically designed to address compaction of the subsoil without disturbing residue on the surface.  They are most often used in dry regions, where they can help to aerate the soil and facilitate moisture infiltration.

Disc blades

Disc blades are available in a wide range of depths, typically up to 42 inches but sometimes even larger, and can penetrate up to 24 inches below the soil surface

The edge of a disc blade may be smooth or notched to aid the cutting action of the blade and prevent clogging with mud or residue.  Disc blades often have a concave profile, like a shallow bowl – the more concave the disc, the more aggressive the tillage.

The dished shape has a similar effect to a traditional moldboard plow, turning over the top layer of soil as it passes through the field.

Get ready for fall tillage

At Wearparts we manufacture some of the highest quality, most durable tillage tools on the planet, with options to fit all popular OEM machinery brands.

For advice on the best tillage tools for your soil conditions this fall, or to locate your nearest Wearparts dealer, get in touch.